Loop Rendering
For scenarios that require loop rendering, similar to the following syntax in React, Yida provides a Loop Data configuration option, which allows us to easily implement loop rendering by binding variables:
function NameList() {
  const names = [{
    name: 'Jack'
  }, {
    name: 'Rose'
  }];
	return (
  	<div>
    {
      names.map((item, index) => (
        <span>{ `No.${index}: ${item.name}` }</span>
      ))
    }
    </div>
  );
}
Configuration
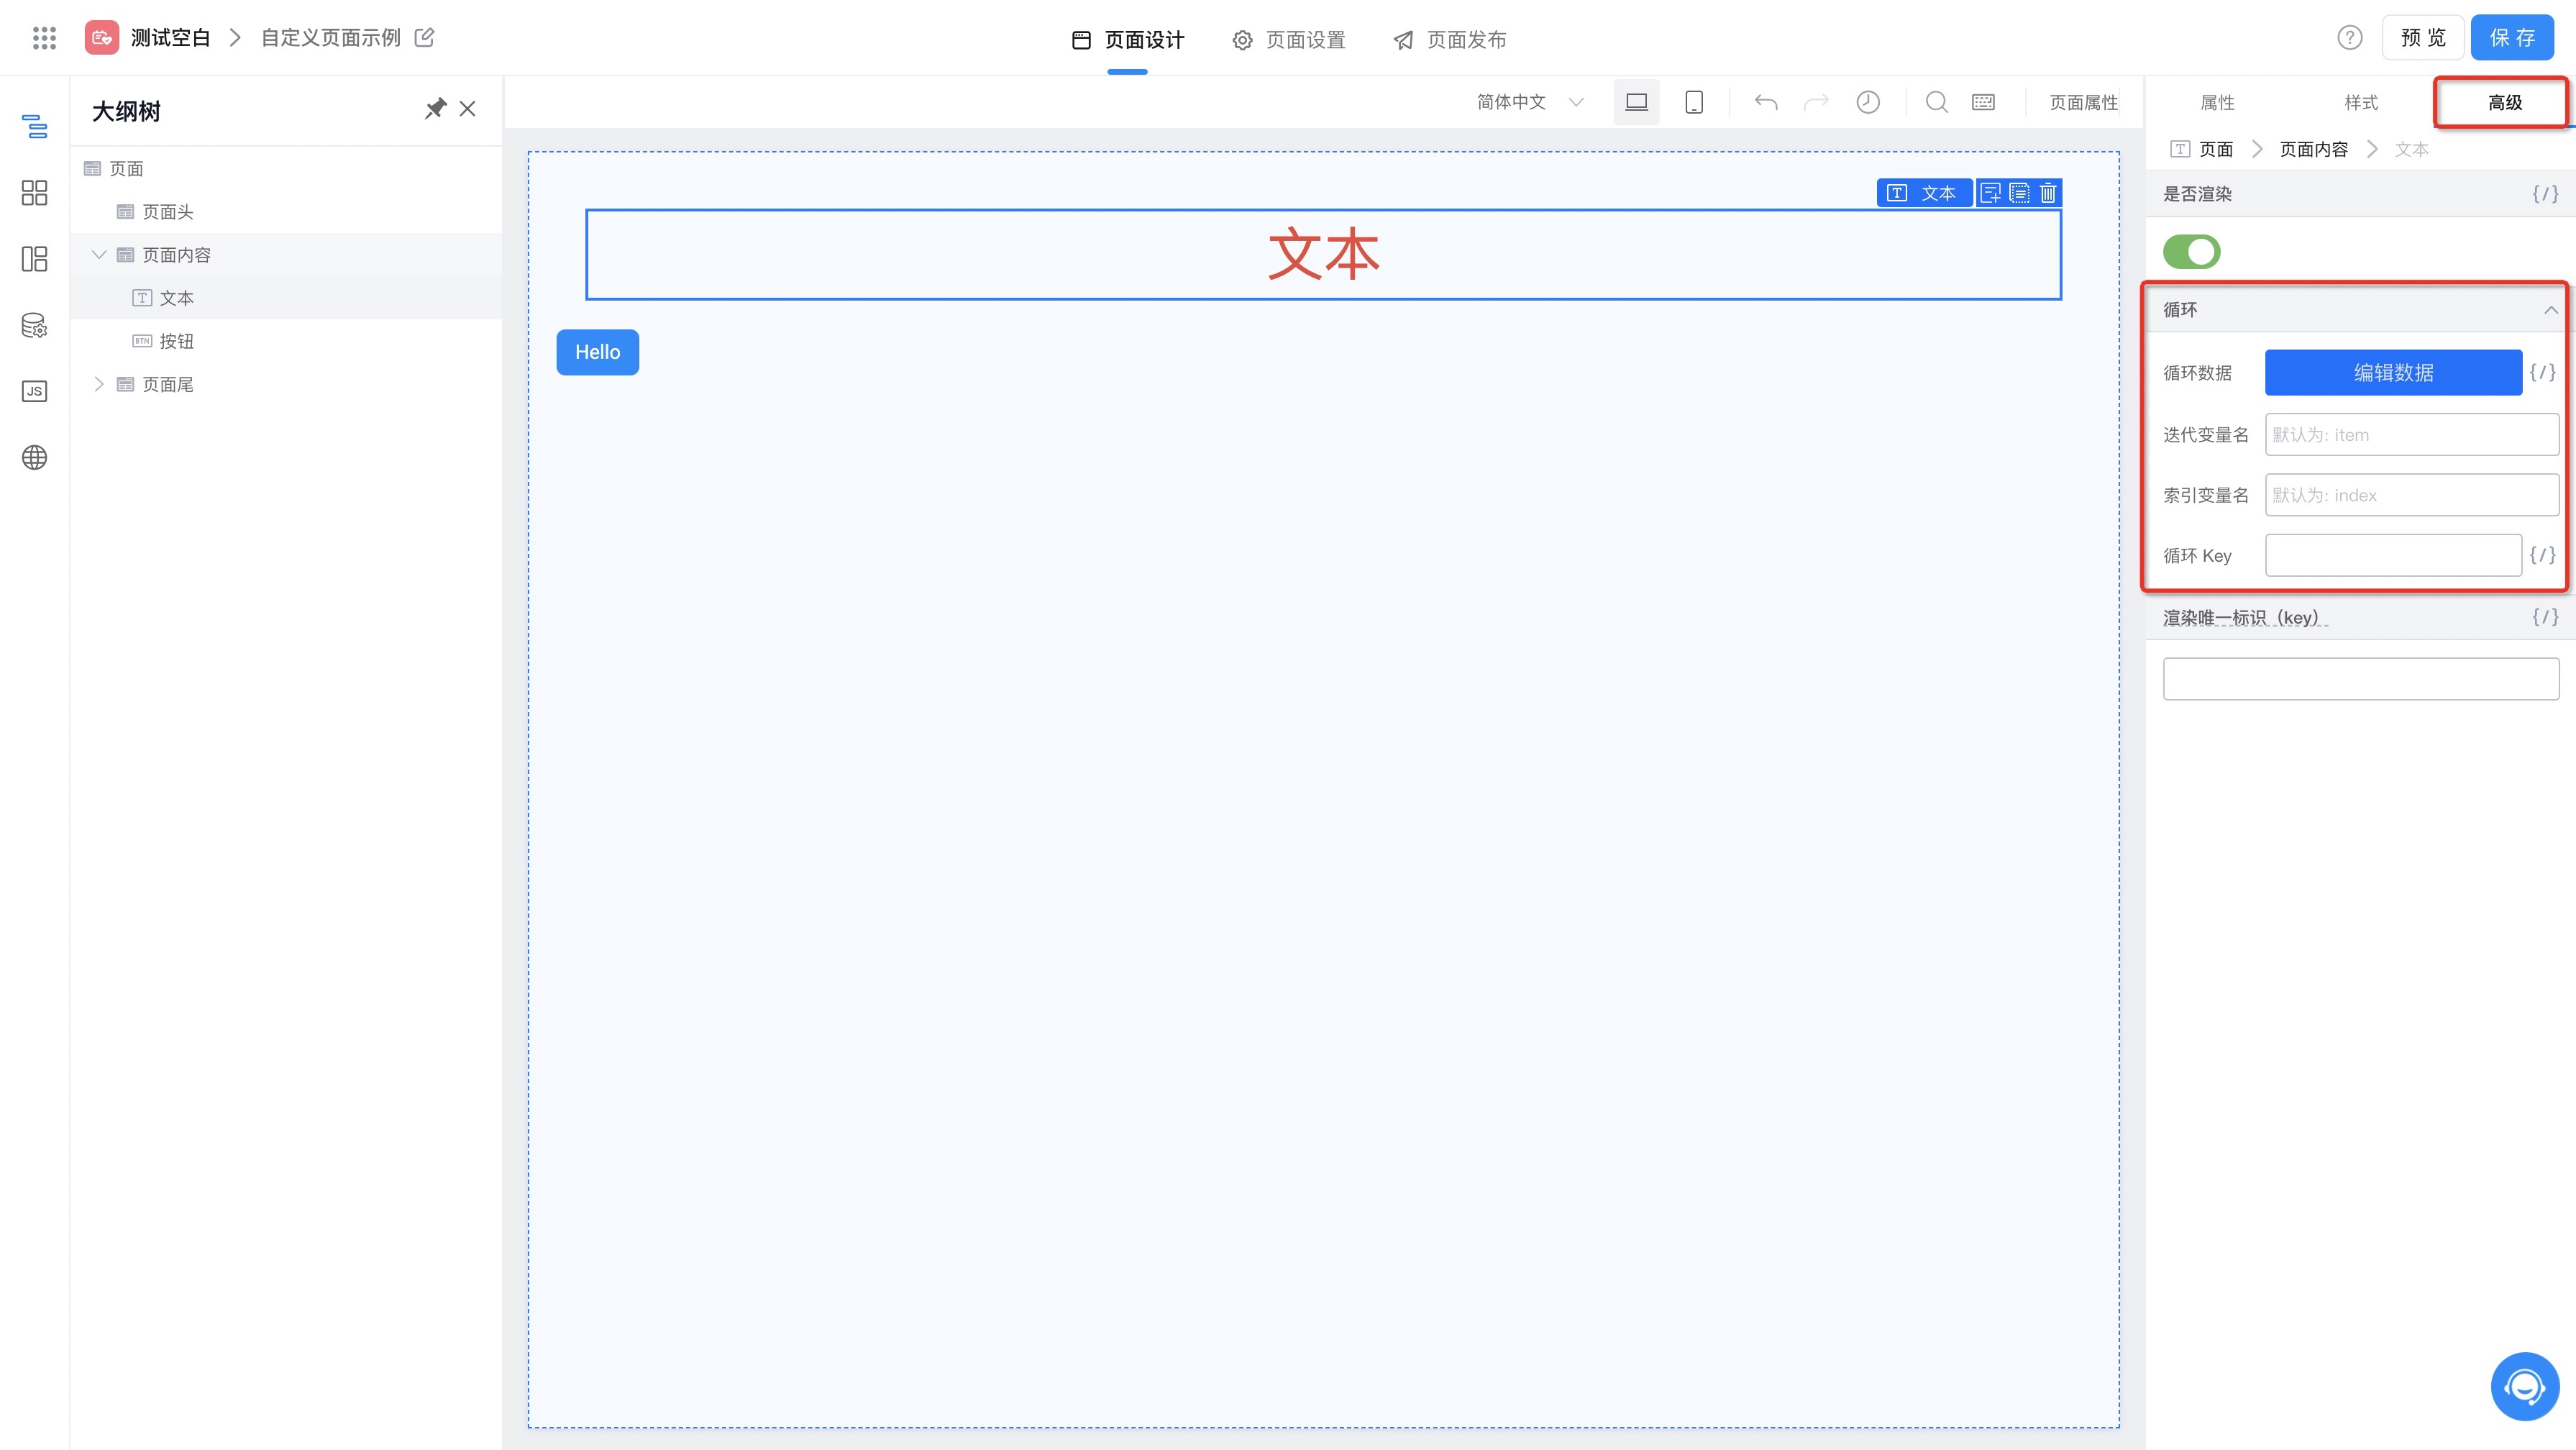
Loop data requires an array structure, which can be string arrays, number arrays, or object arrays. Users set loops through the Loop Data setting in advanced properties:
Users can bind loop data in two ways:
- Static Setting - Configure static array data for rendering;
- Variable Binding - Users can bind variables to get loop data from global variables or remote APIs;
After completing the loop settings, components inside the loop body can obtain the internal structure of loop data through the following two injected contexts:
- this.item - Get the current row's loop data;
- this.index - Get the current row's loop index (counting from 0);
In nested loop scenarios, we can customize iterator variable names and index variable names to specify context injection variable information and avoid conflicts, as shown below:
Components with loop data configuration will show a small loop icon in the outline tree to indicate that the component has loop data set:

Usage Scenarios
Let's use a simple example to introduce how to display a student list through loop data.
-
Create a global variable to store student information, as shown below:

-
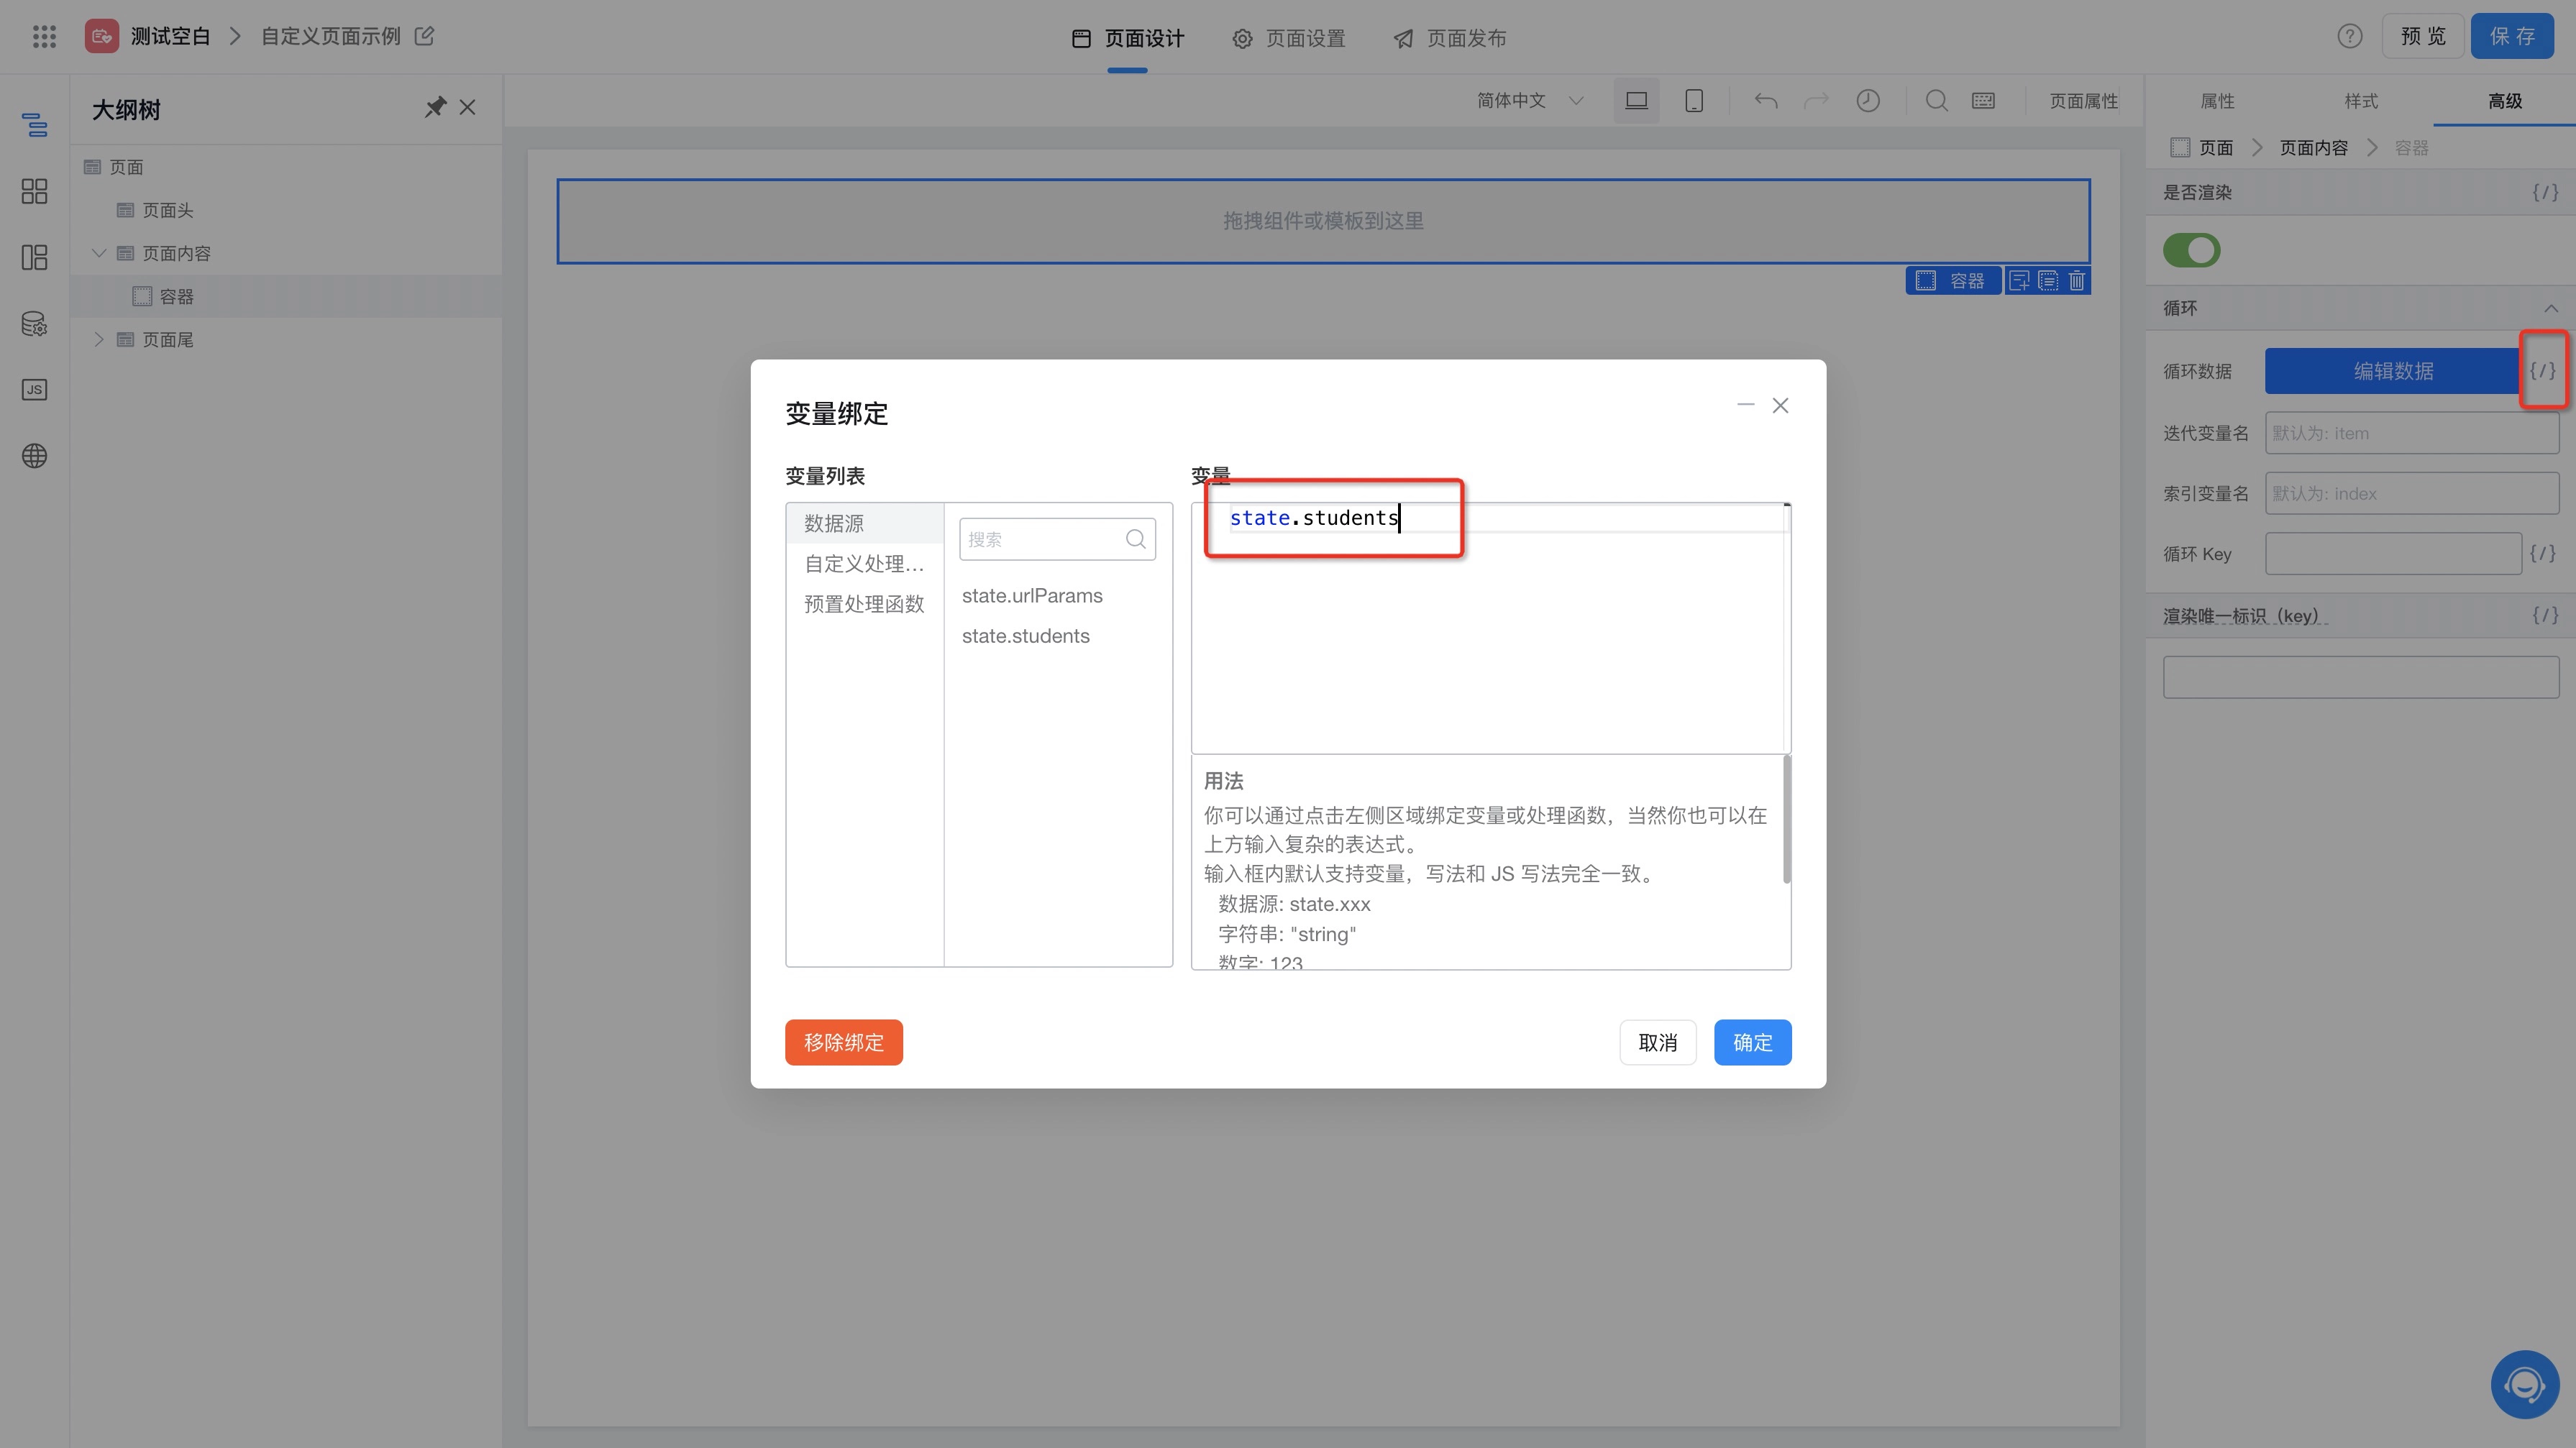
Drag a container component into the page to bind loop data, as shown below:
-
Place two text components in the container to bind student name (name) and student age (age), as shown below:
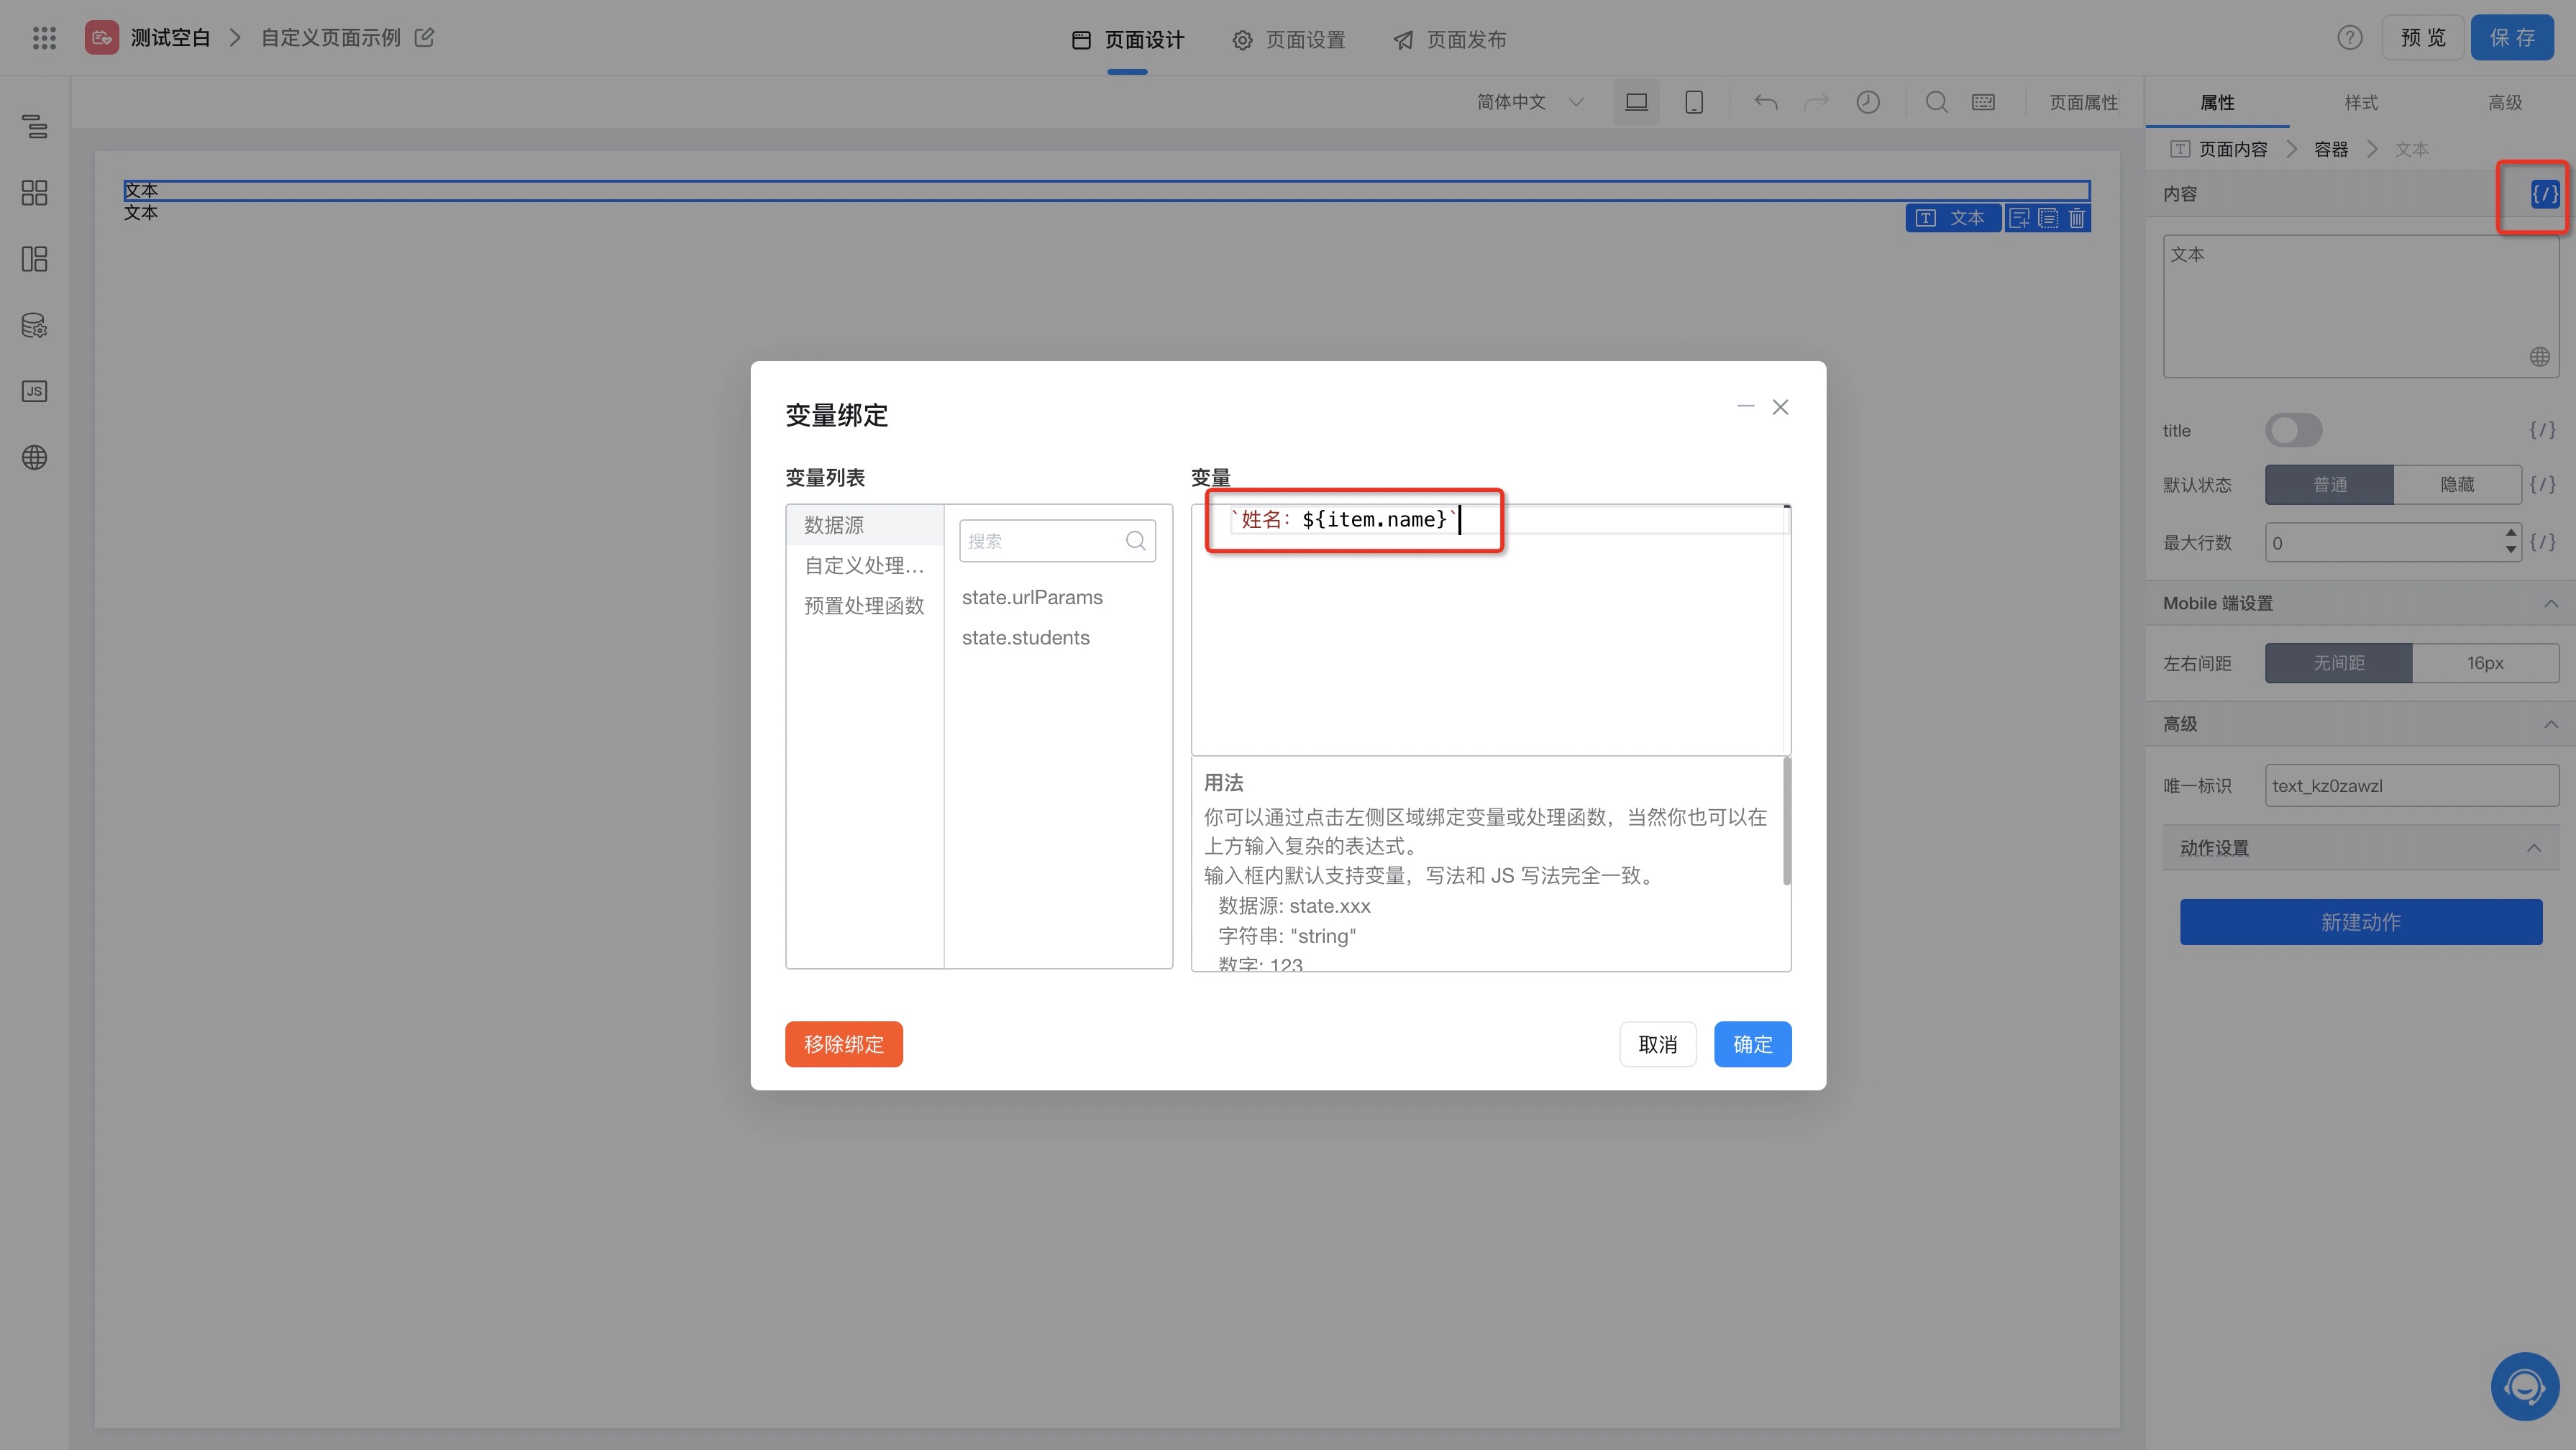

-
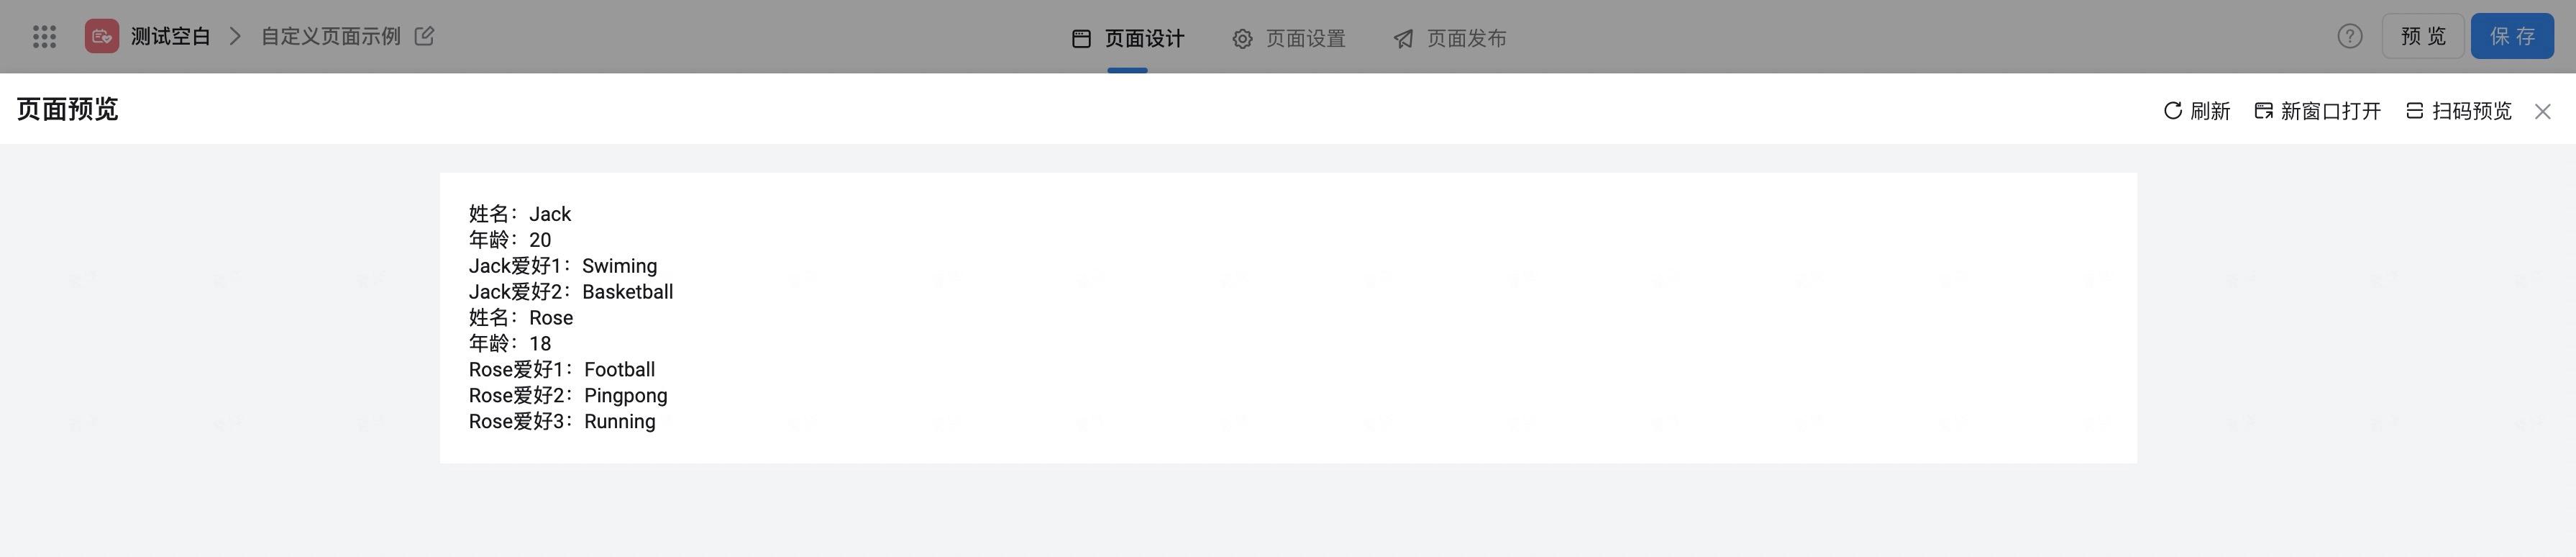
At this point, by clicking the preview button in the upper right corner, we can see the loop rendering effect, as shown below:

-
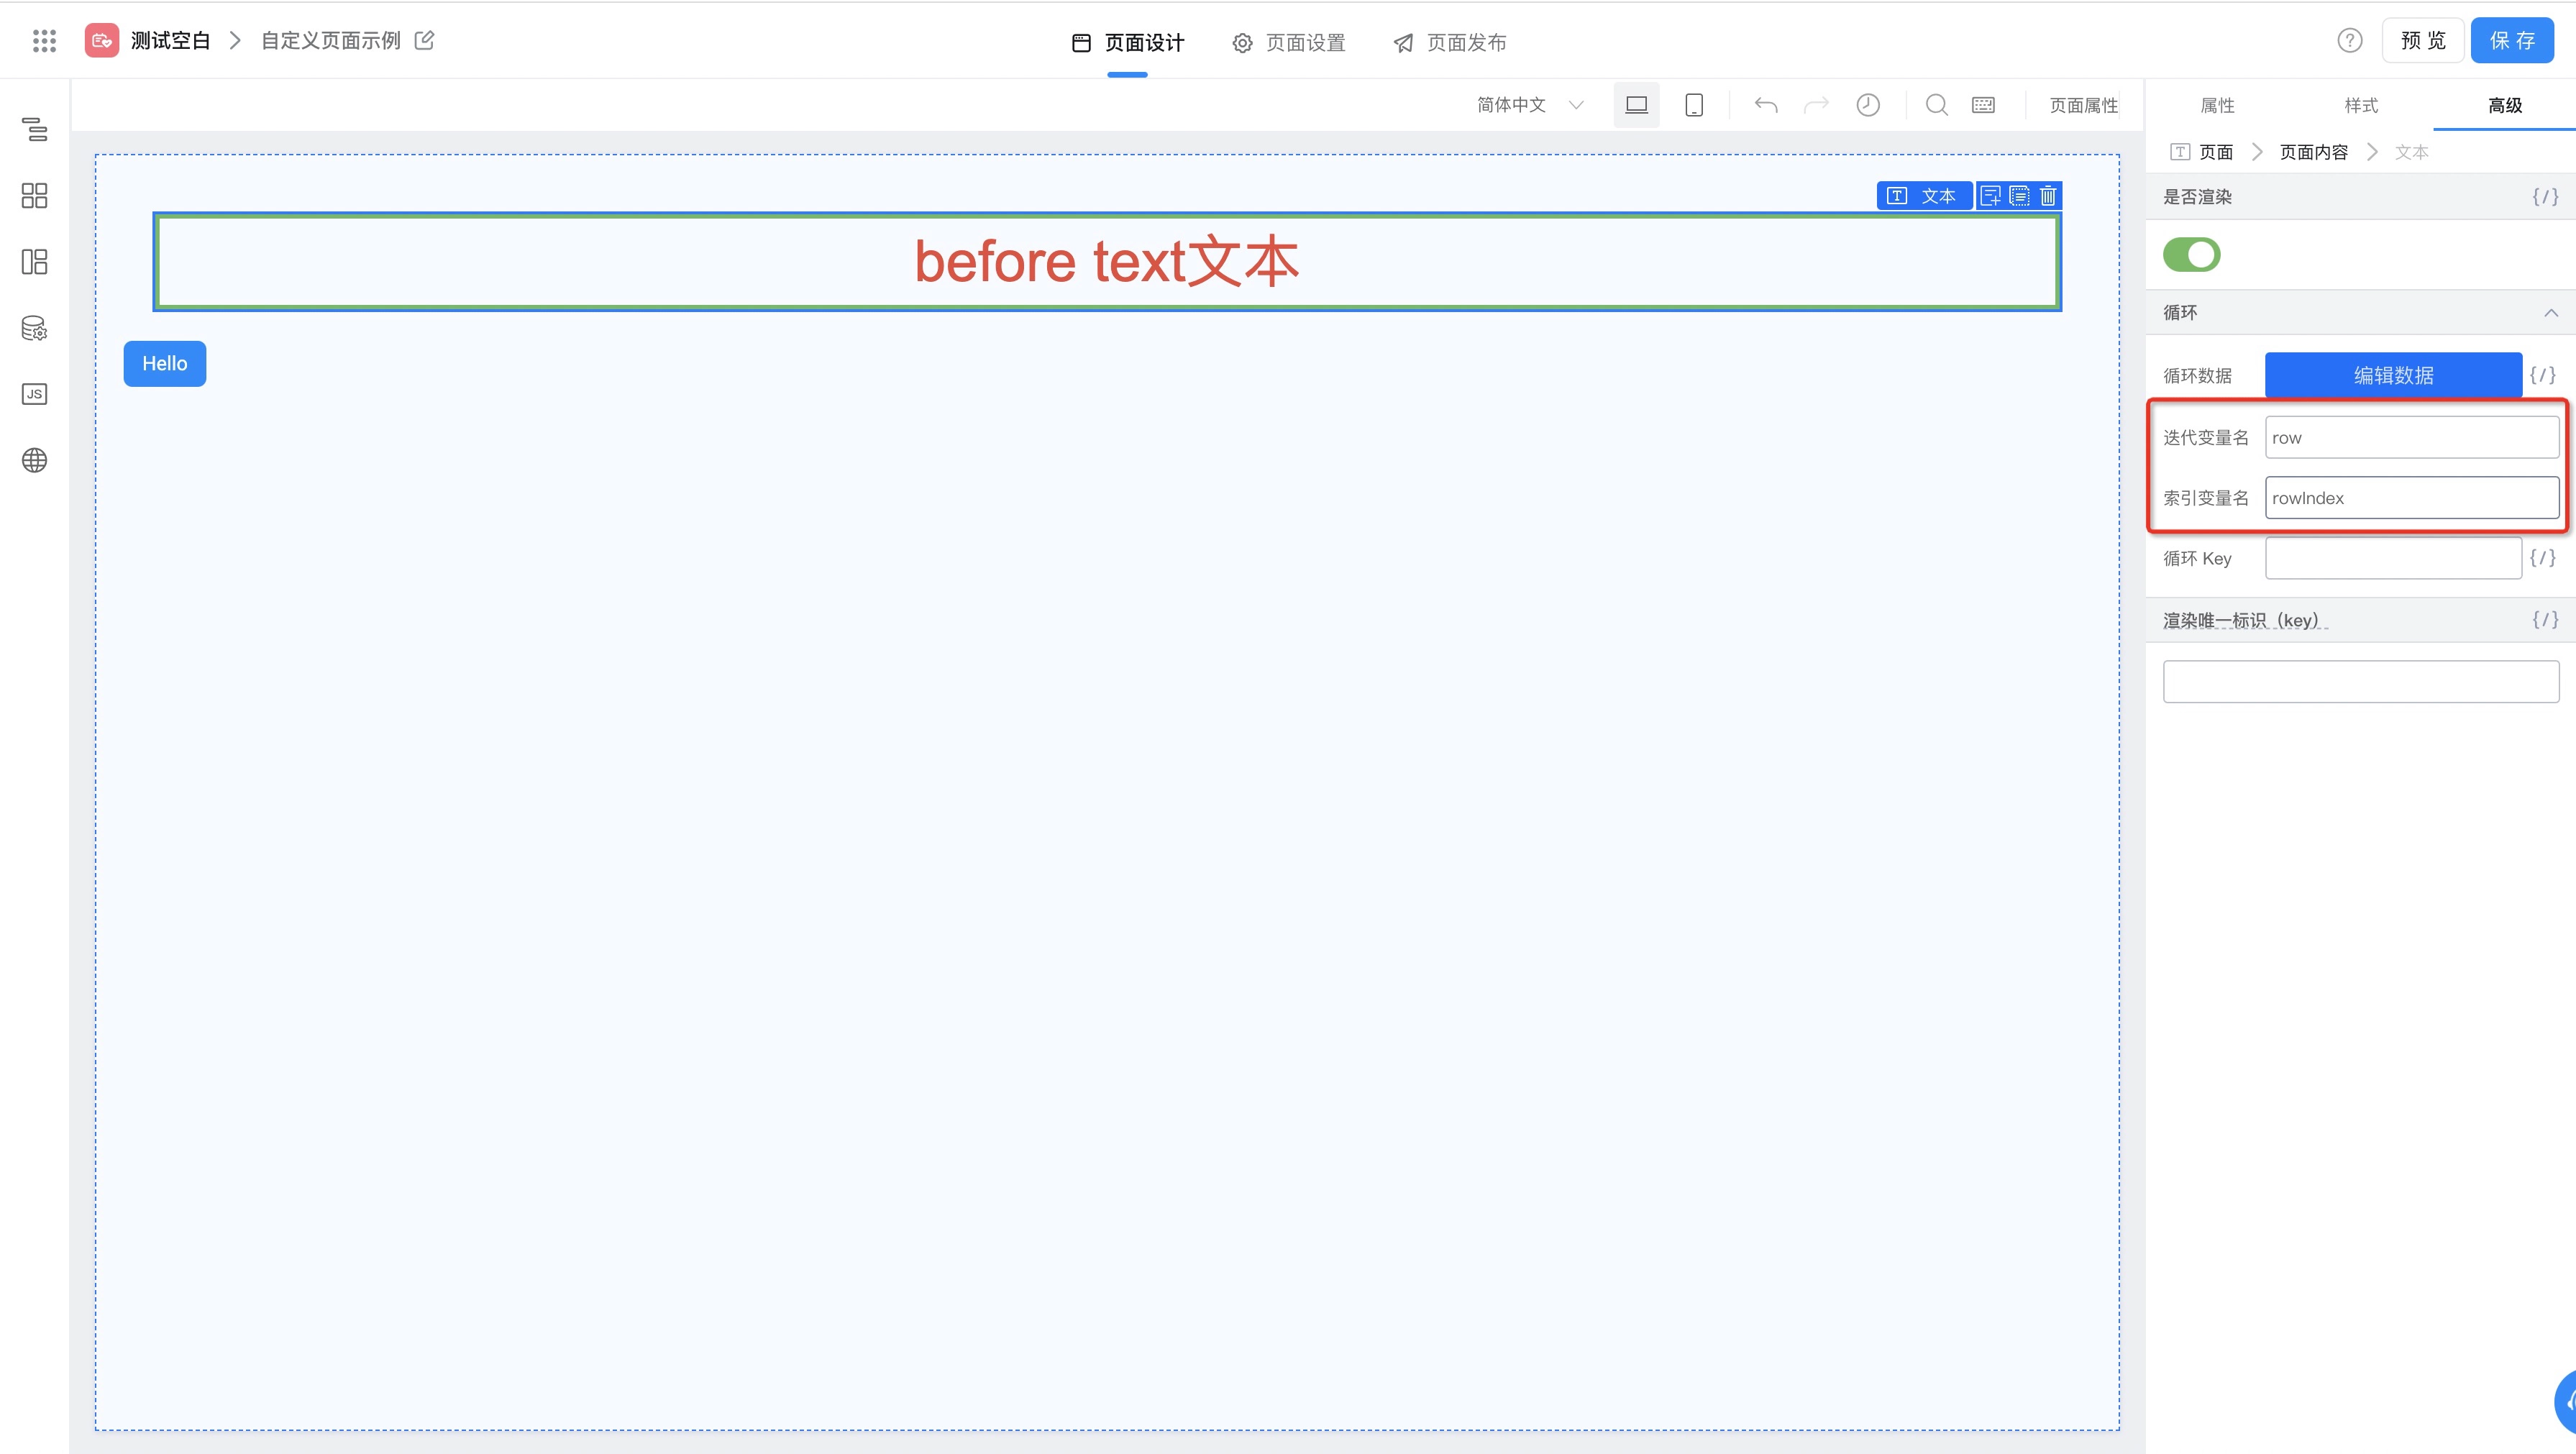
We found that the student's hobby (hobby) is also an array. If we need to render them, nested loops are required. So, we drag a text component into the container to loop render hobbies (to allow the text component to access the outer loop content simultaneously, we set custom iterator variable names and index variable names for the text component):

-
Next, we can bind variables to the content property of the text component to display both loop contents, as shown below:
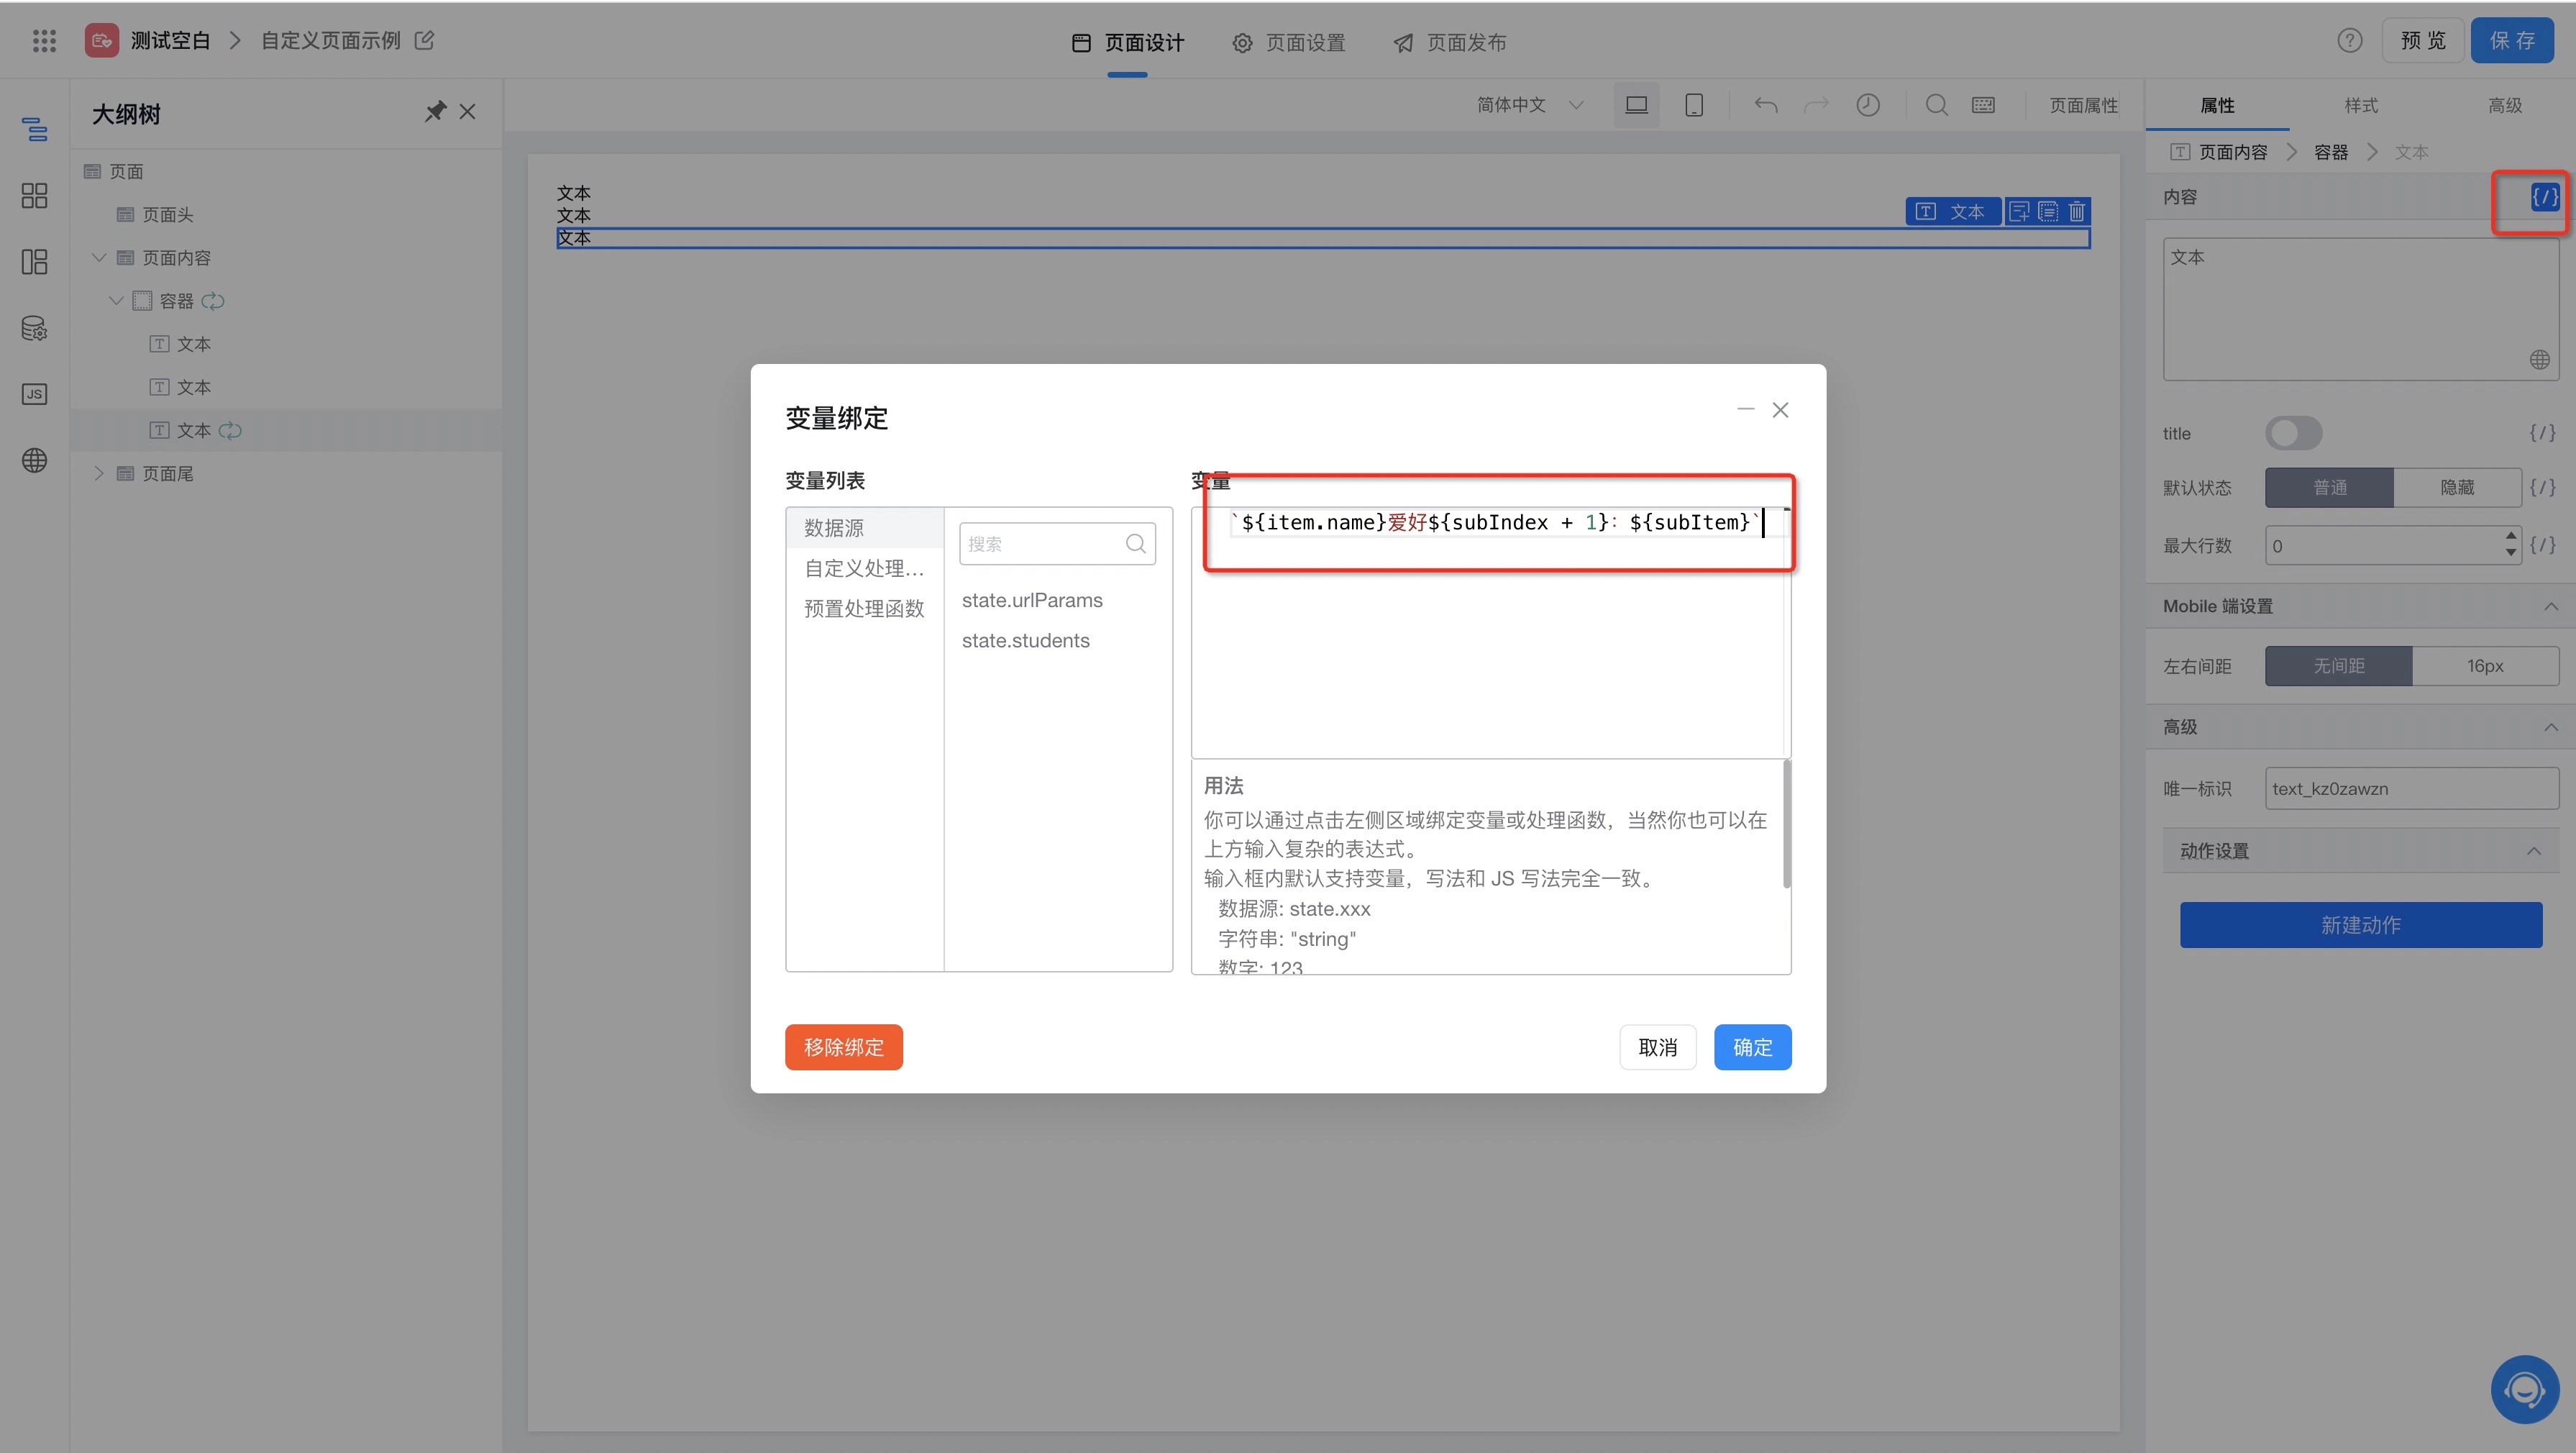
-
Finally, clicking the preview button will show the following preview effect: