
Customize page timeline usage
1. Usage scenarios
This example describes how to use the timeline component to display the contents of each phase of the project on the YIDA custom page.
2. Implement functions
2.1. Create a data table
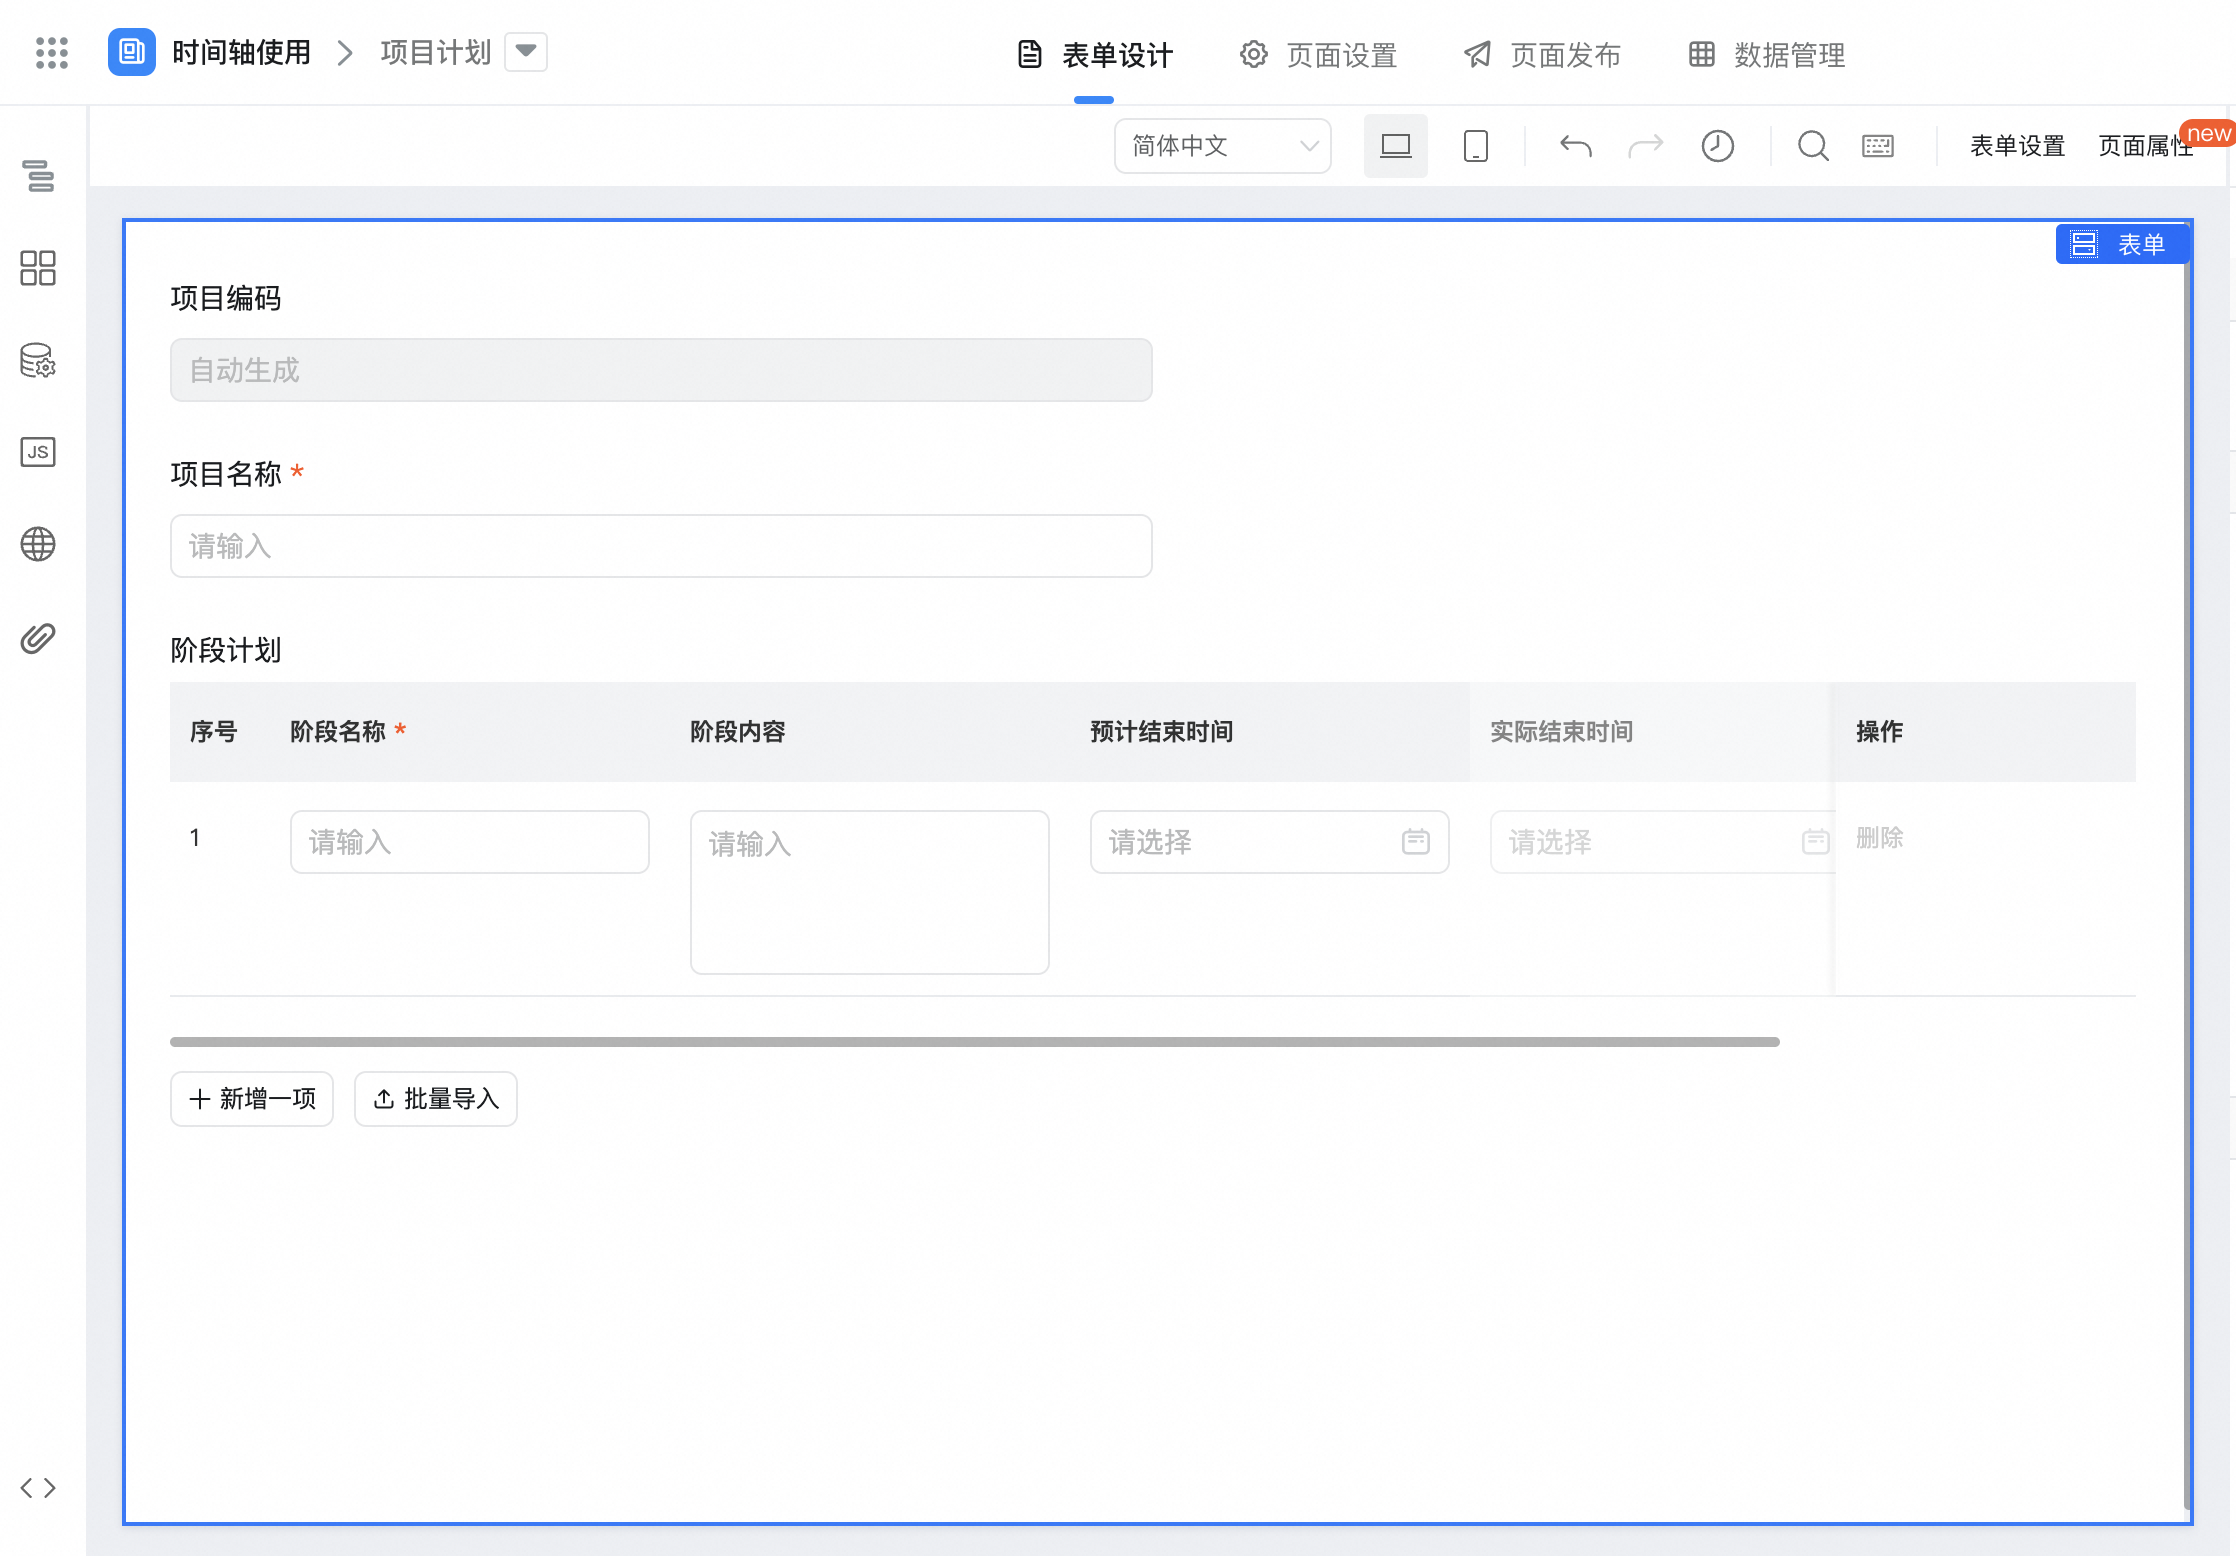
2.2. Create a custom page
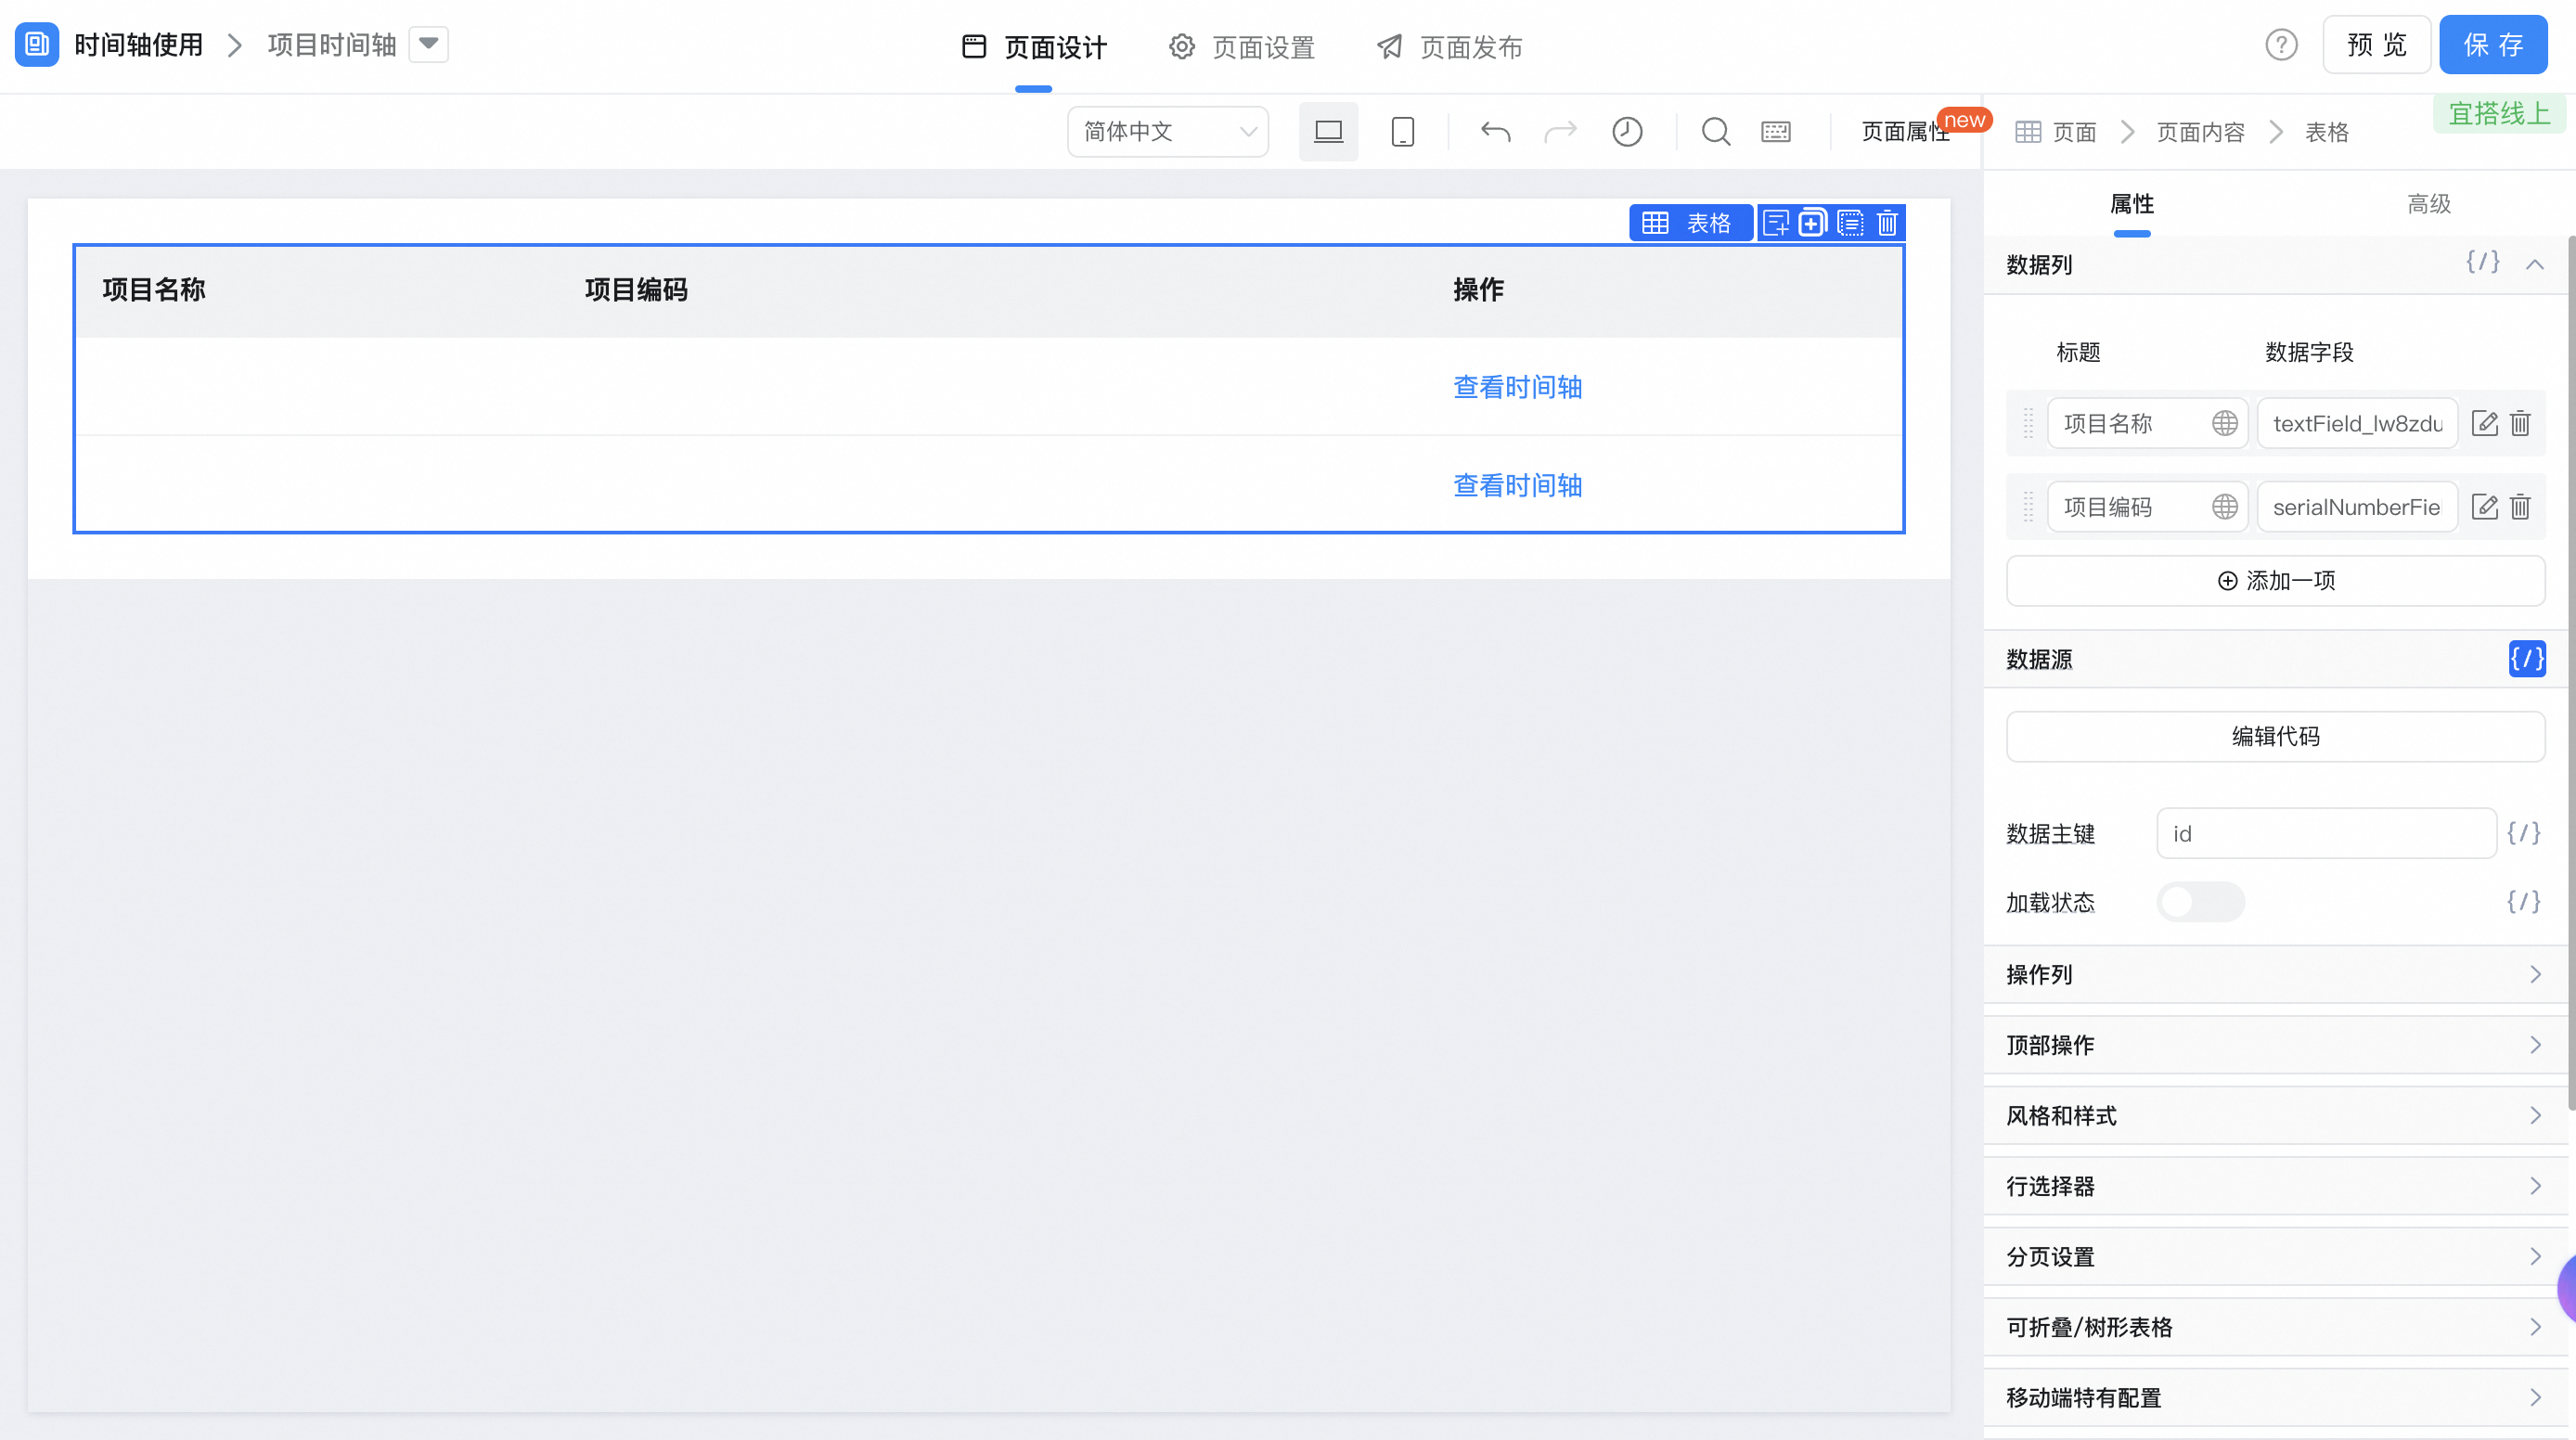
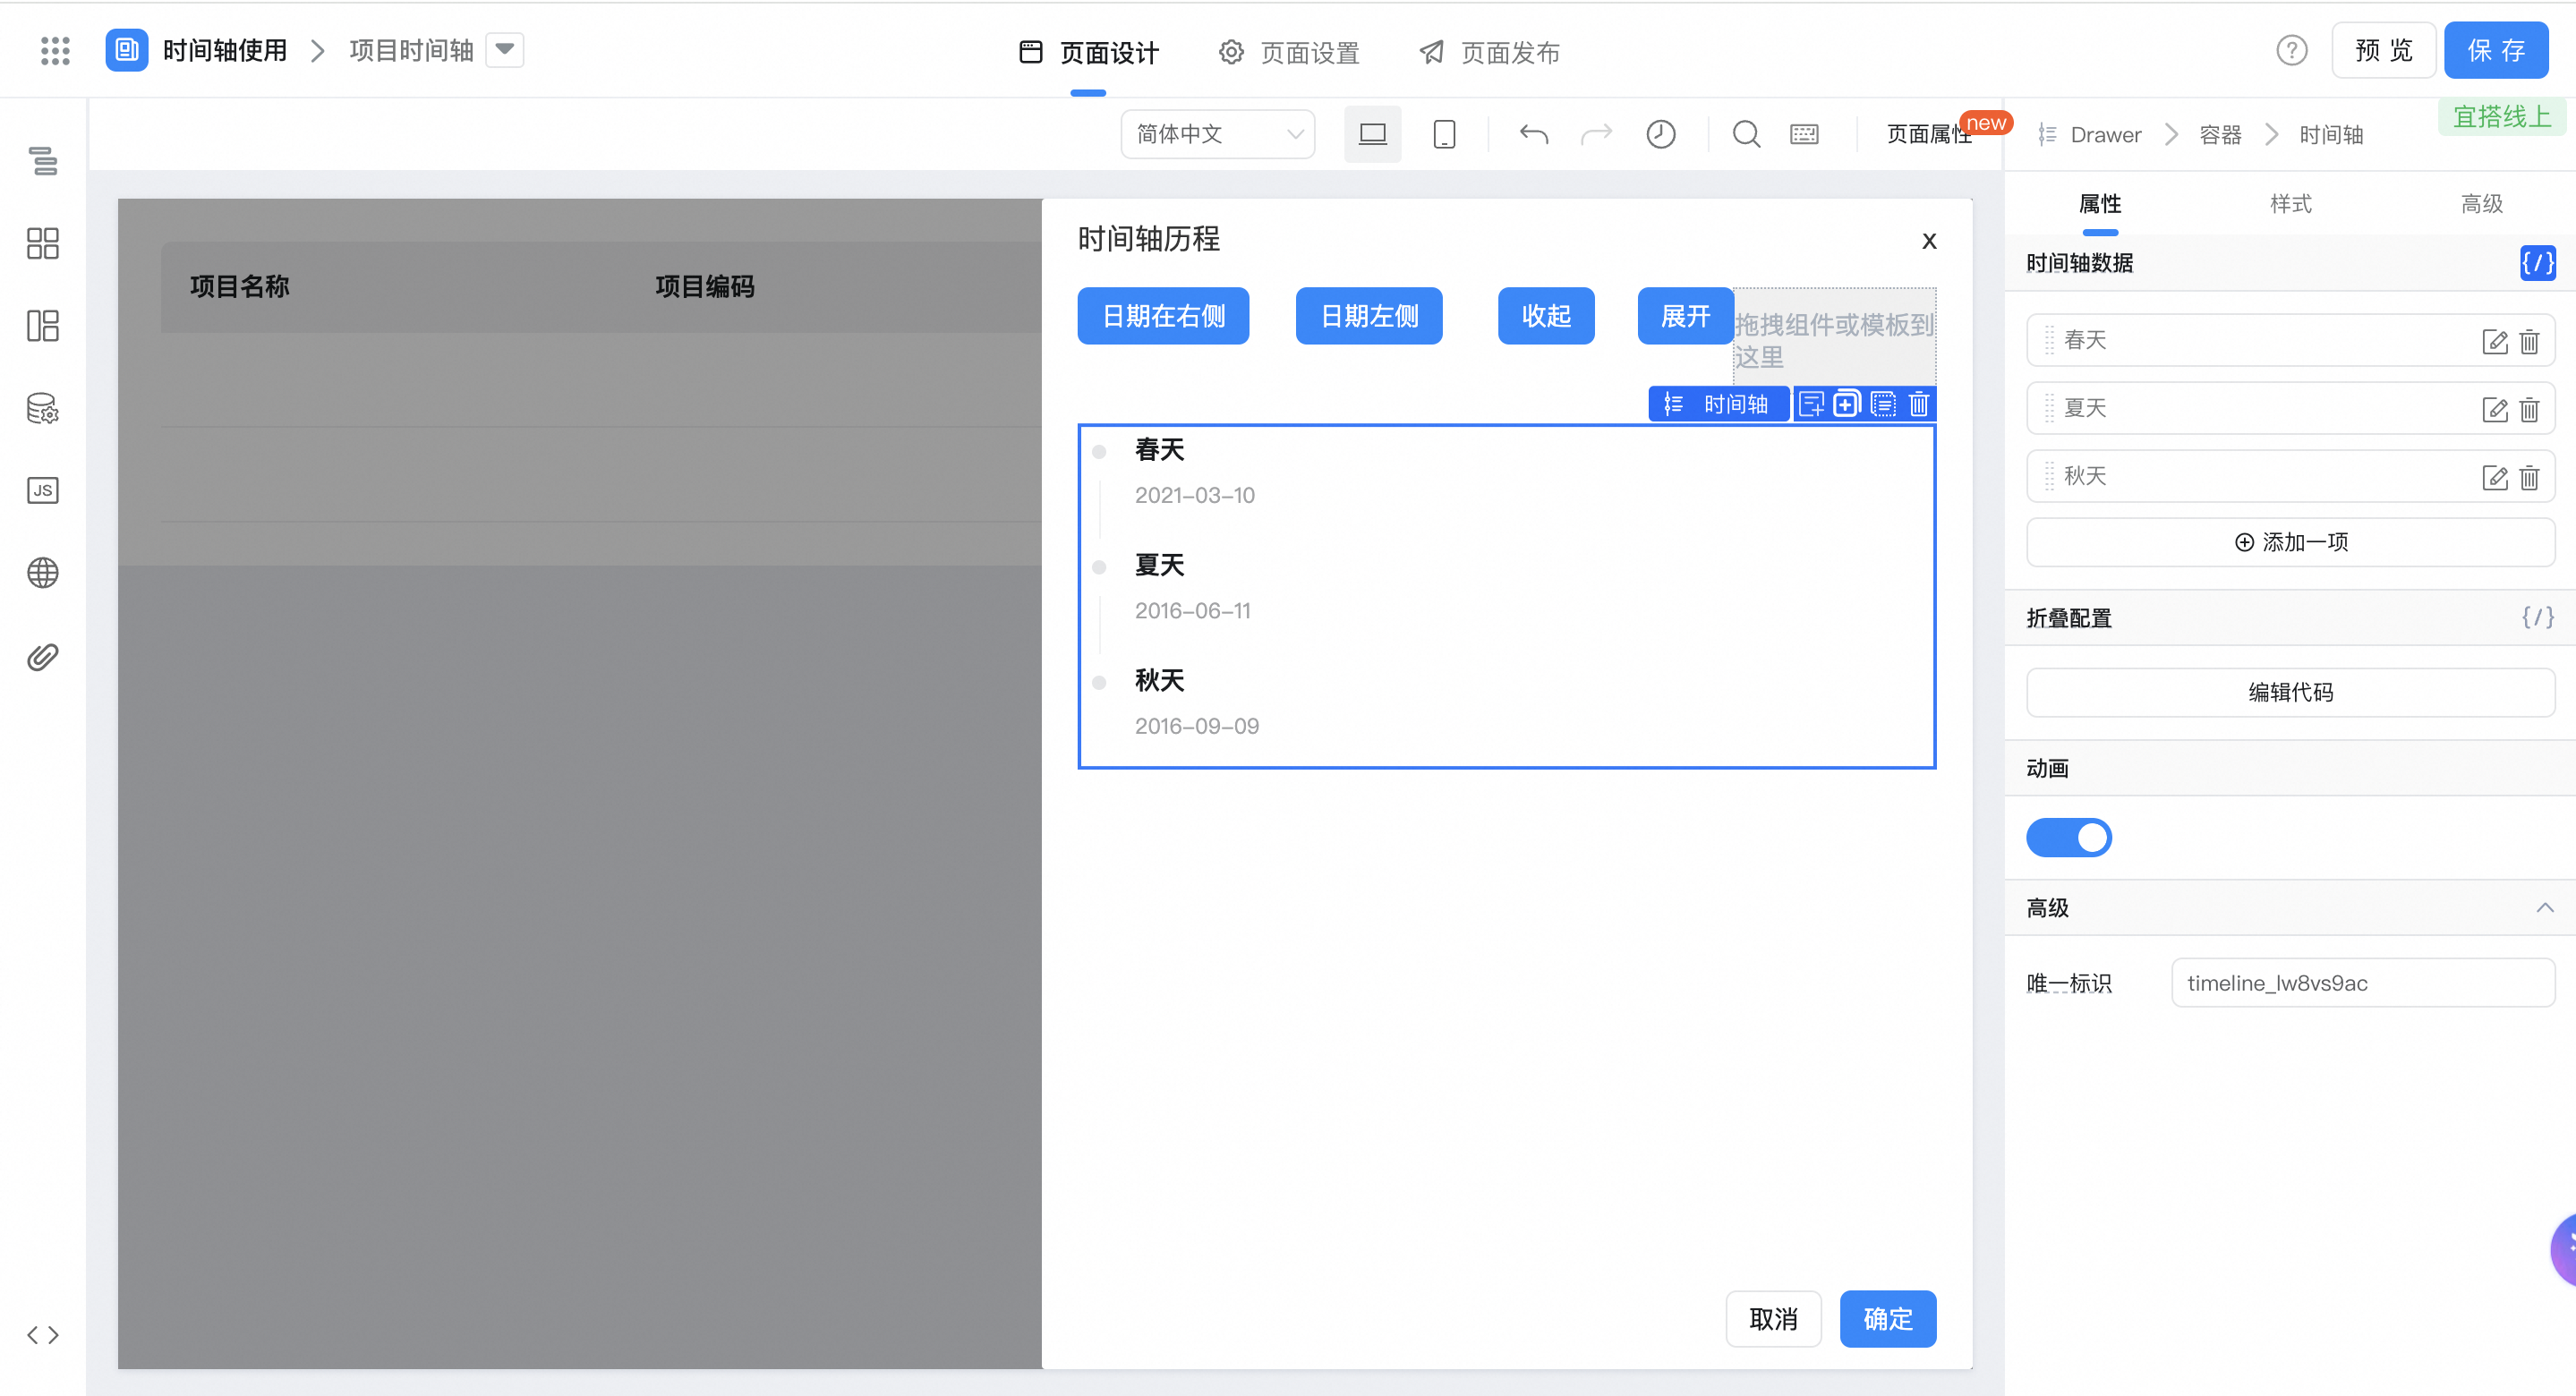
2.3. Configure page functions
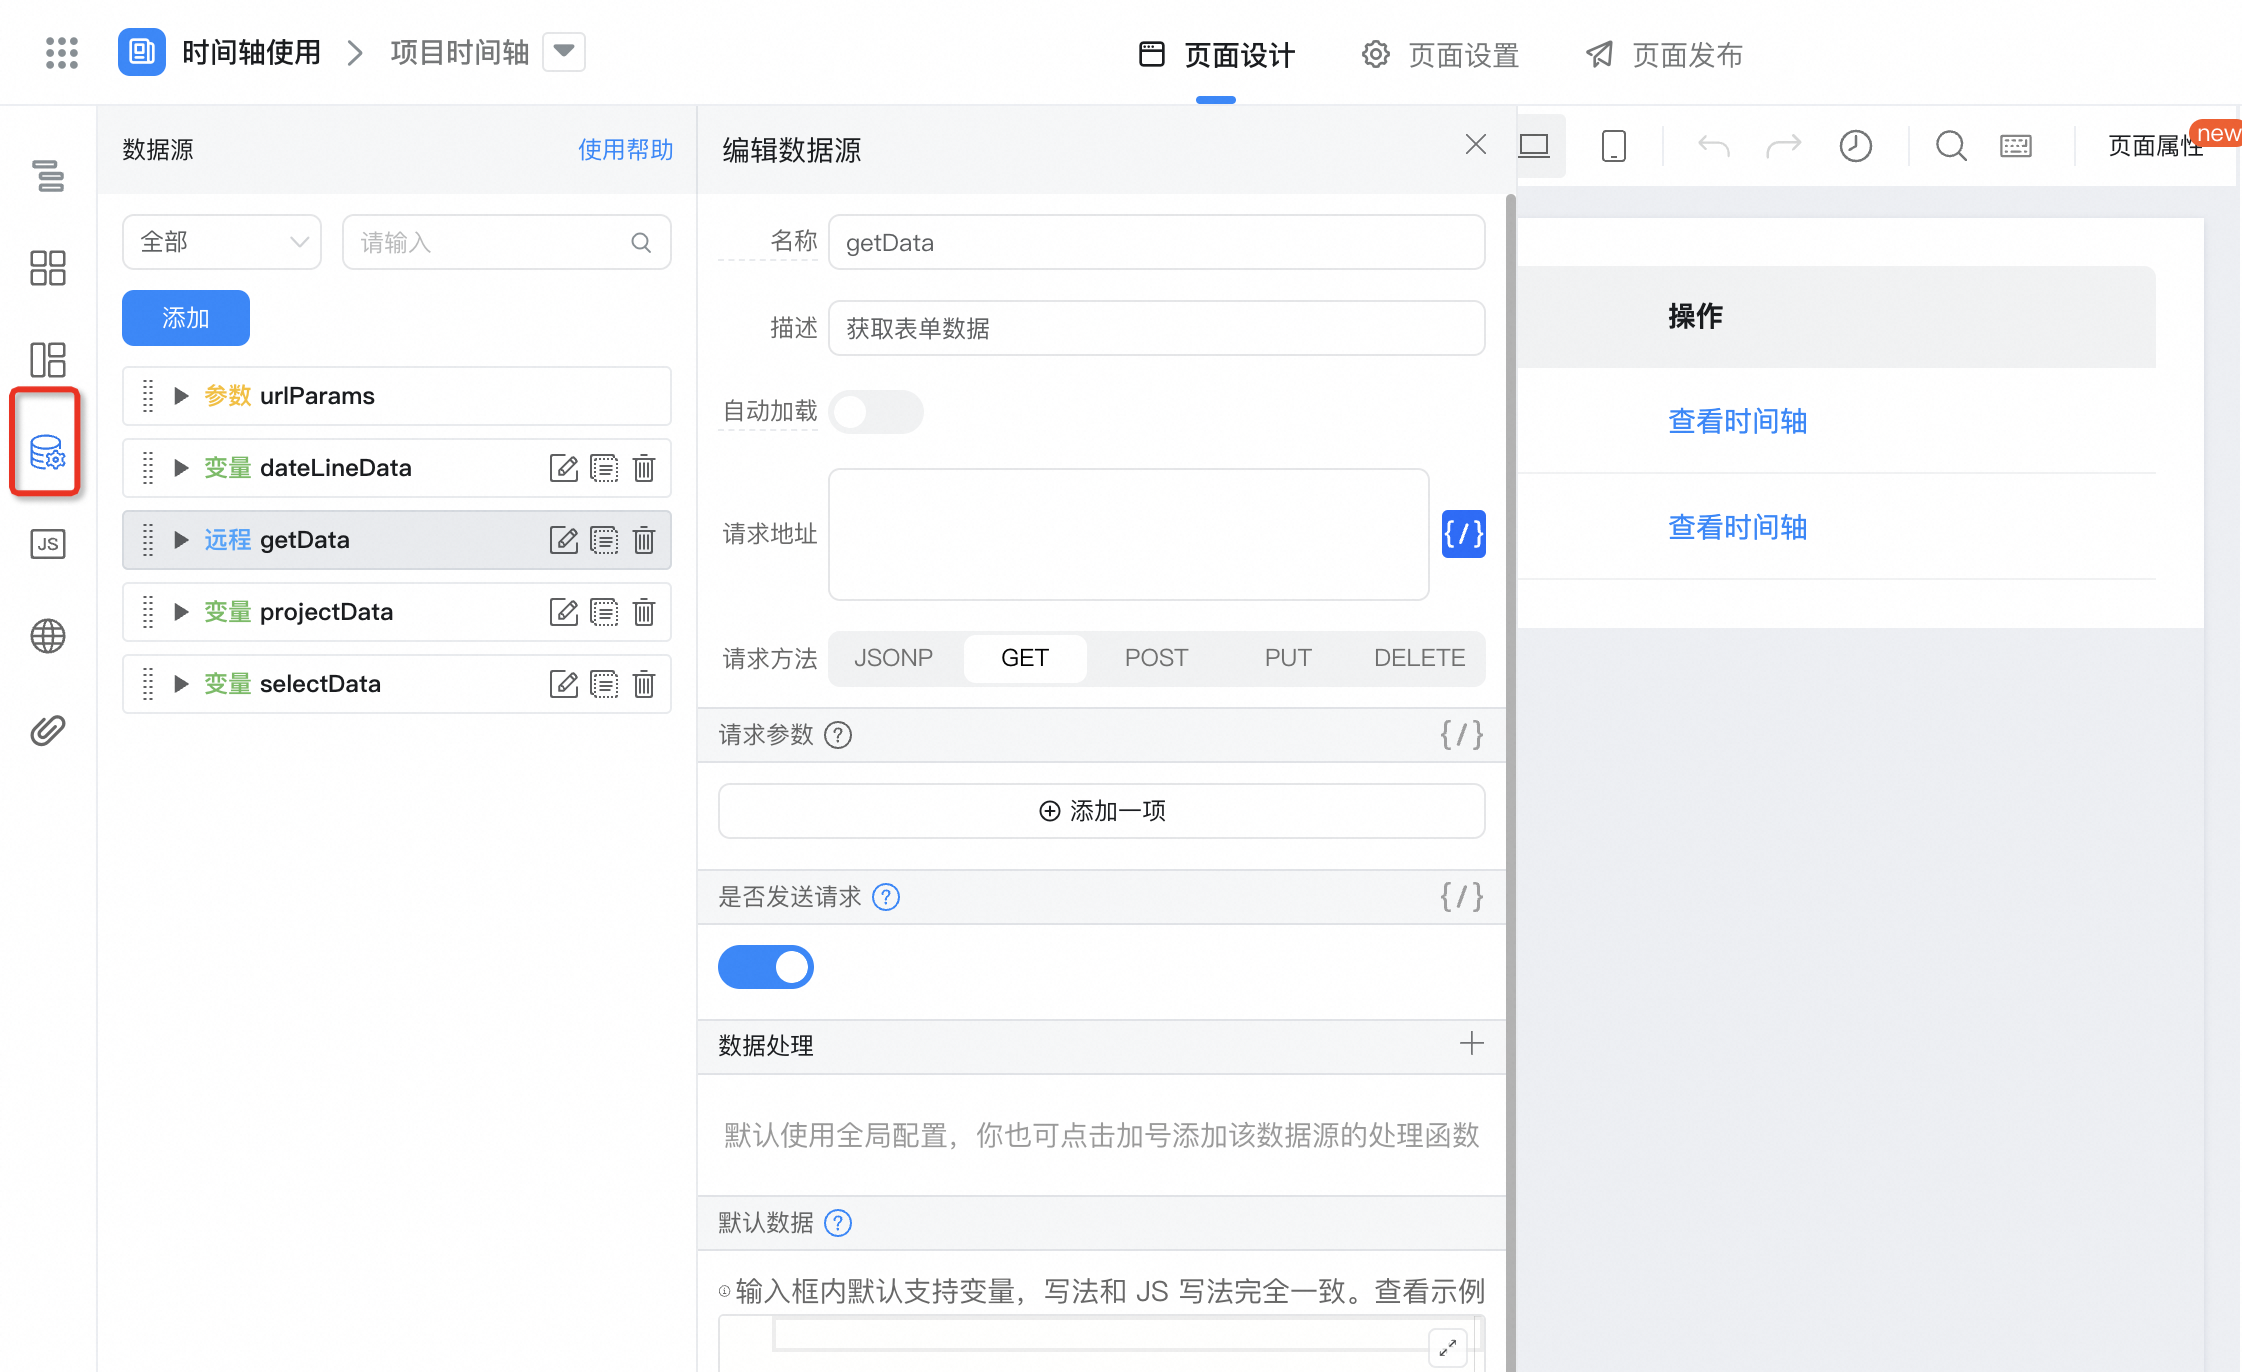
(1) configure data sources and variables used
Reference documents:Search form instance details by criteria
The interface configuration is shown in the following figure.
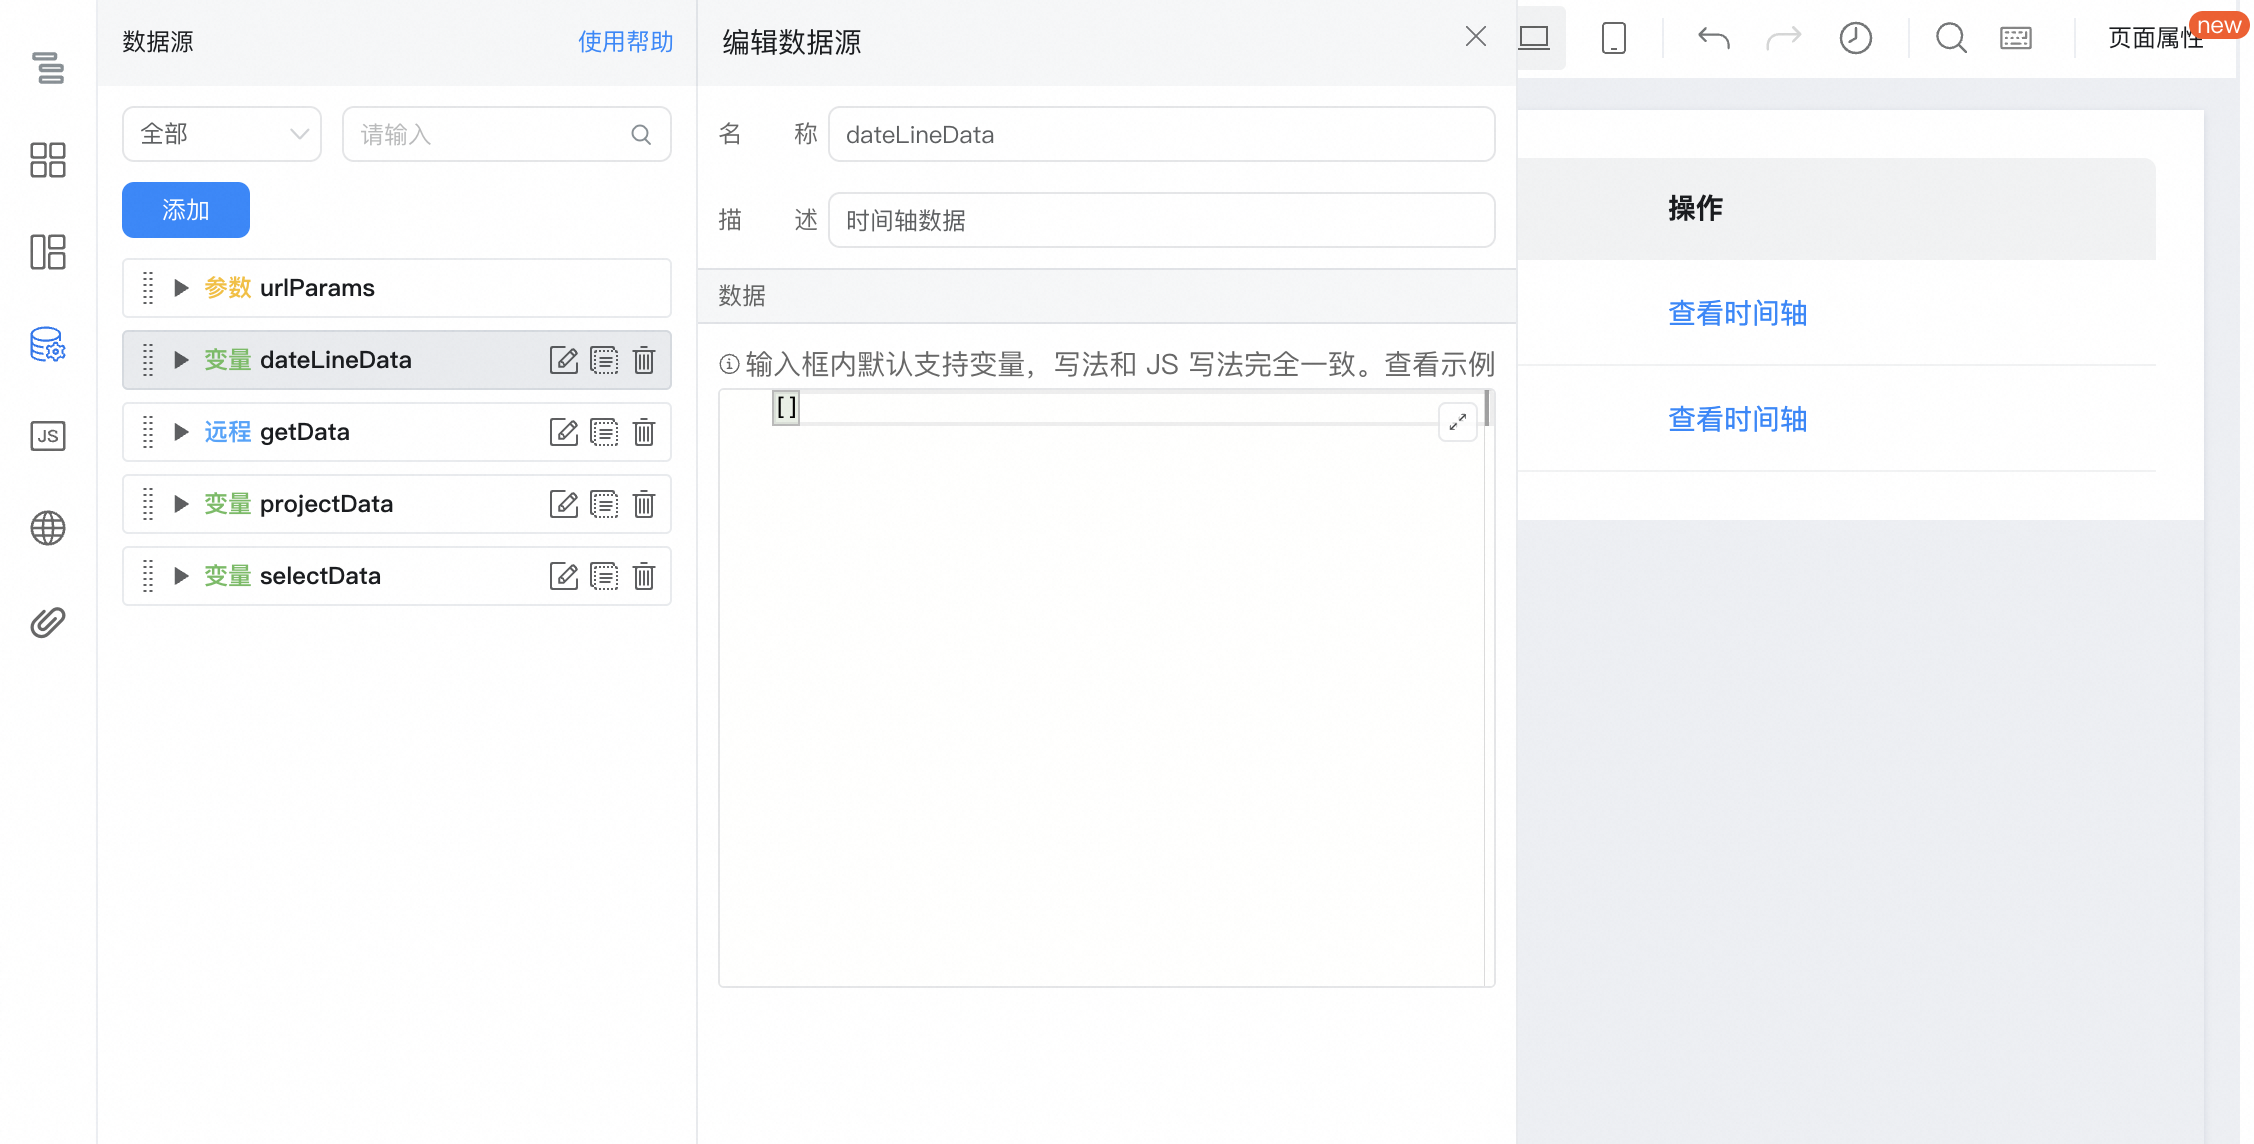
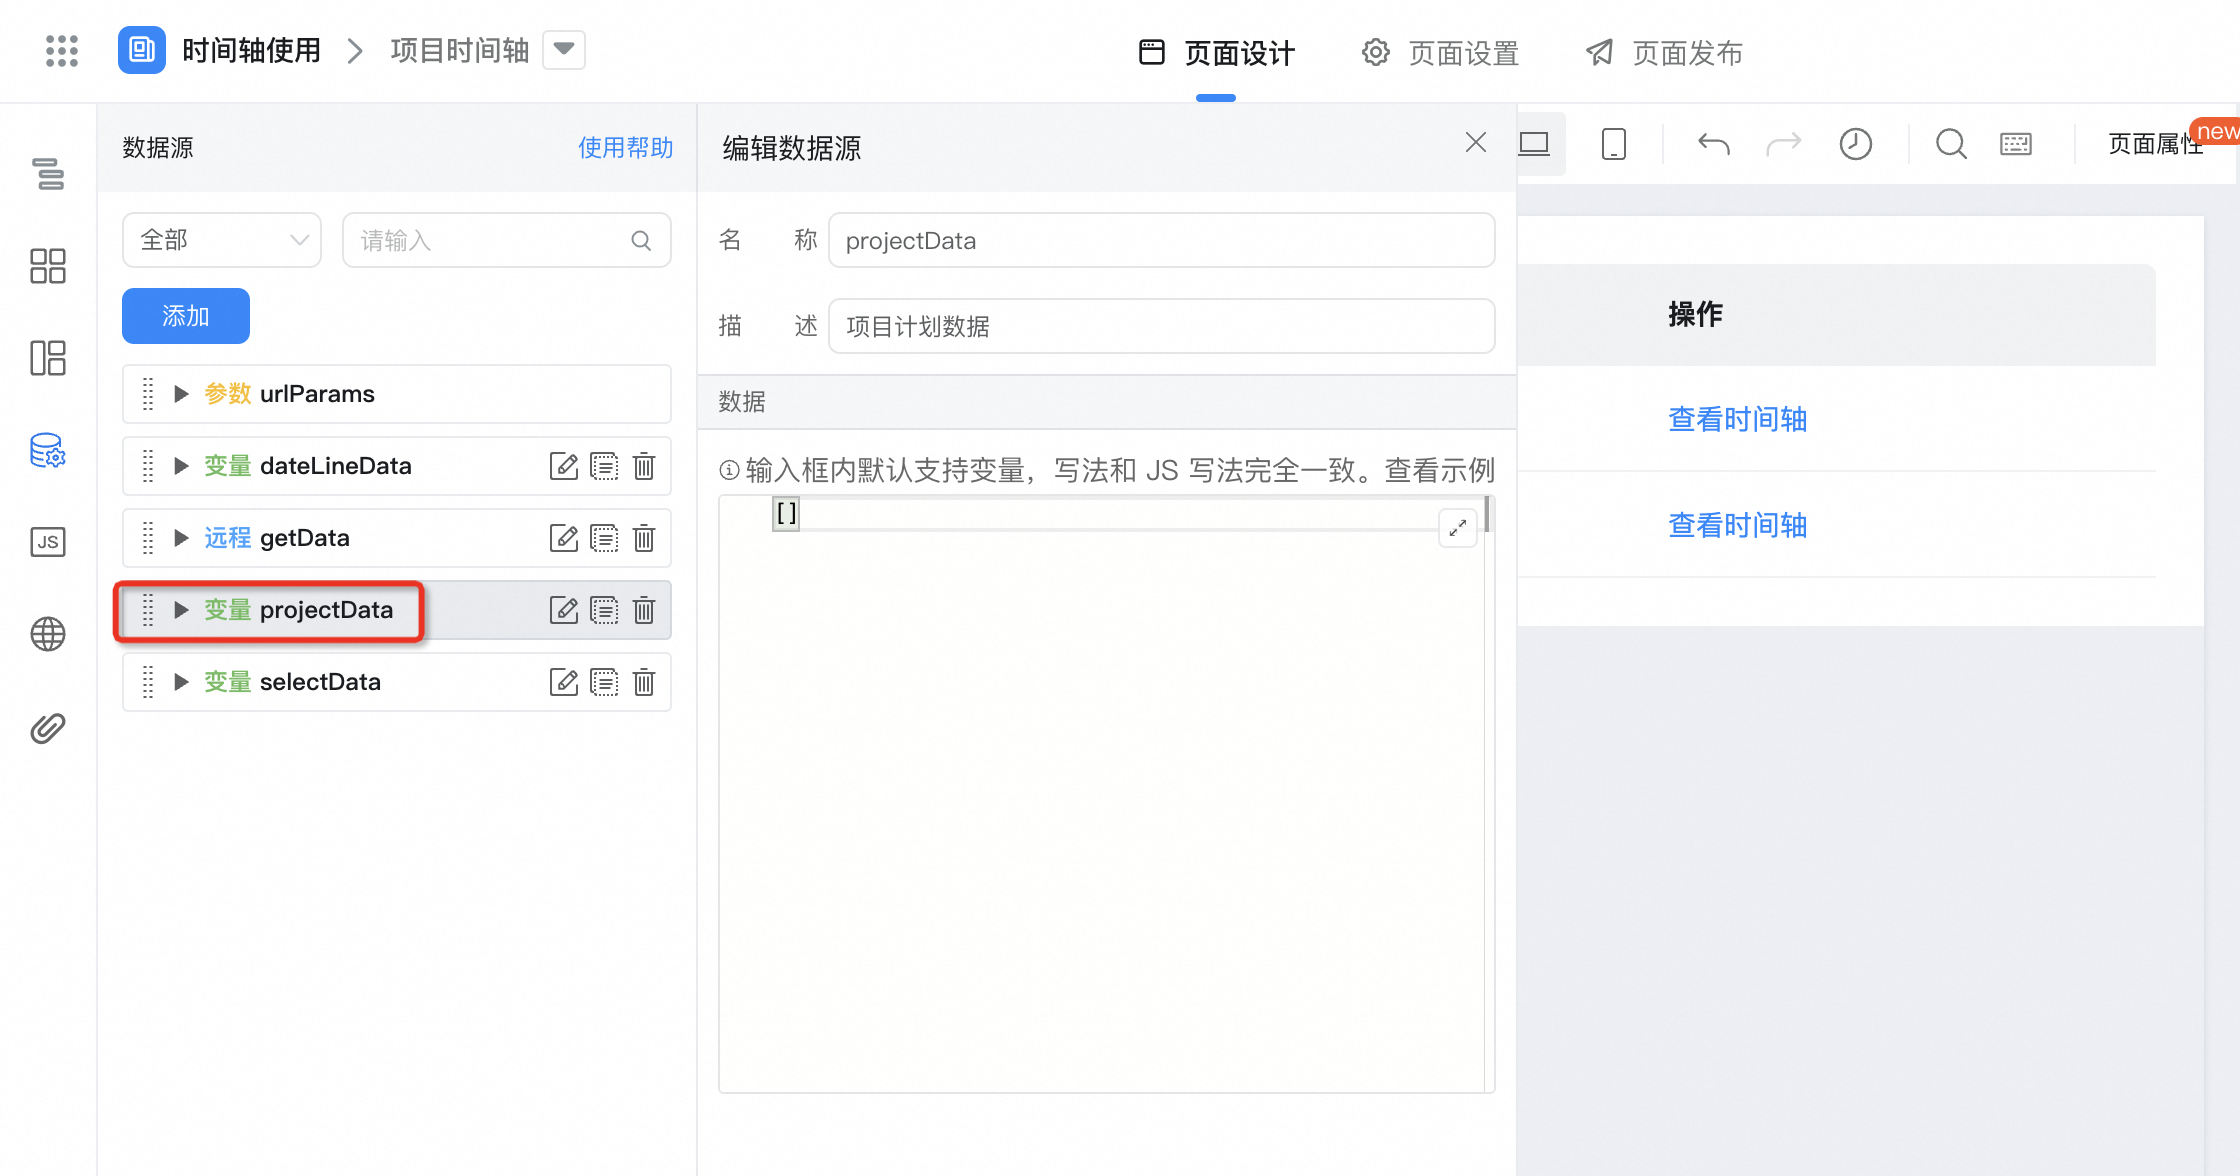
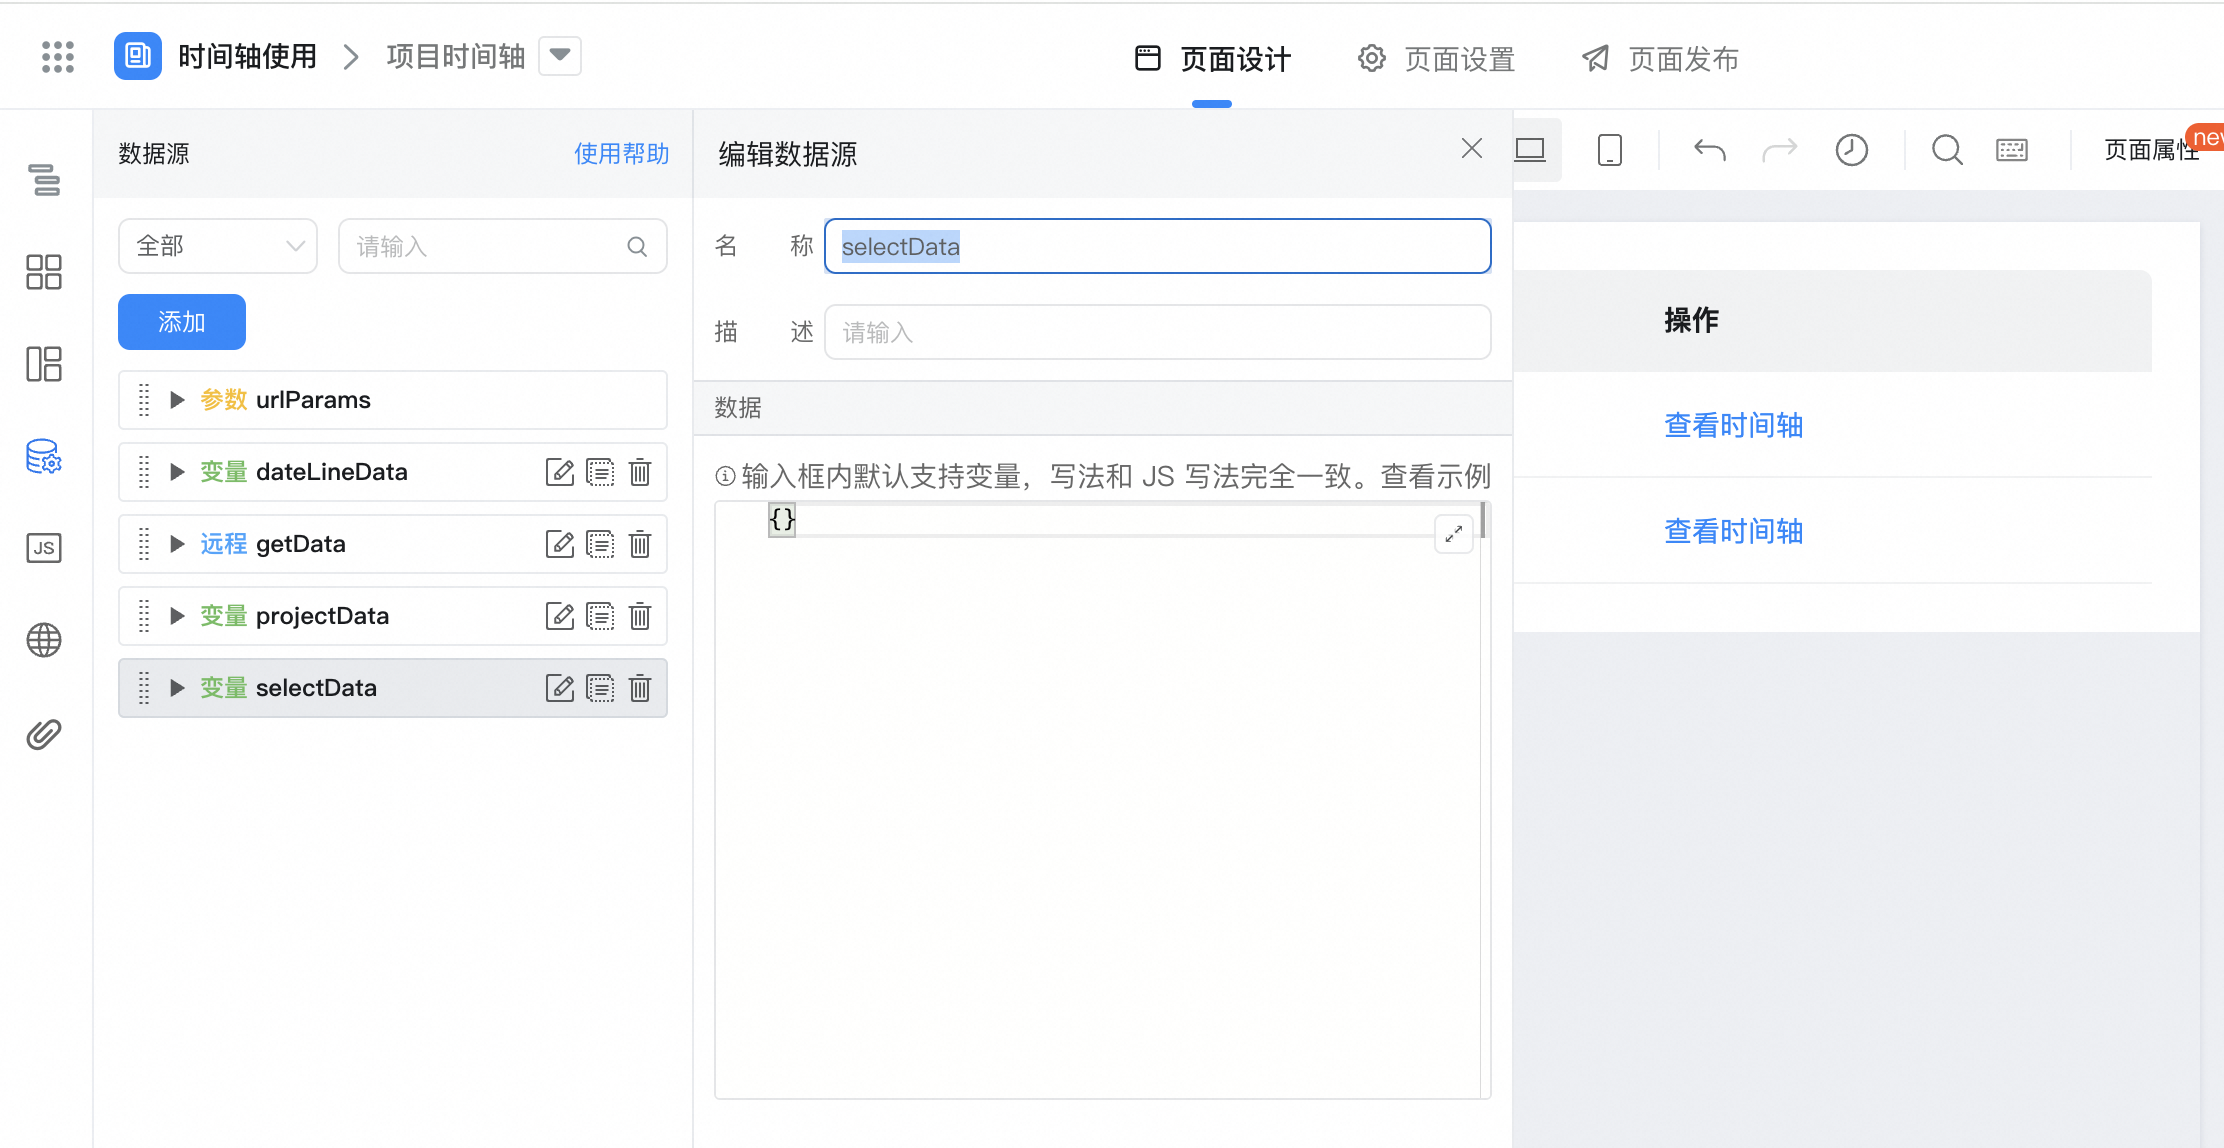
(2) the obtained data is displayed in the table.
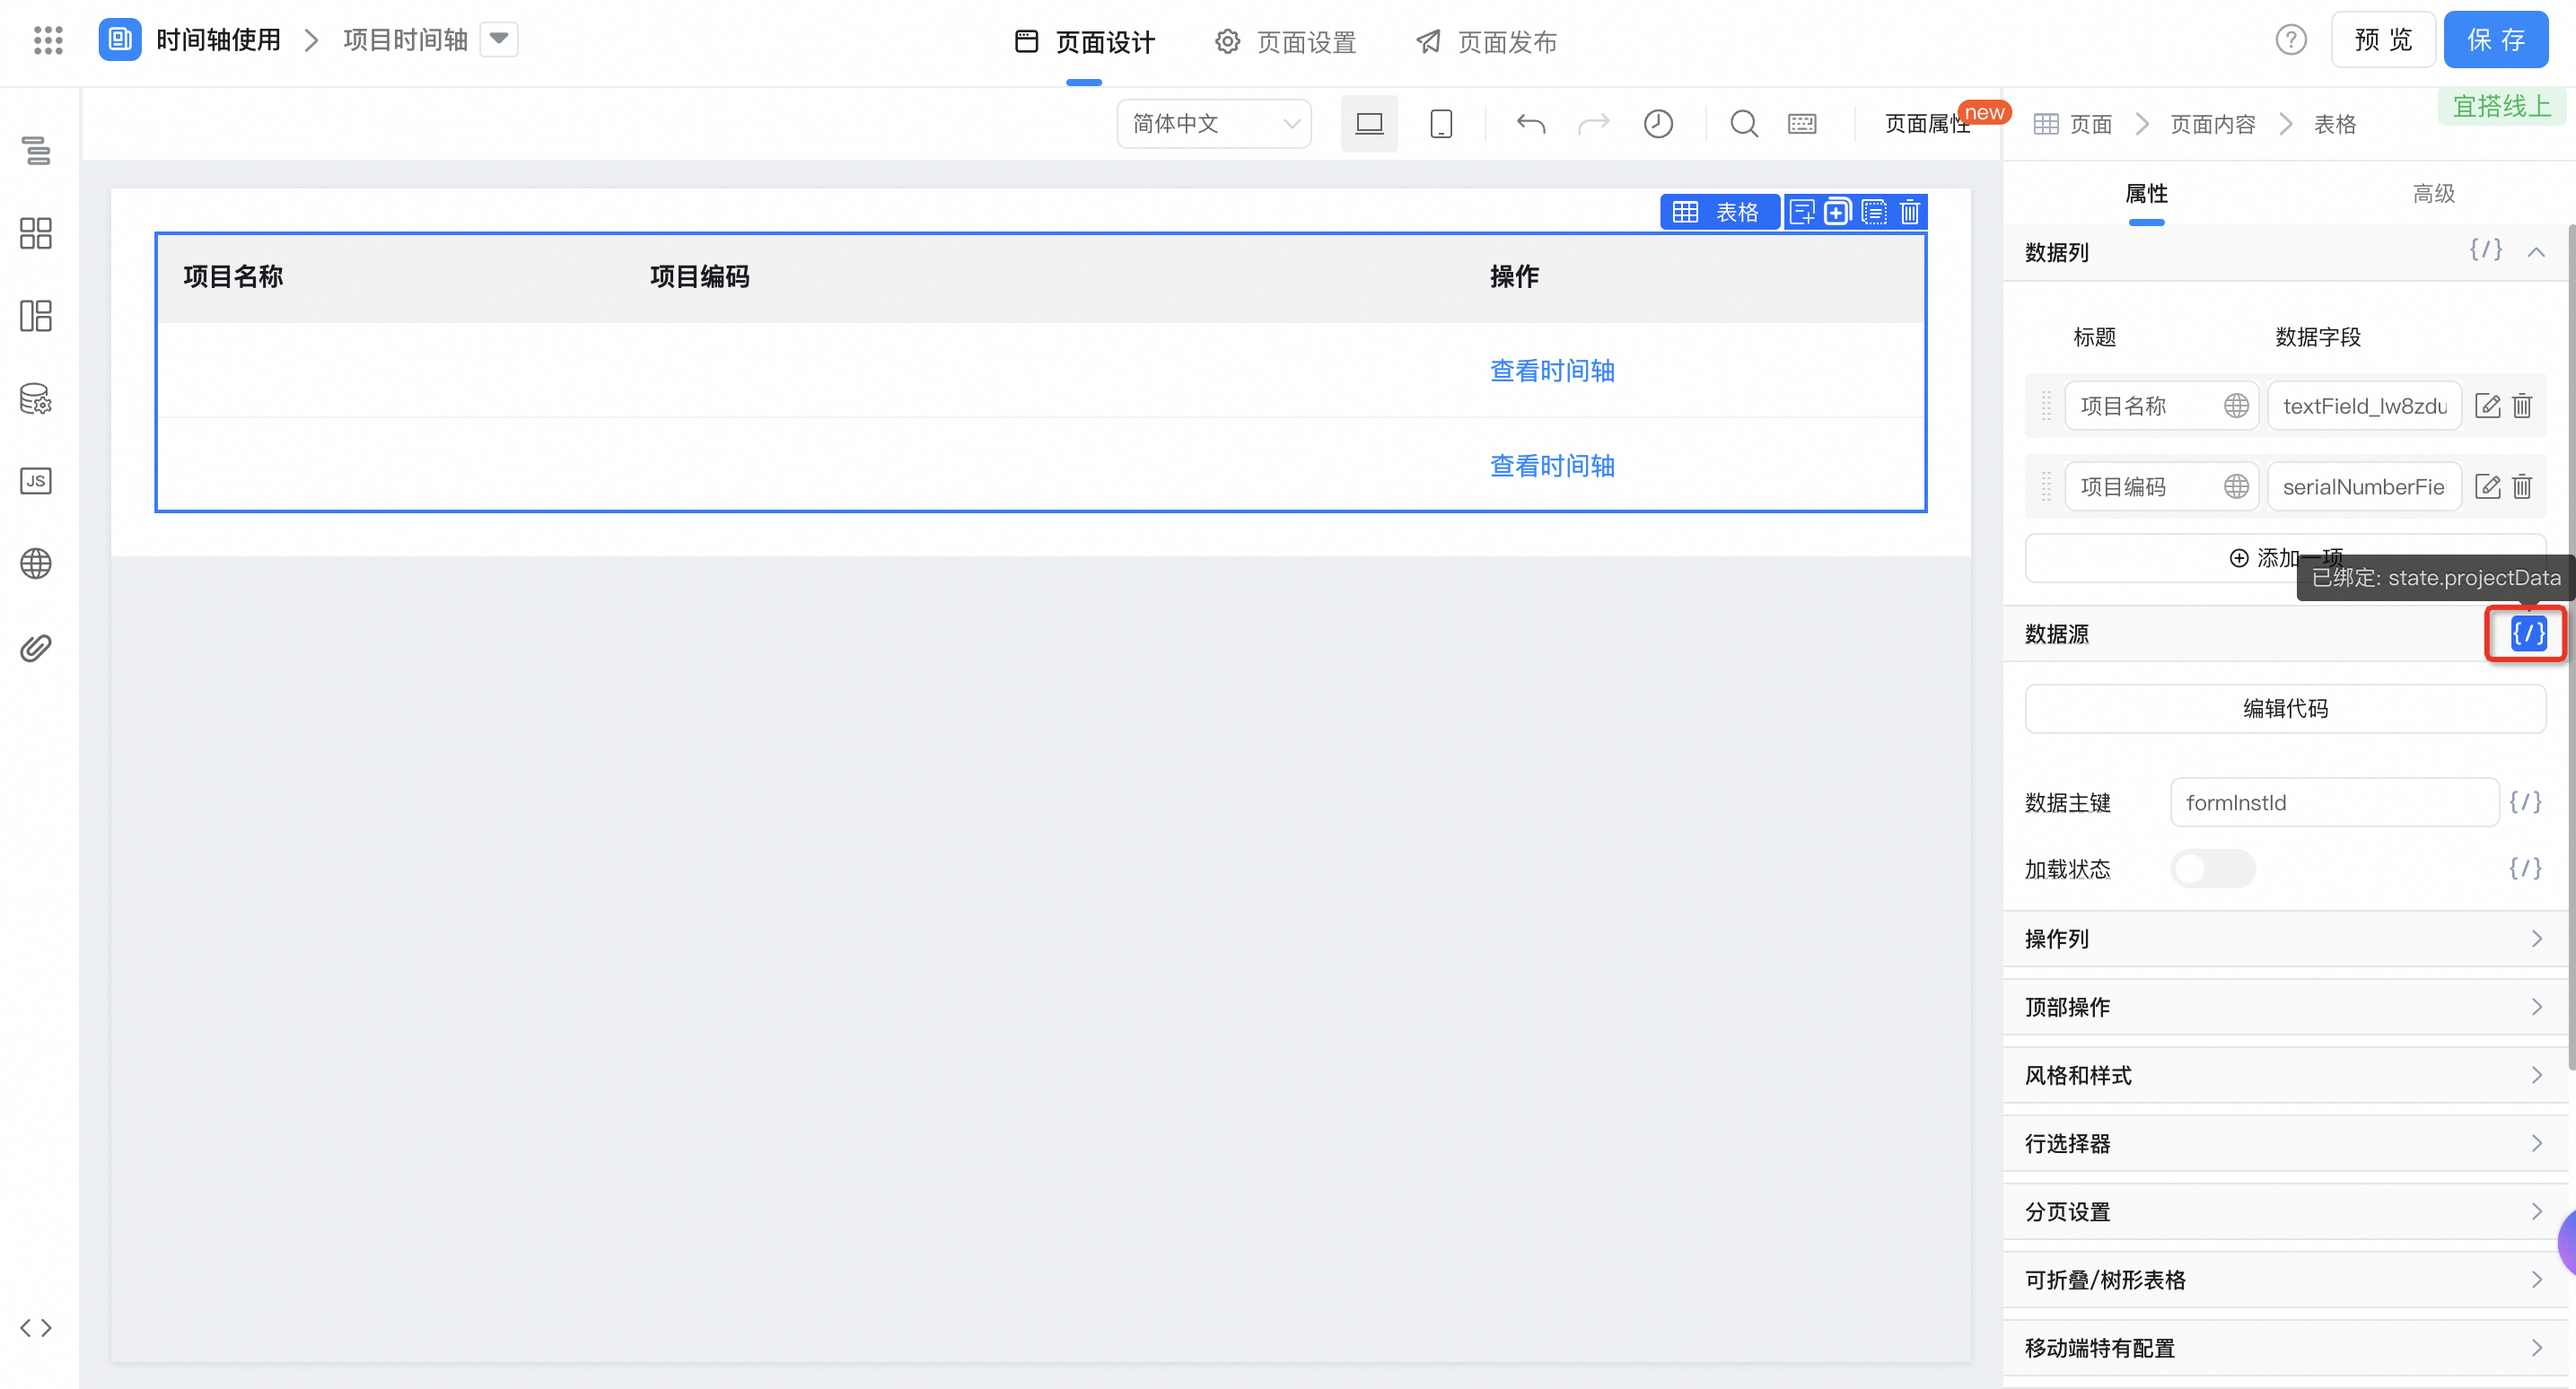
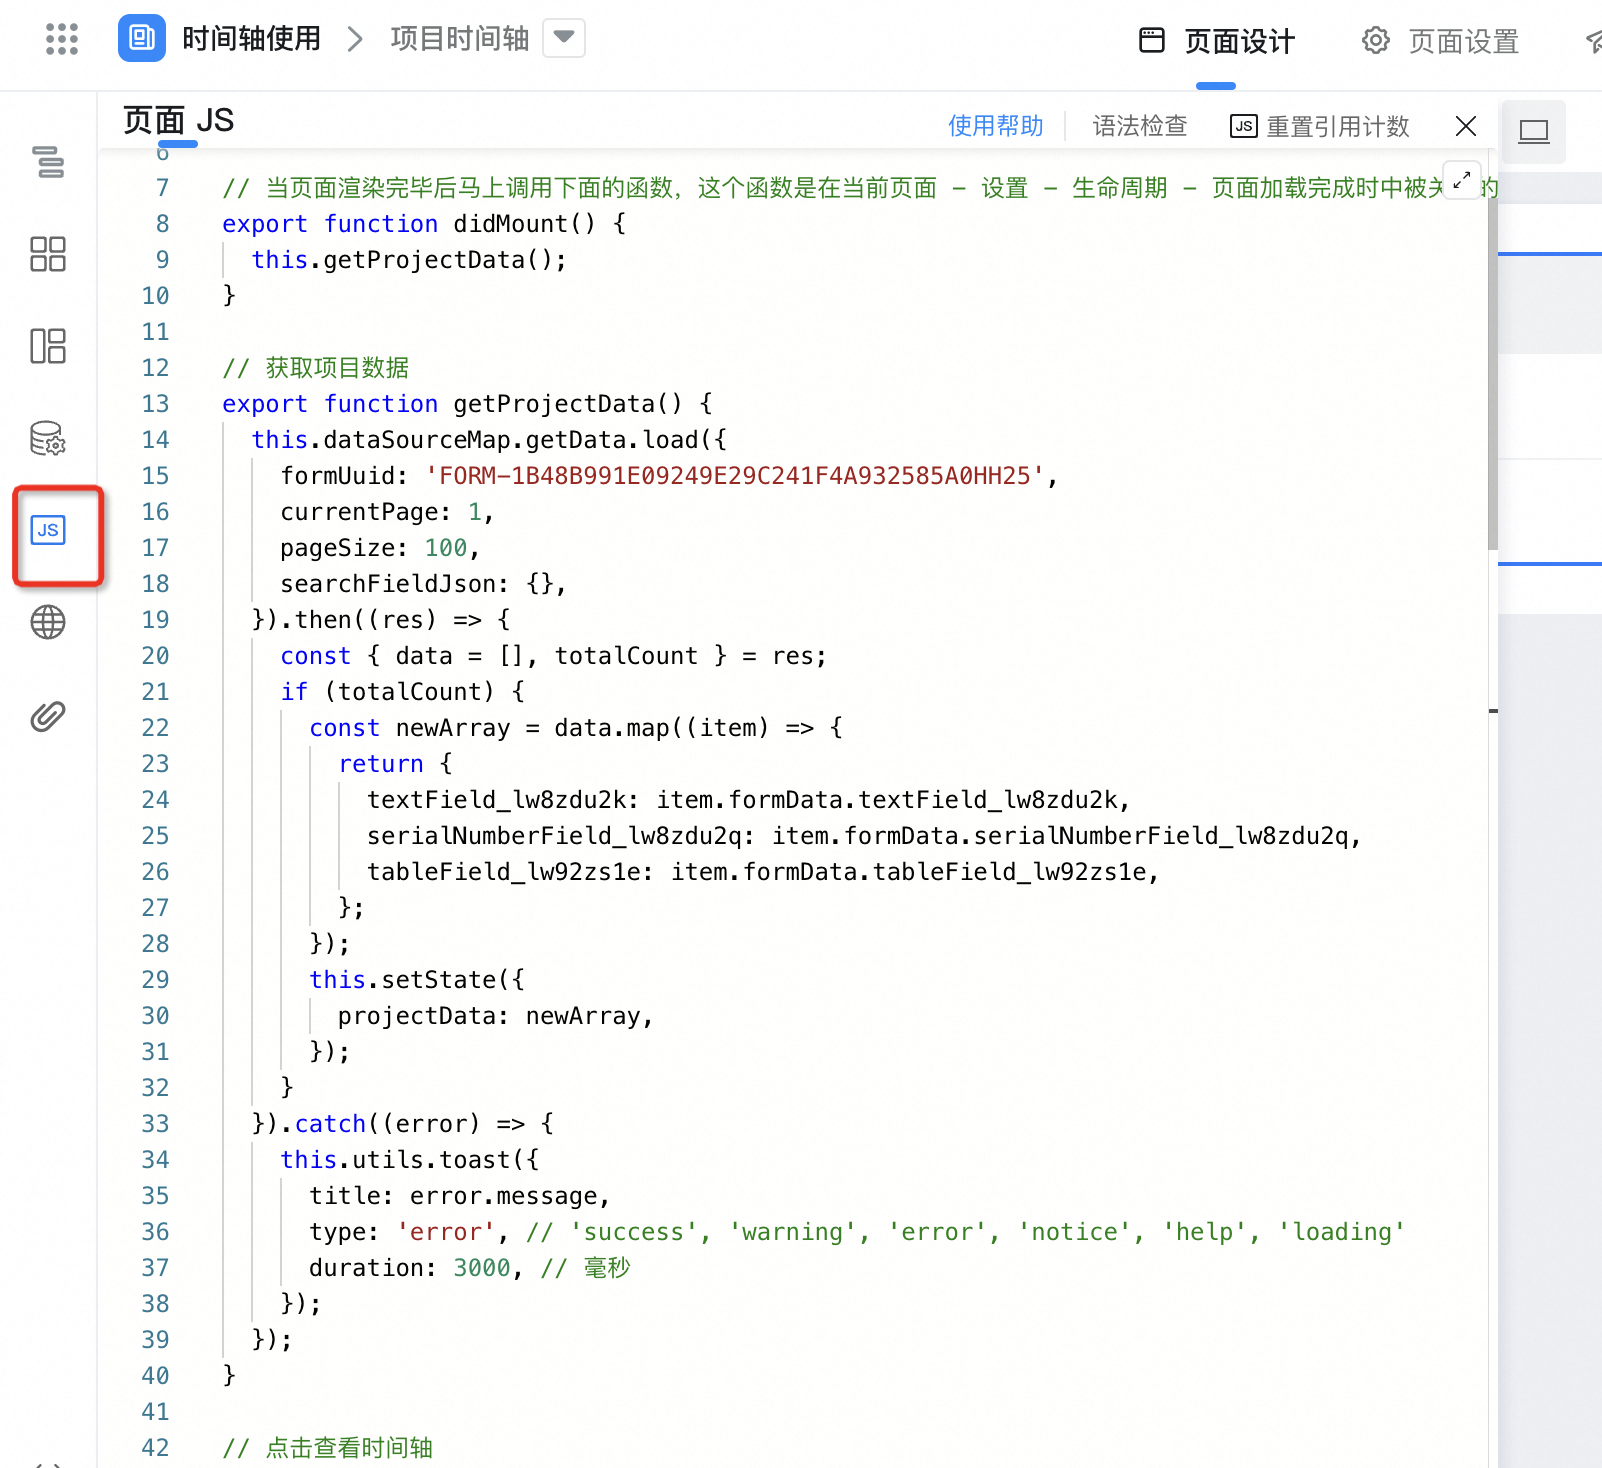
Change the value of formUuid.
export function getProjectData() {
  this.dataSourceMap.getData.load({
    formUuid: 'FORM-XXXXXXXXXXXXXXXXXX', // 您的表单formUuid
    currentPage: 1,
    pageSize: 100,
    searchFieldJson: {},
  }).then((res) => {
    const { data = [], totalCount } = res;
    if (totalCount) {
      const newArray = data.map((item) => {
        return {
          textField_lw8zdu2k: item.formData.textField_lw8zdu2k,
          serialNumberField_lw8zdu2q: item.formData.serialNumberField_lw8zdu2q,
          tableField_lw92zs1e: item.formData.tableField_lw92zs1e,
        };
      });
      this.setState({
        projectData: newArray,
      });
    }
  }).catch((error) => {
    this.utils.toast({
      title: error.message,
      type: 'error', // 'success', 'warning', 'error', 'notice', 'help', 'loading'
      duration: 3000, // 毫秒
    });
  });
}
(3) configure timeline
(3.1) processing timeline data
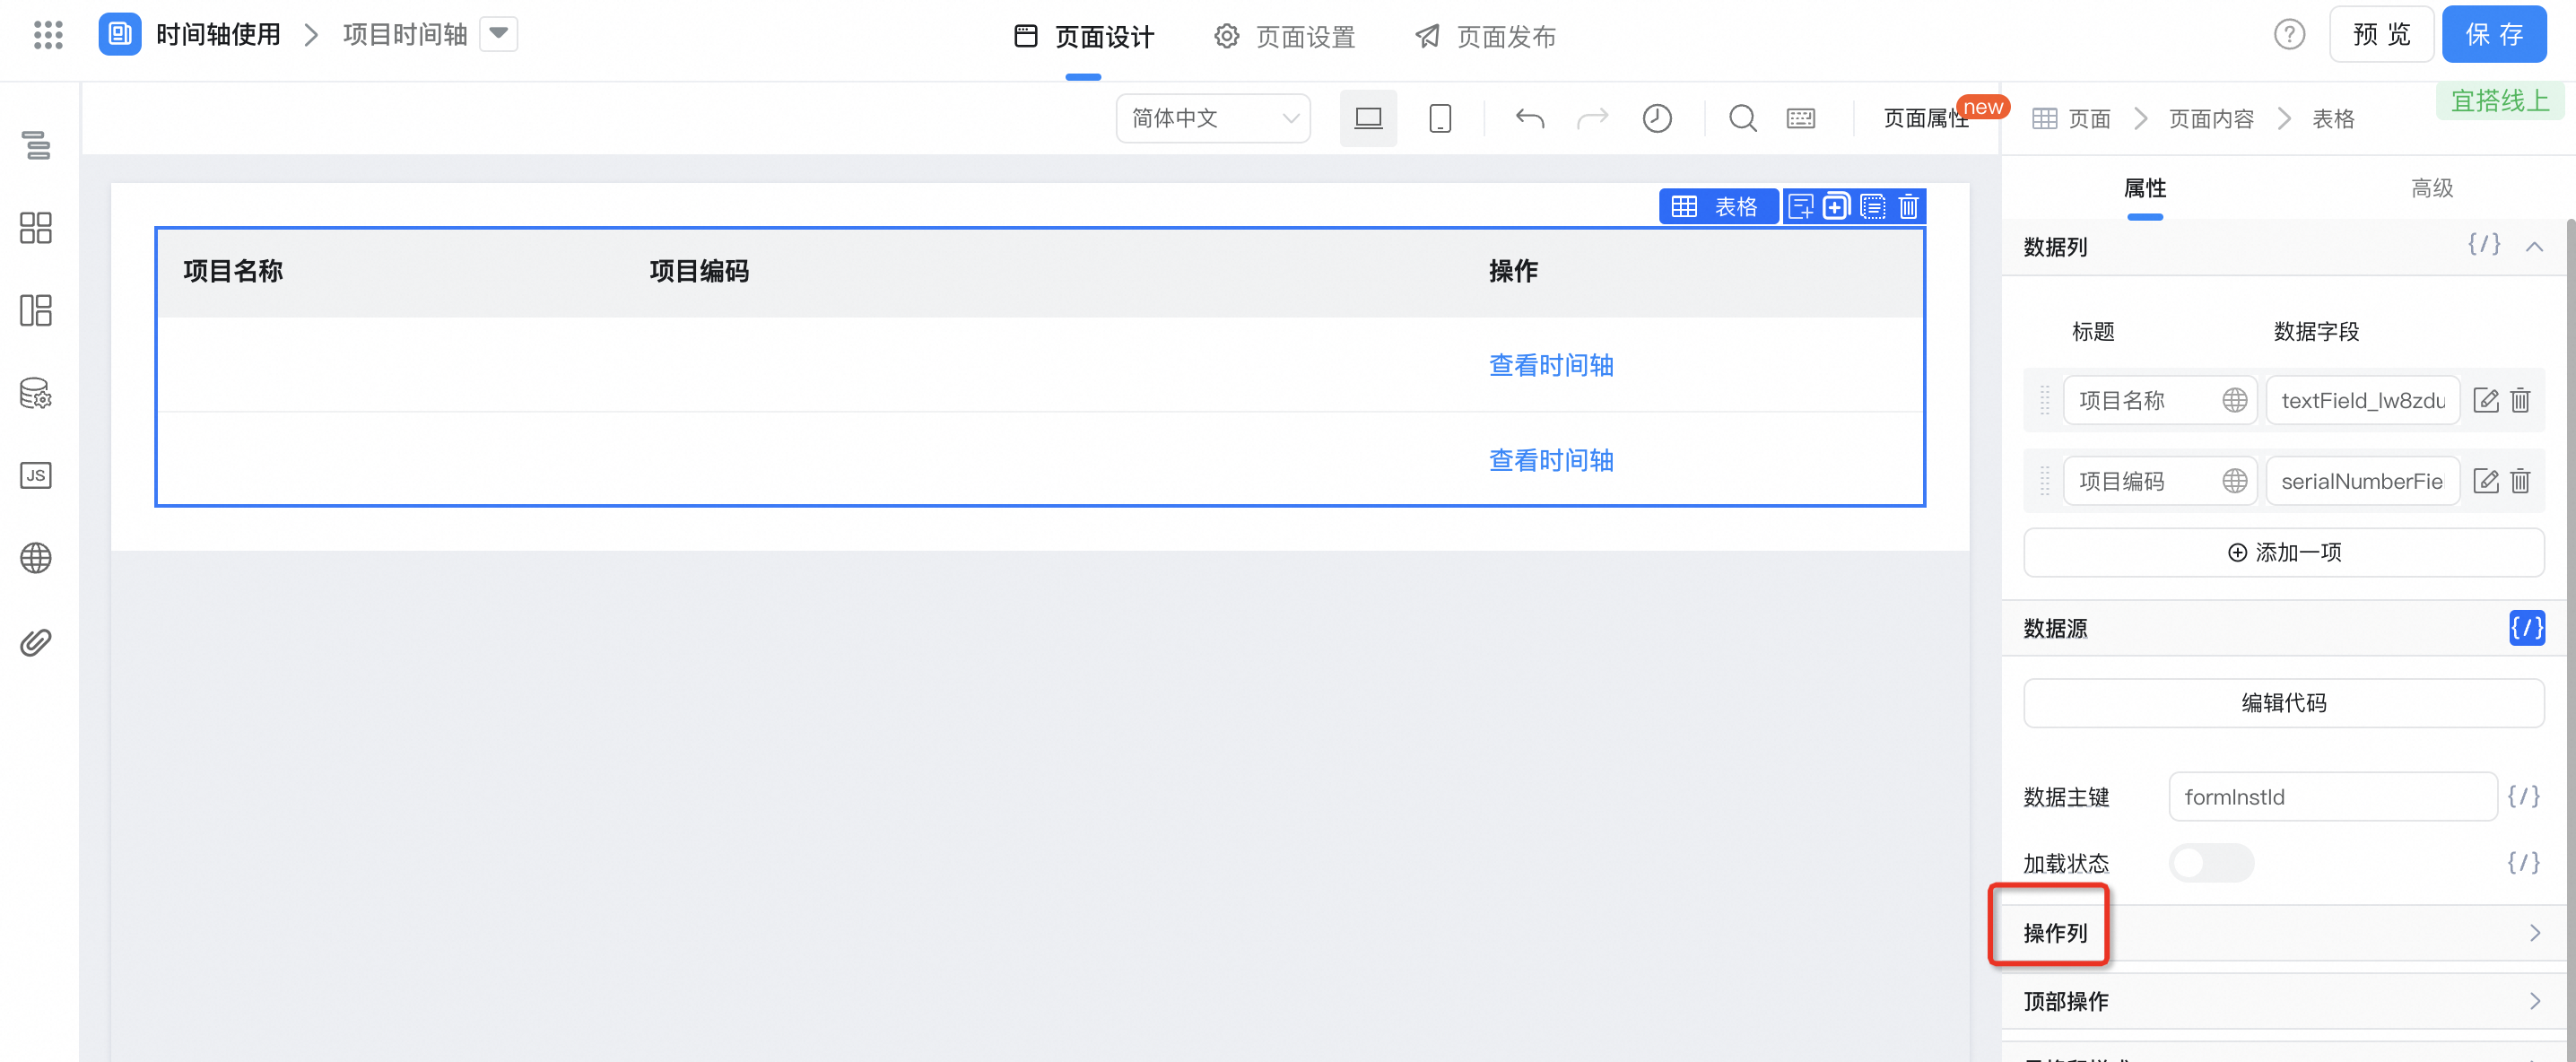
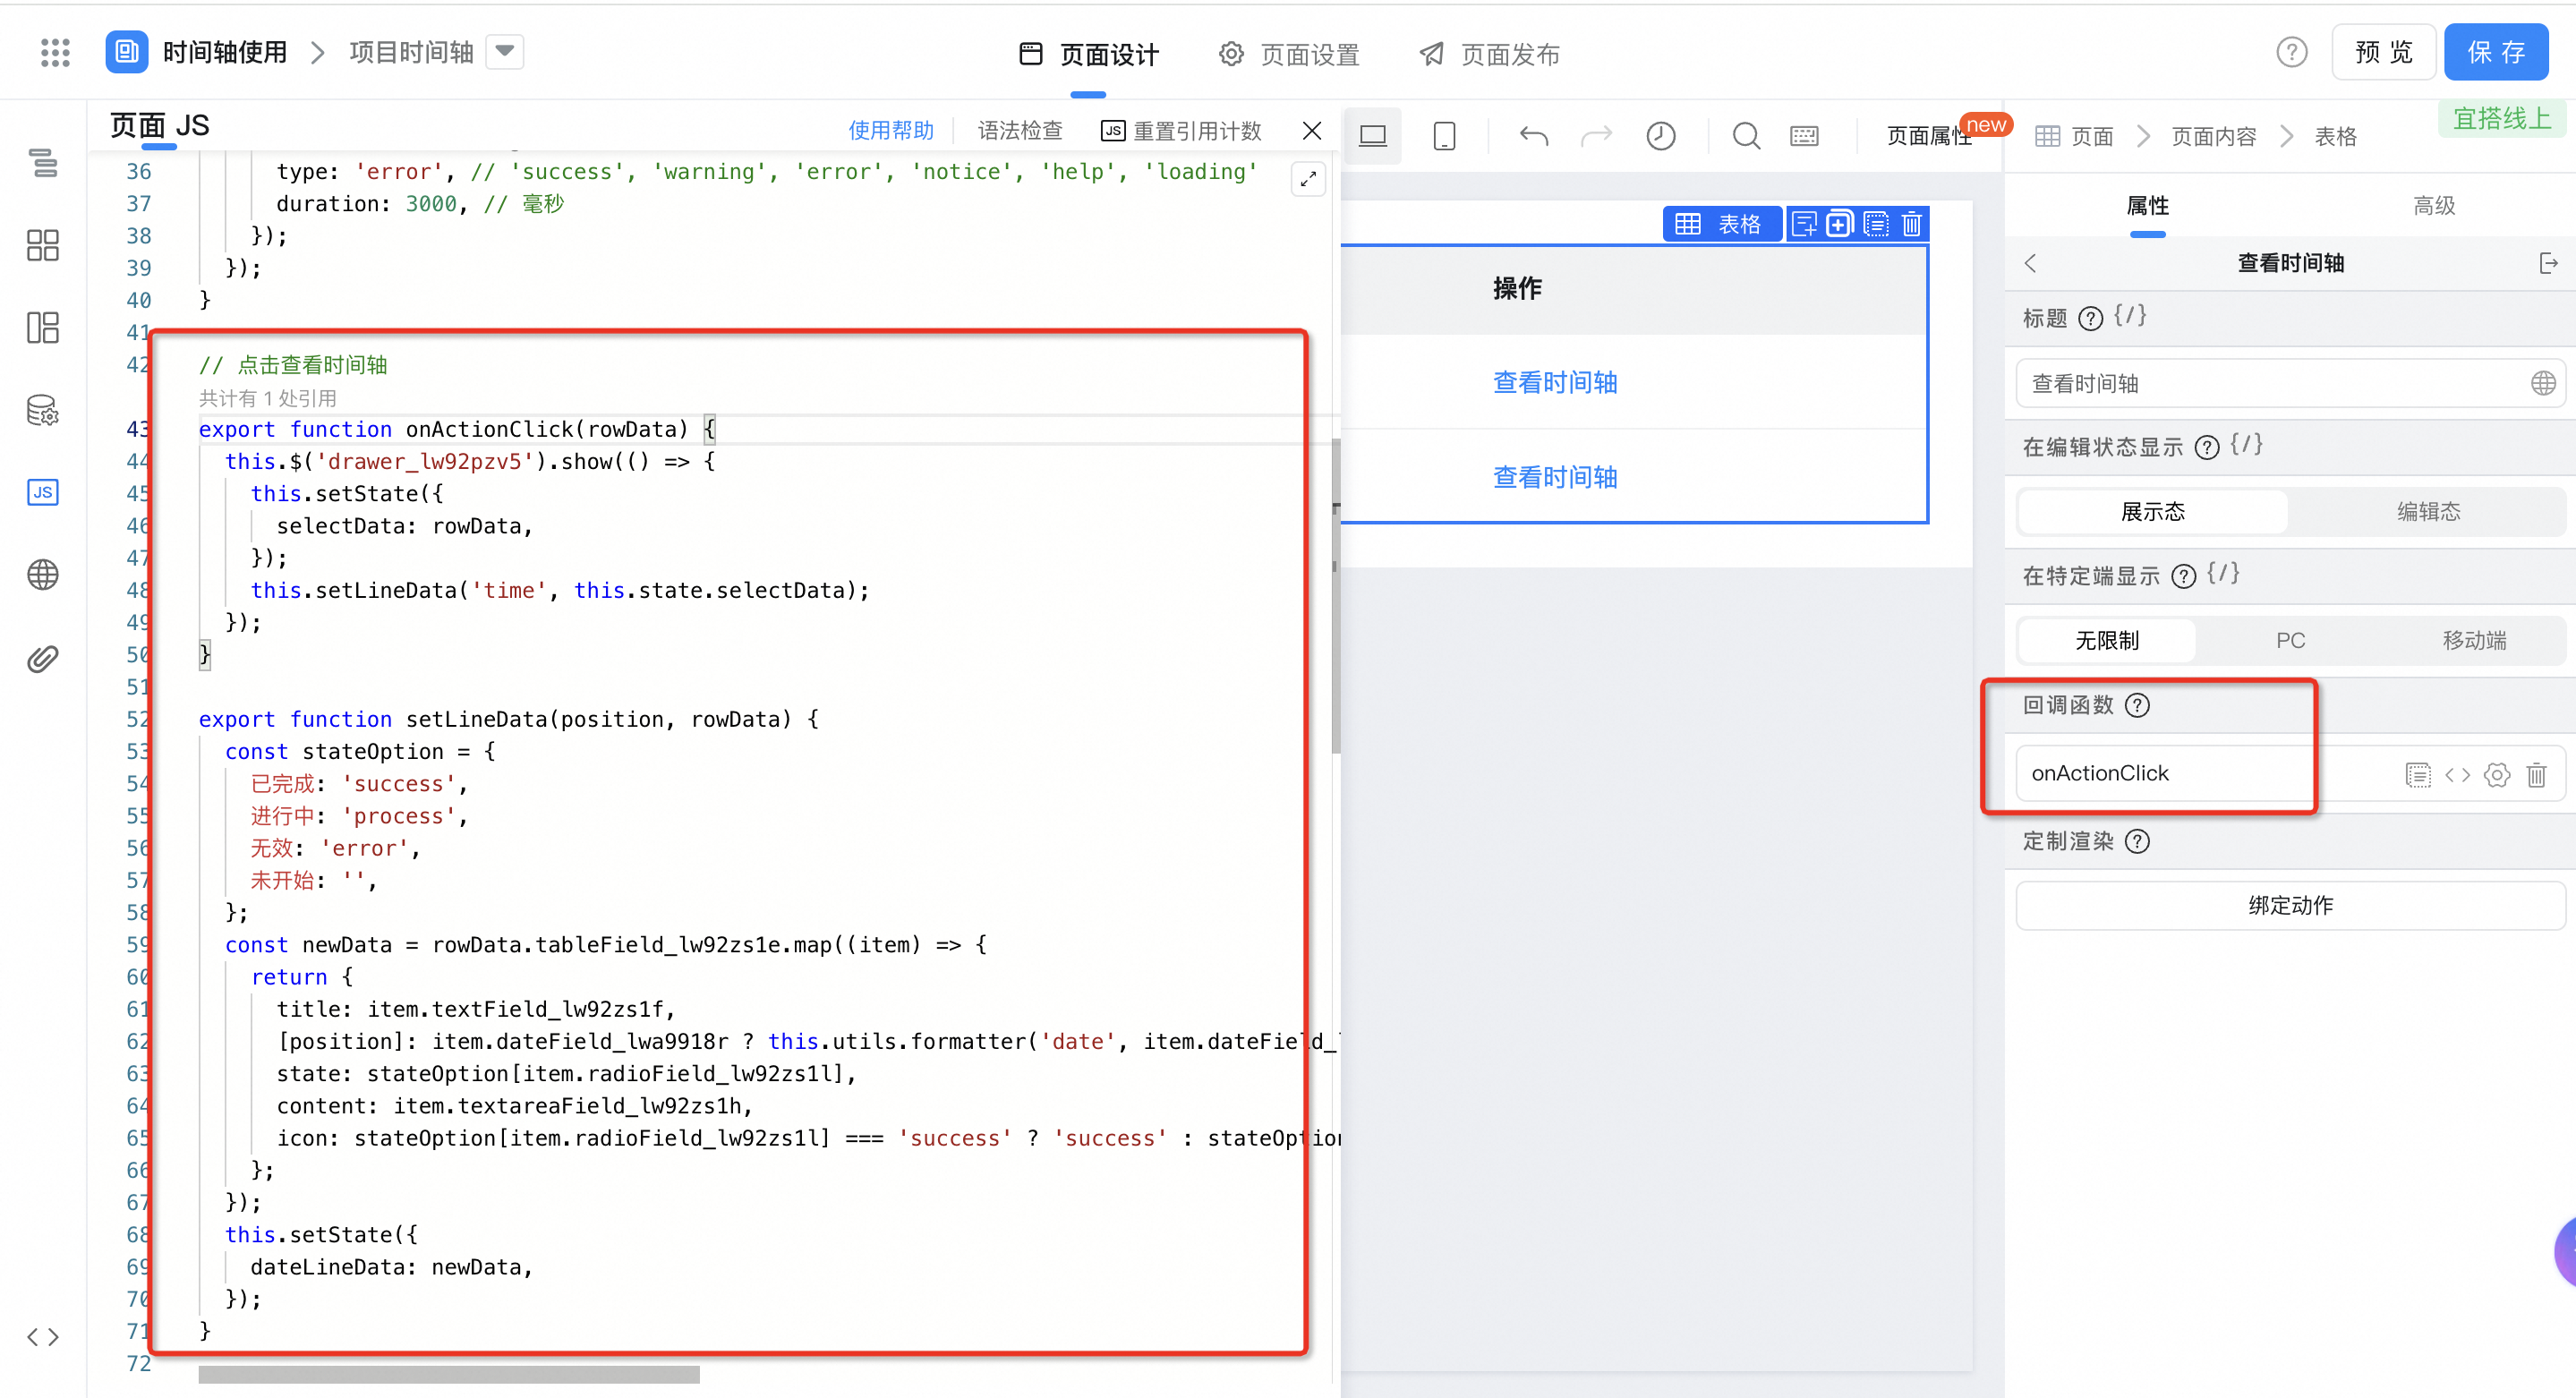
export function onActionClick(rowData) {
  this.$('drawer_lw92pzv5').show(() => {
    this.setState({
      selectData: rowData,
    });
    this.setLineData('time', this.state.selectData);
  });
}

// 处理时间轴数据
export function setLineData(position, rowData) {
  // 映射时间轴状态
  const stateOption = {
    已完成: 'success',
    进行中: 'process',
    无效: 'error',
    未开始: '',
  };
  //时间轴数据格式如下:
  const newData = rowData.tableField_lw92zs1e.map((item) => {
    return {
      title: item.textField_lw92zs1f,
      [position]: item.dateField_lwa9918r ? this.utils.formatter('date', item.dateField_lwa9918r, 'YYYY-MM-DD HH:mm') : this.utils.formatter('date', item.dateField_lw92zs1j, 'YYYY-MM-DD HH:mm'),
      state: stateOption[item.radioField_lw92zs1l],
      content: item.textareaField_lw92zs1h,
      icon: stateOption[item.radioField_lw92zs1l] === 'success' ? 'success' : stateOption[item.radioField_lw92zs1l] == 'error' ? 'error' : '',
    };
  });
  this.setState({
    dateLineData: newData,
  });
}
(3.2) timeline folding control
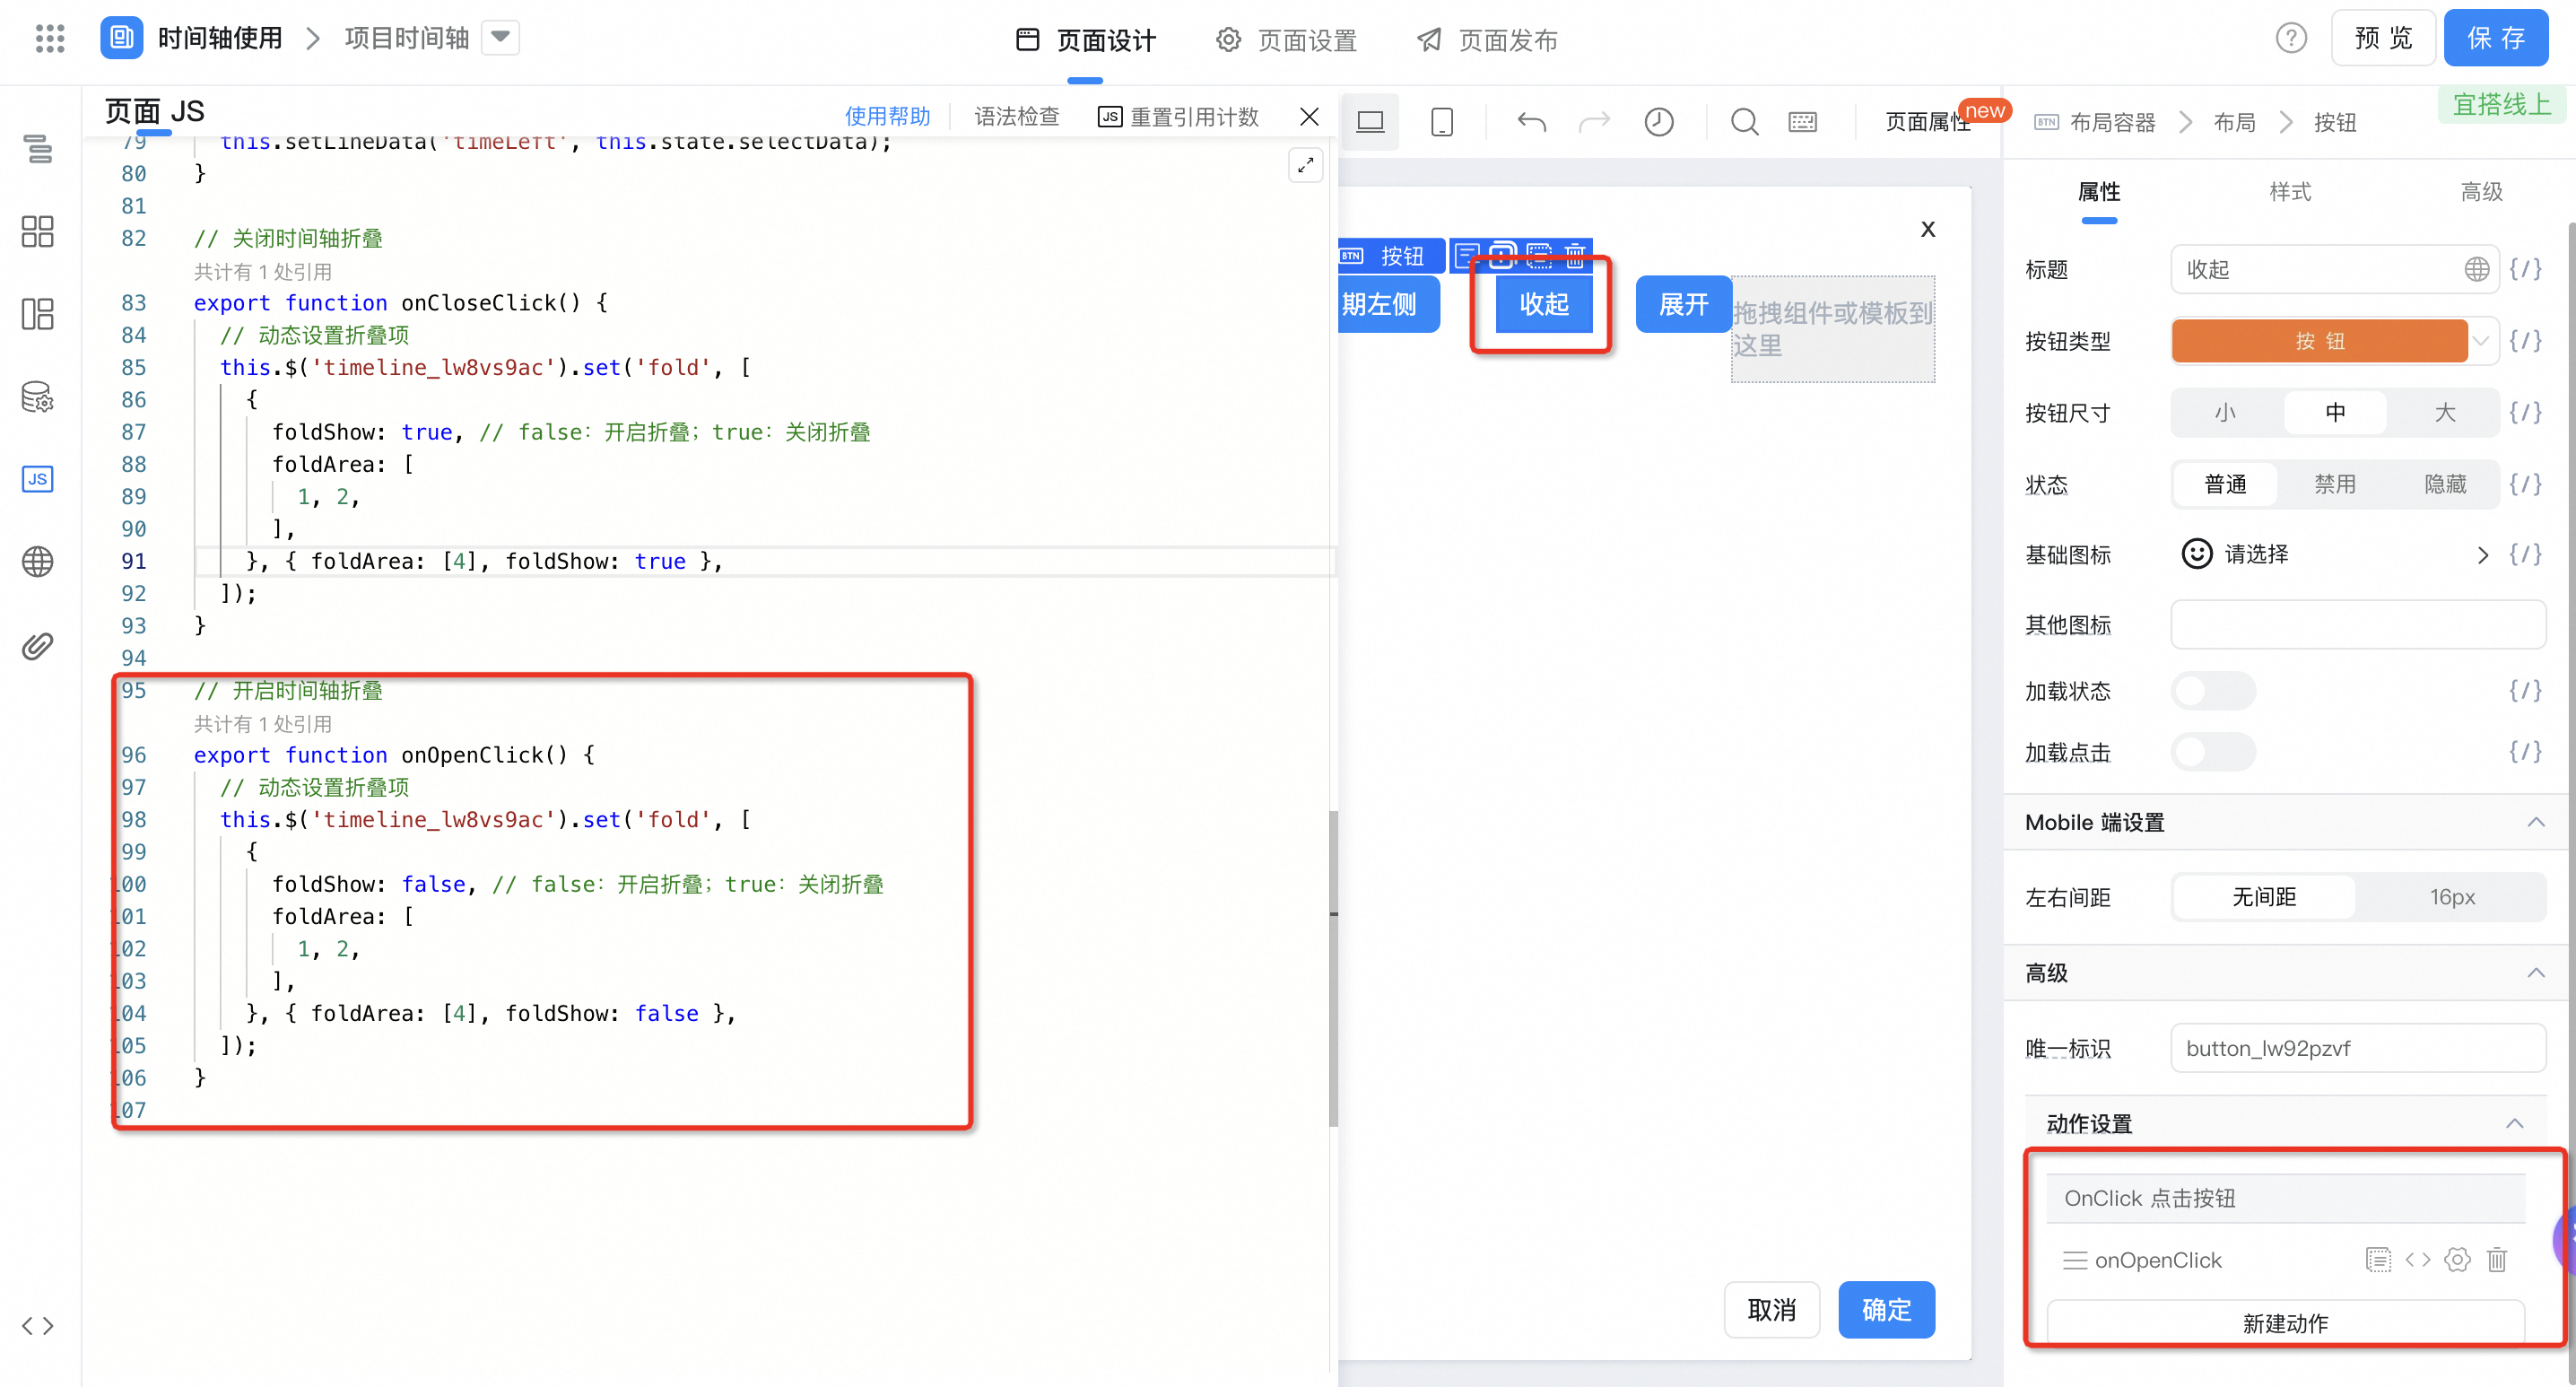
export function onOpenClick() {
  // 动态设置折叠项
  this.$('timeline_lw8vs9ac').set('fold', [
    {
      foldShow: false, // false:开启折叠;true:关闭折叠
      foldArea: [
        1, 2,
      ],
    }, { foldArea: [4], foldShow: false },
  ]);
}
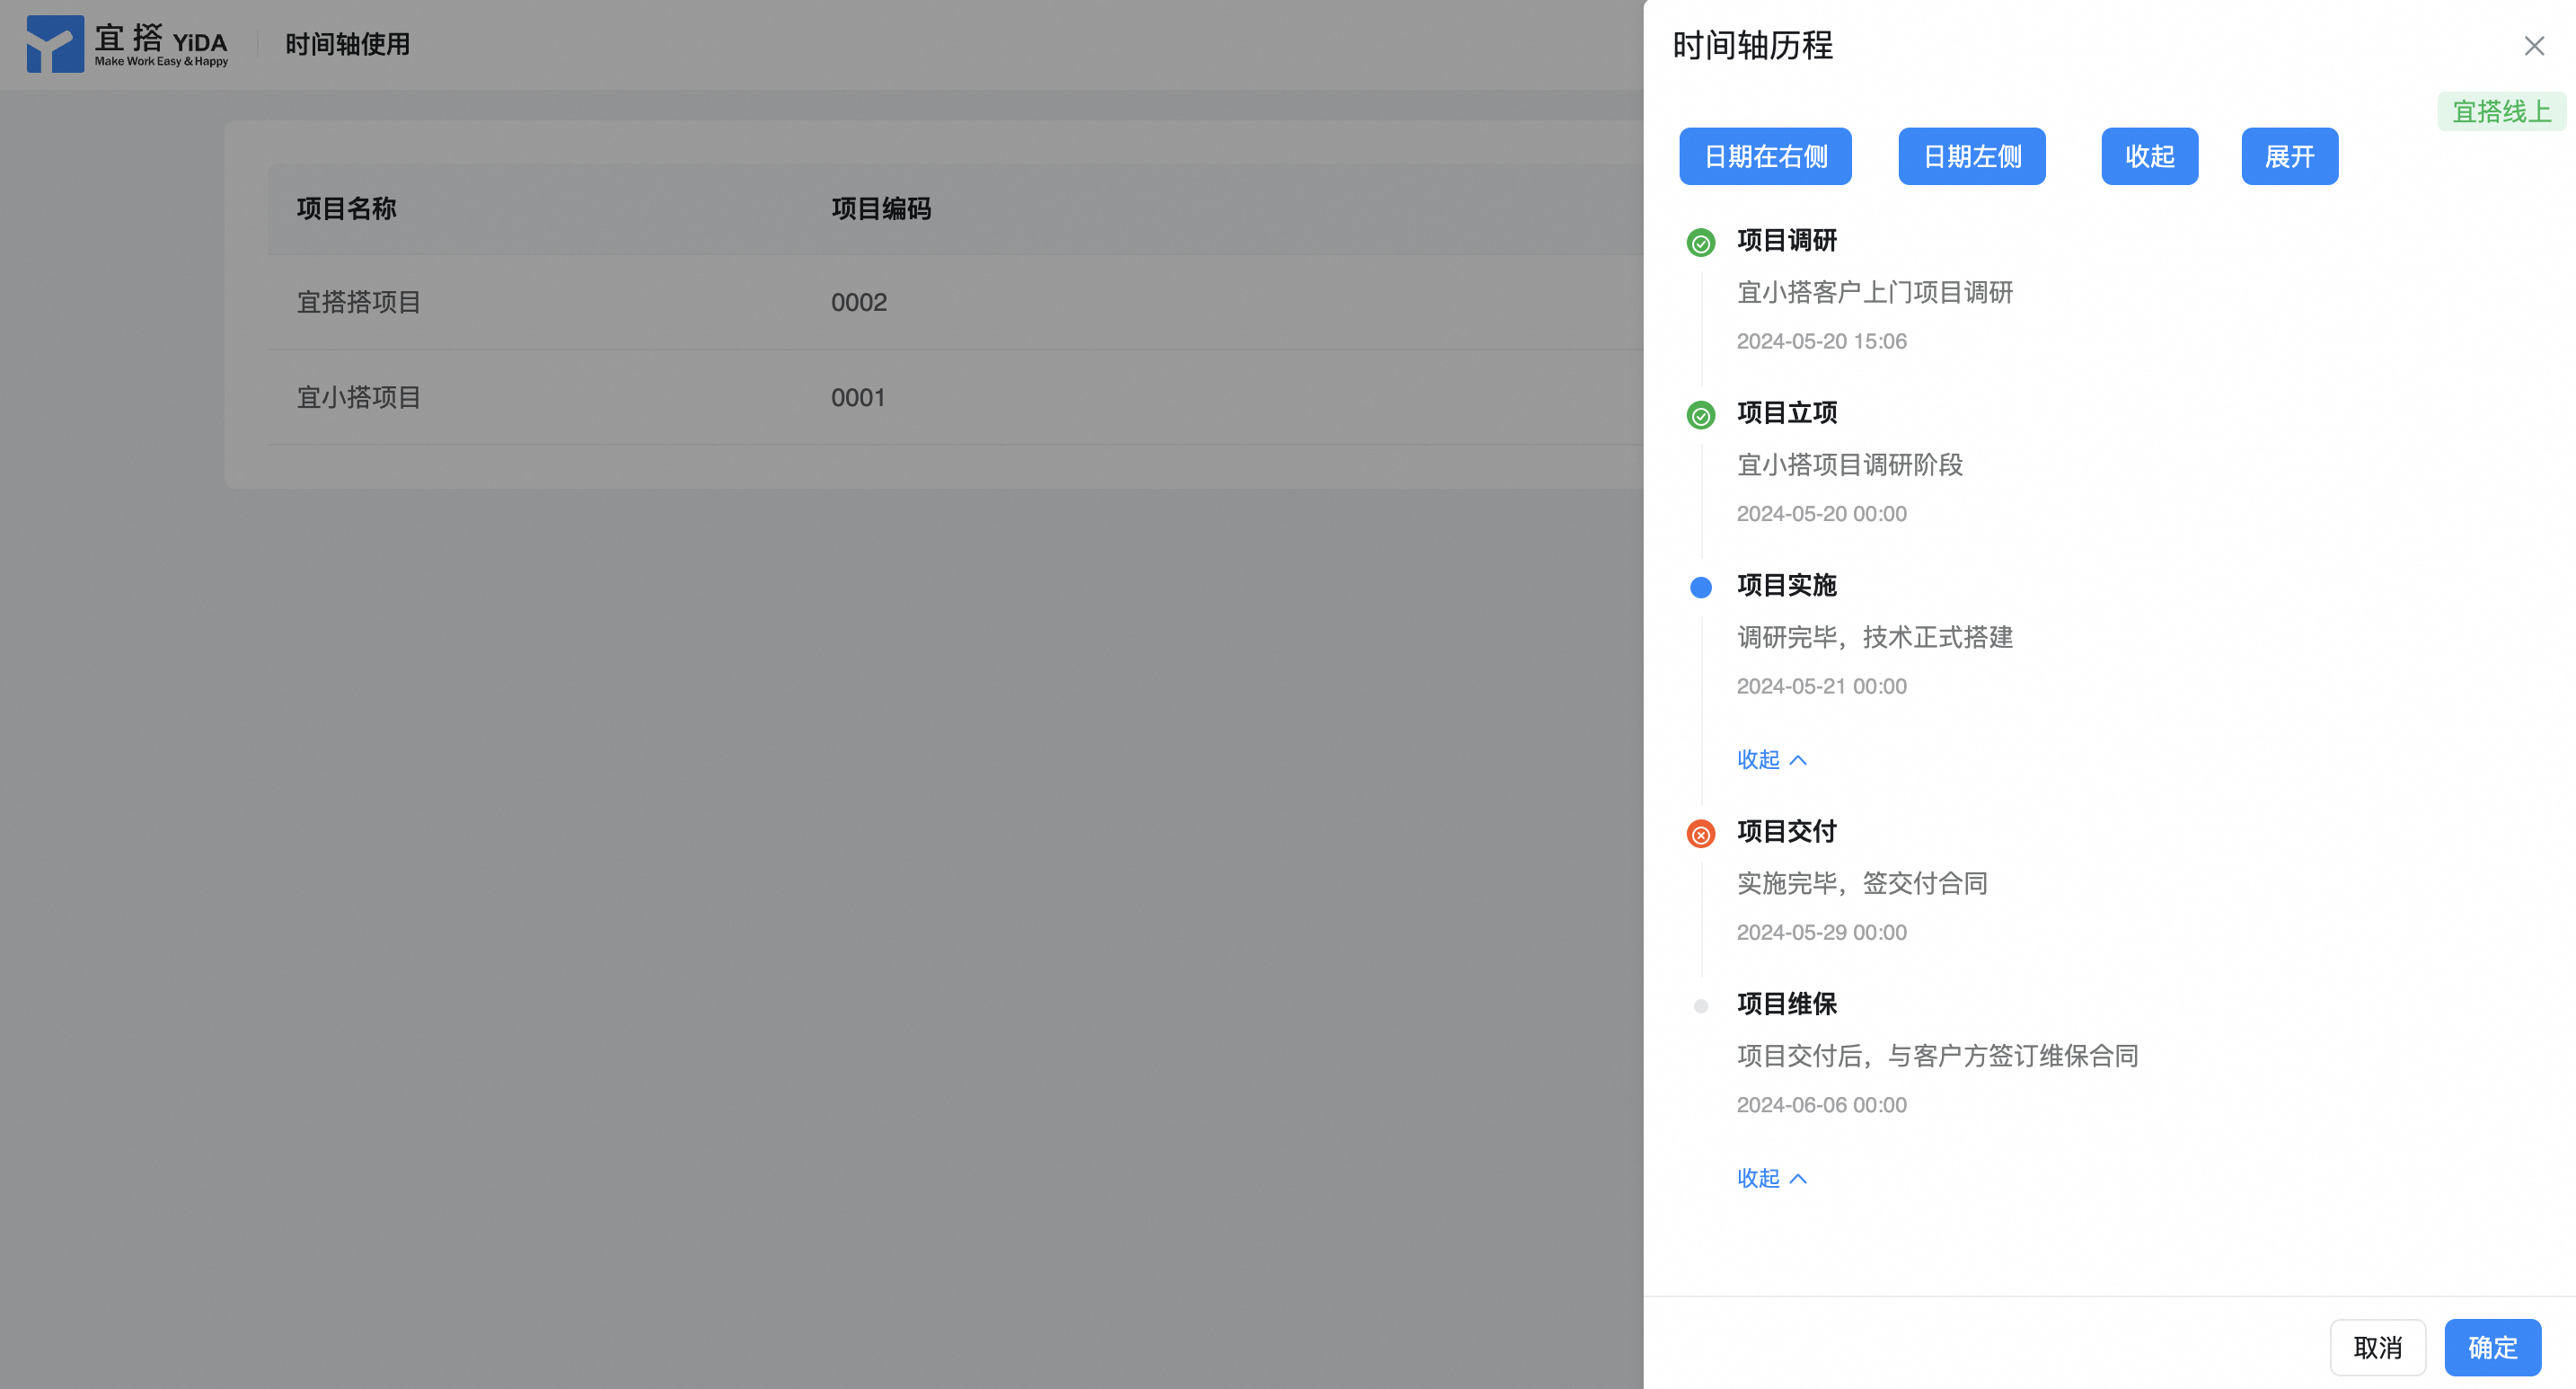
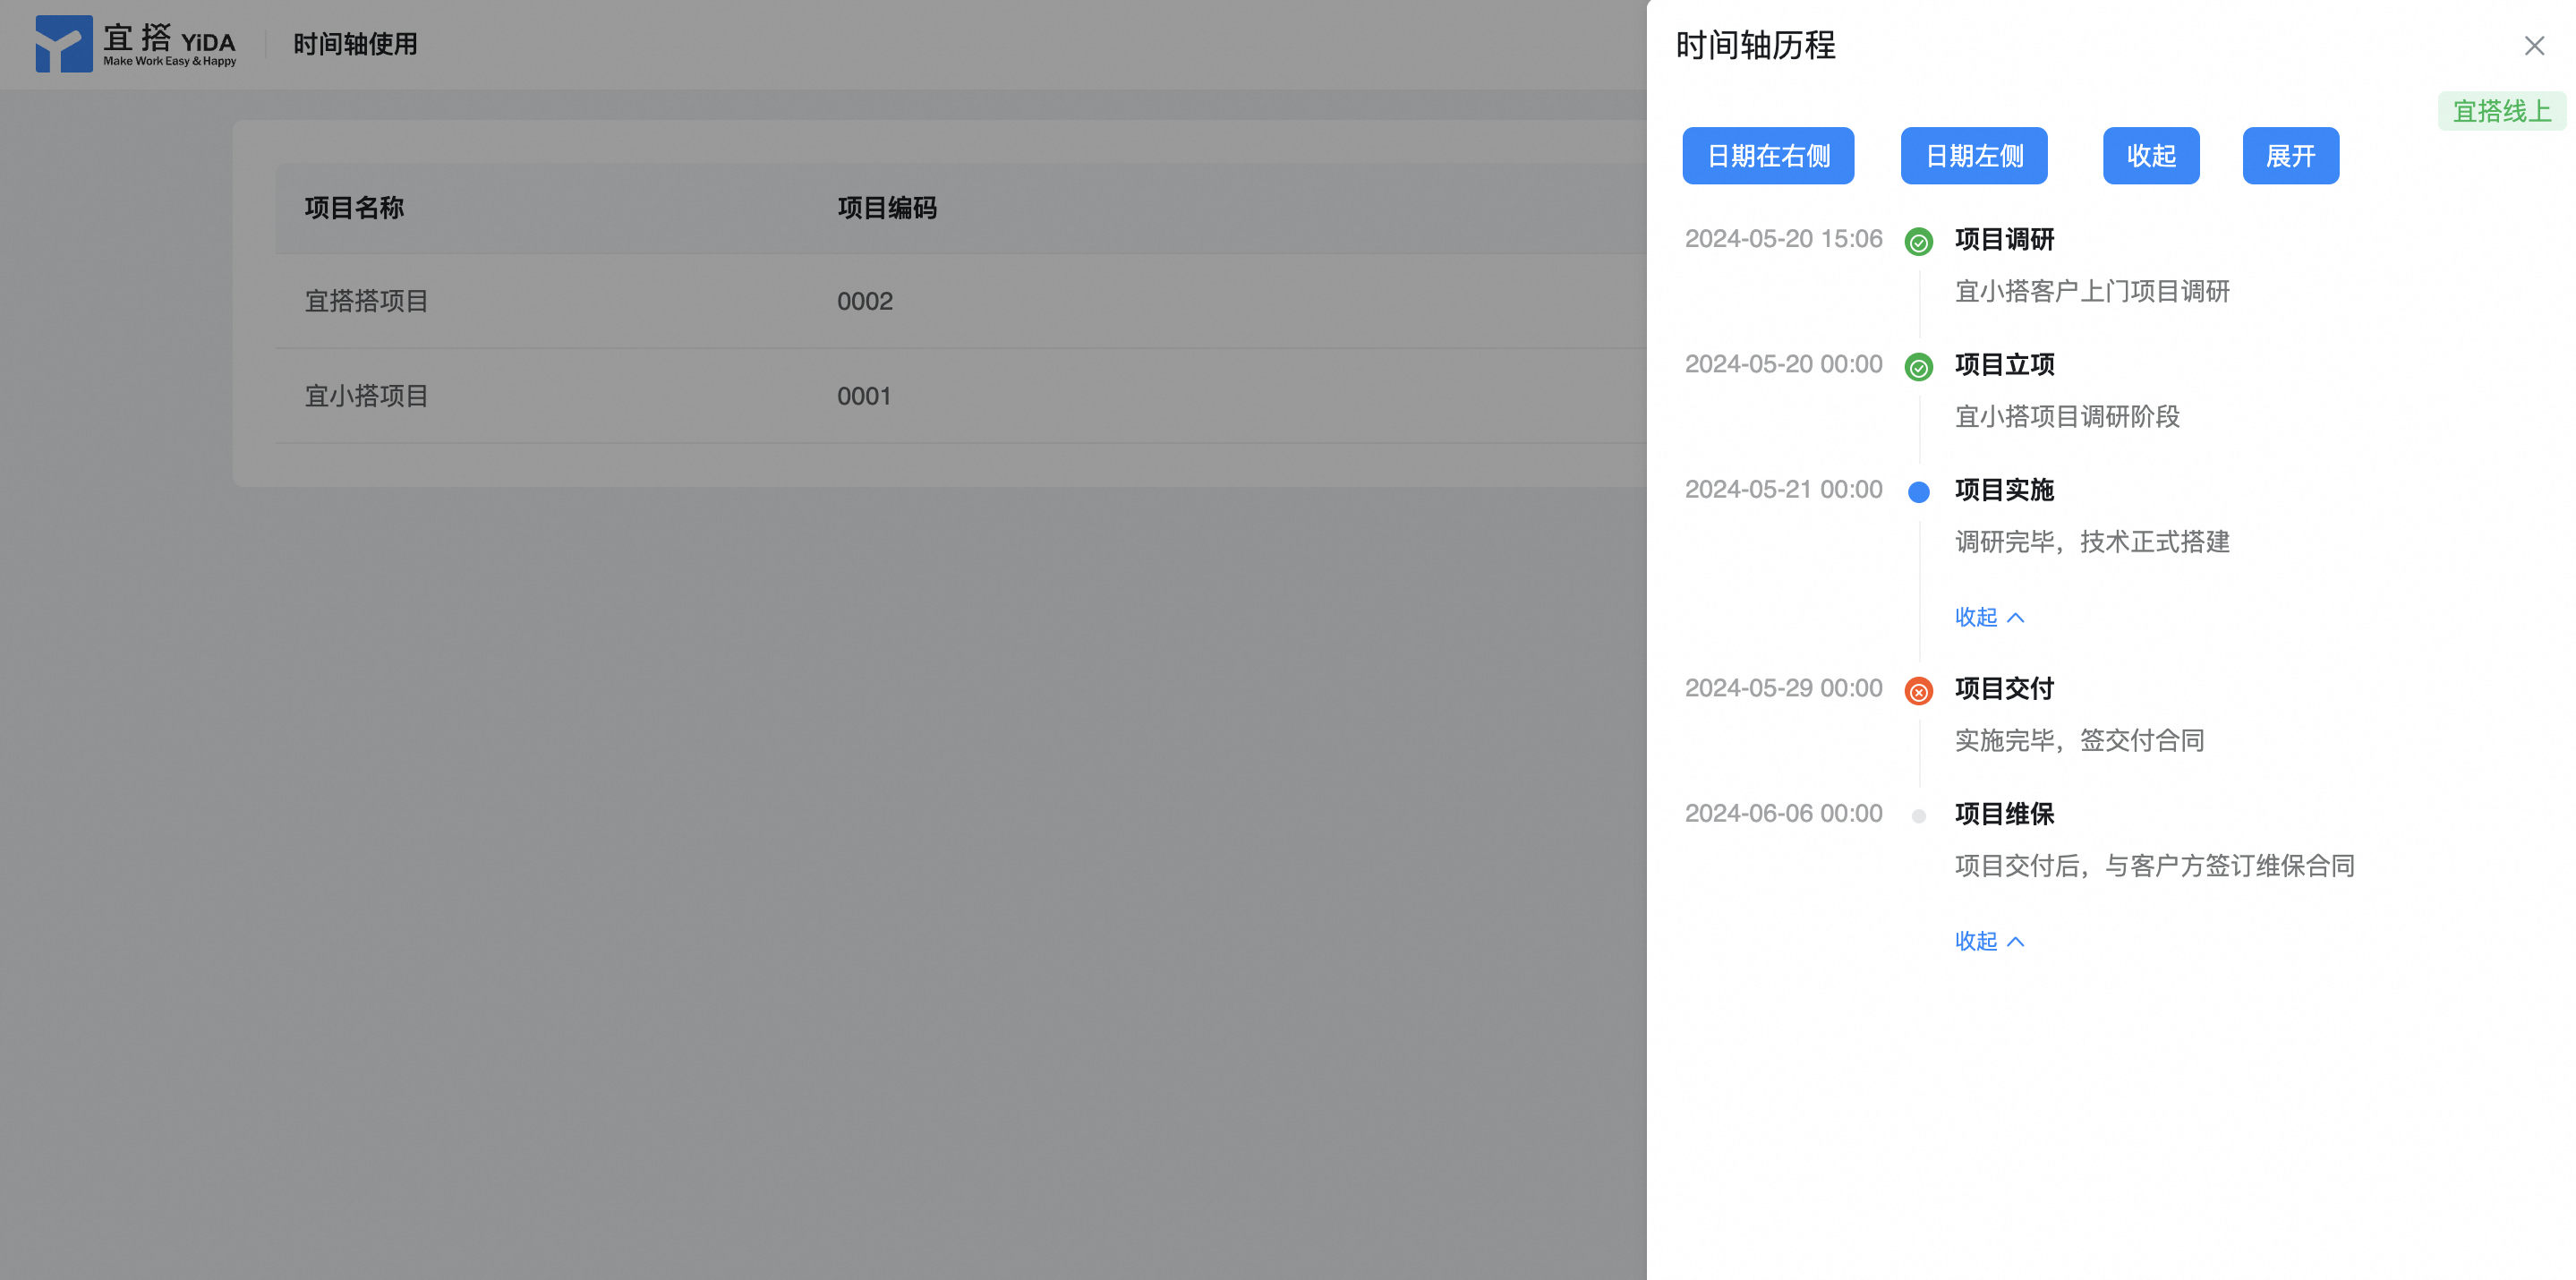
3. Effect
- The date is on the right side of the timeline.
- The date is on the left side of the timeline.
4. Try it online

This doc is generated using machine translation. Any discrepancies or differences created in the translation are not binding and have no legal effect for compliance or enforcement purposes.
Is this document helpful?