FaaS connector-use Alibaba Cloud SMS to send SMS messages
This topic describes how to use the YIDA FaaS connector to call Alibaba Cloud SMS OpenAPI to send SMS verification codes.
Prerequisites
Before starting, you need to complete the following preparations.
- Preparations include registering an Alibaba Cloud account, completing real-name authentication, activating Alibaba Cloud SMS, andGet AccessKey.
- LoginSMS console, activate SMS service.
- ApplicationSMS qualification.
- ApplicationSMS Template.
Description:
In general, after the SMS Signature or sms template is submitted, Alibaba Cloud is expected to complete the review within 2 hours (the review work time is from 9:00 to 21:00 from Monday to Sunday, legal holidays are postponed).
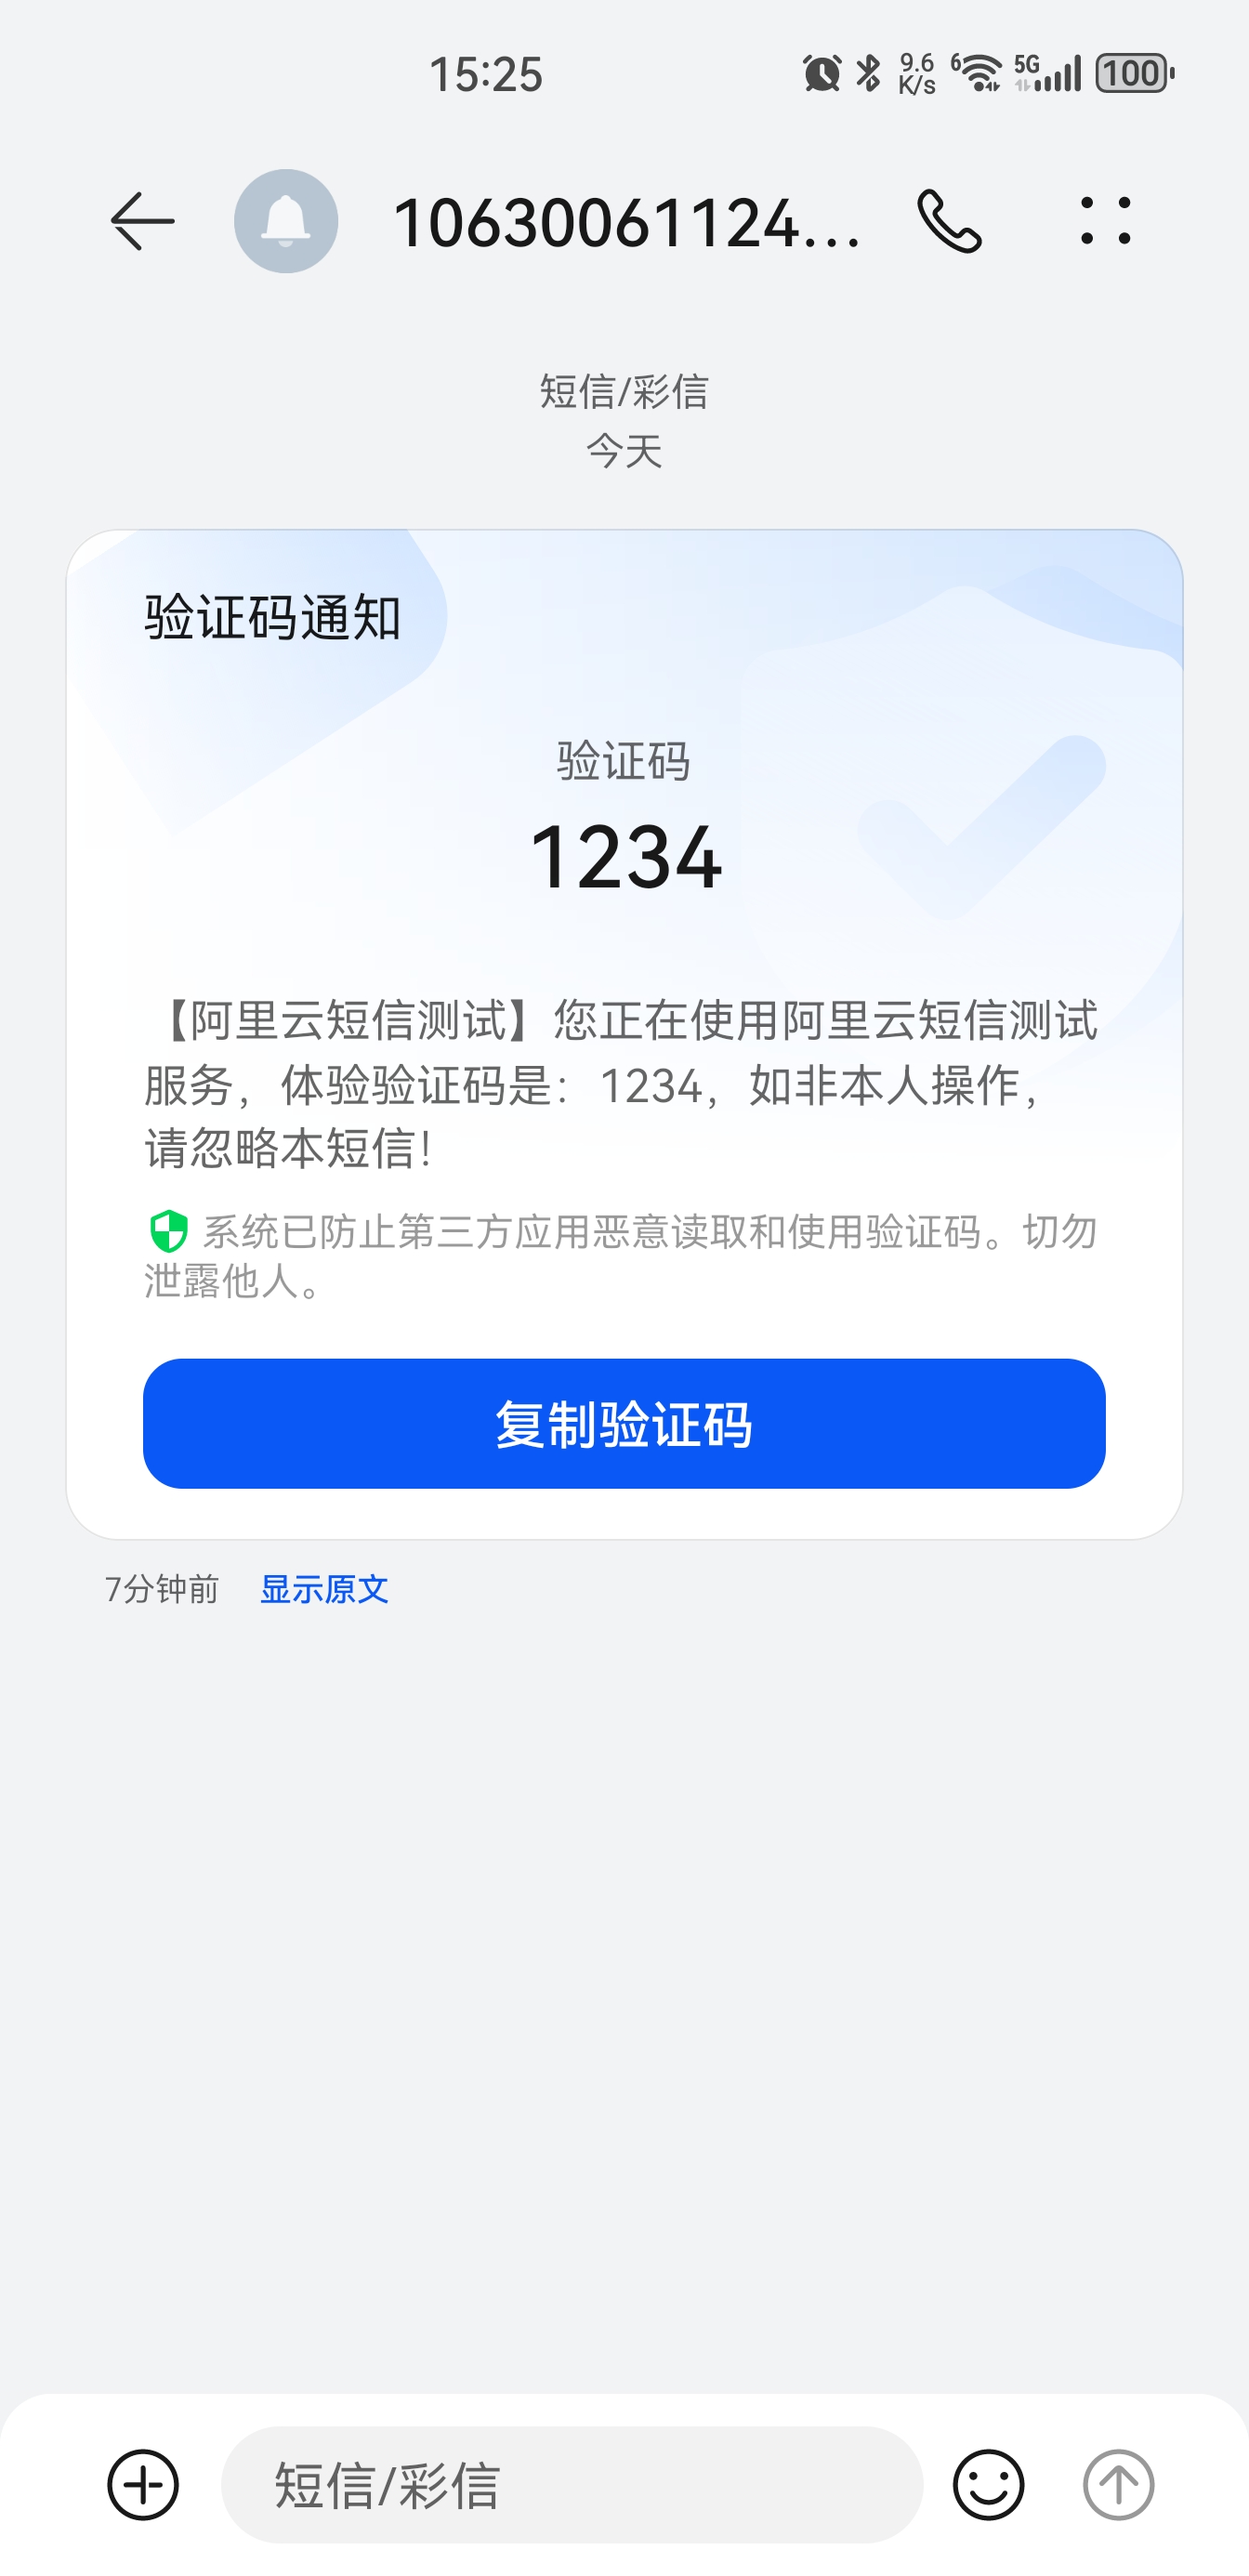
Effect
Create FaaS connector
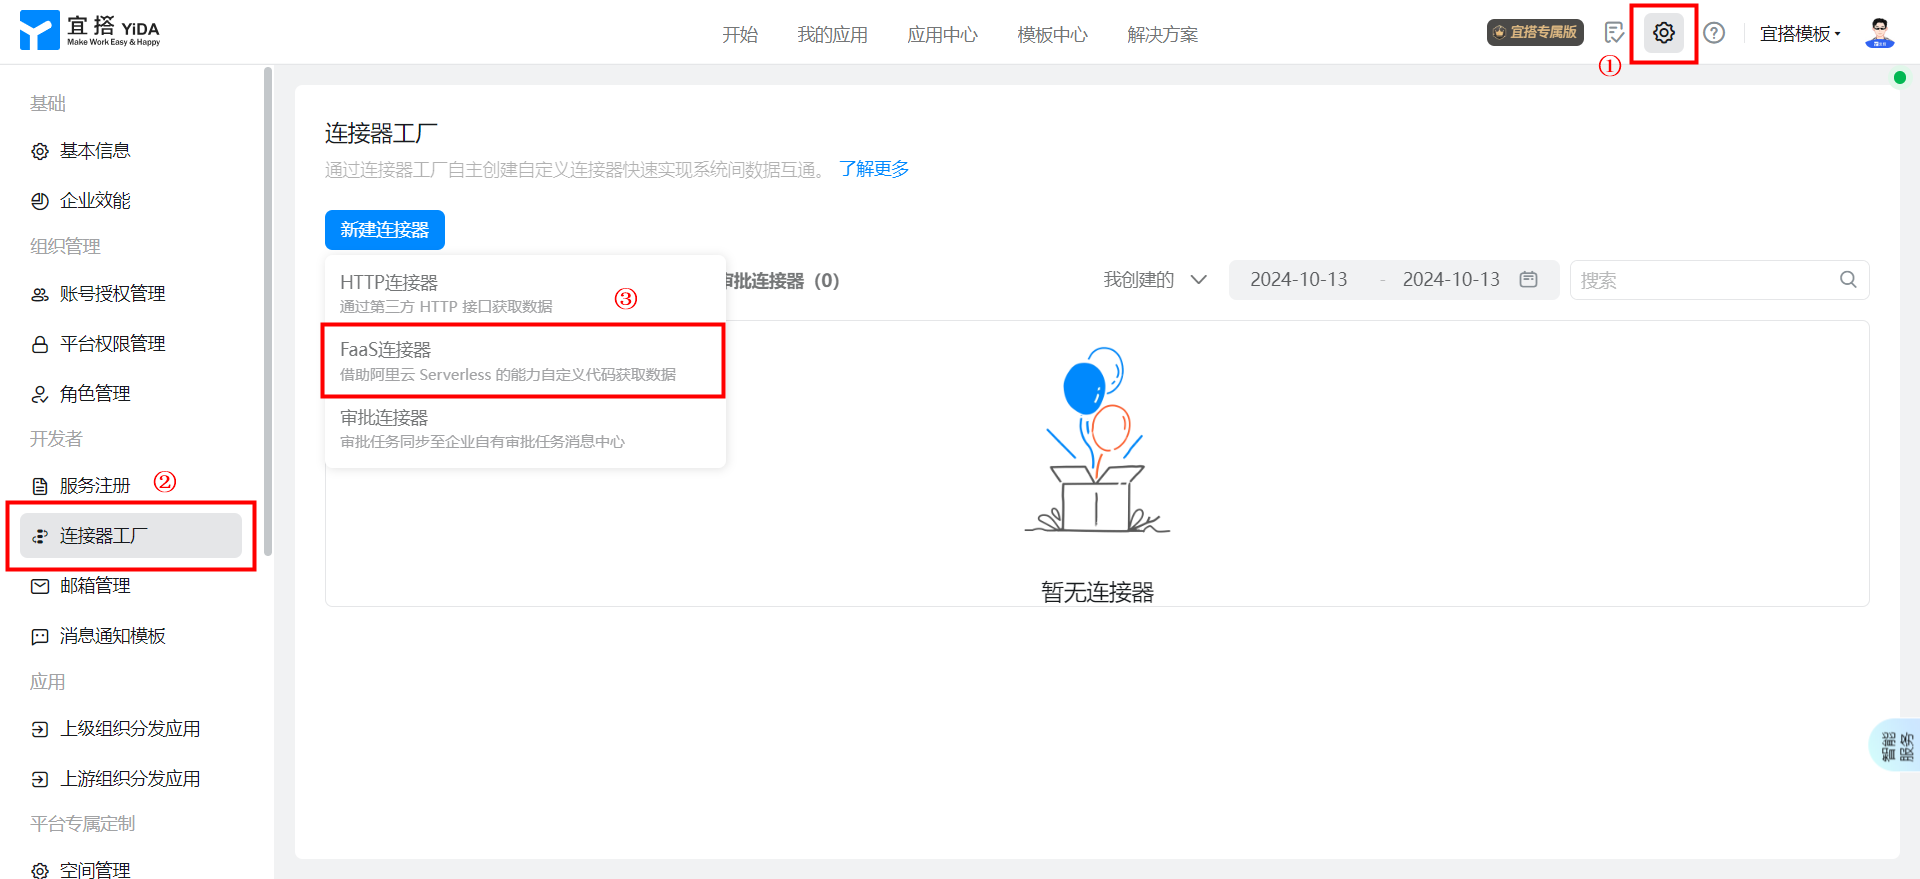
EnterConnector factoryCreate a FaaS connector.
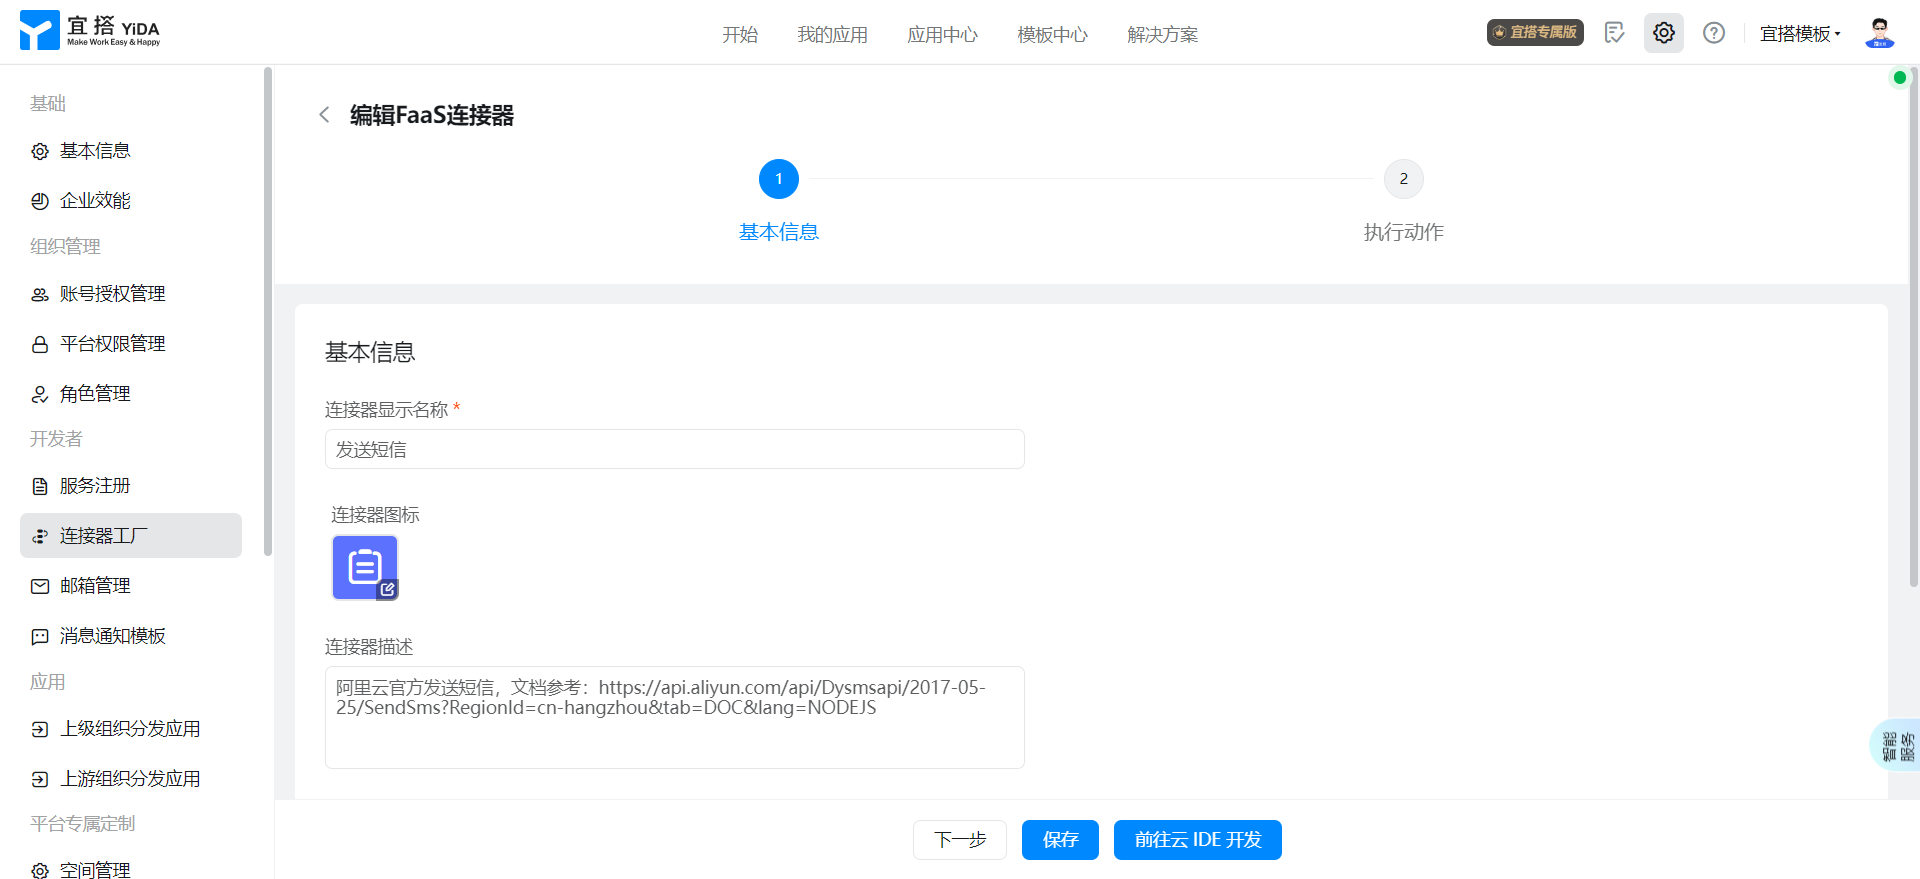
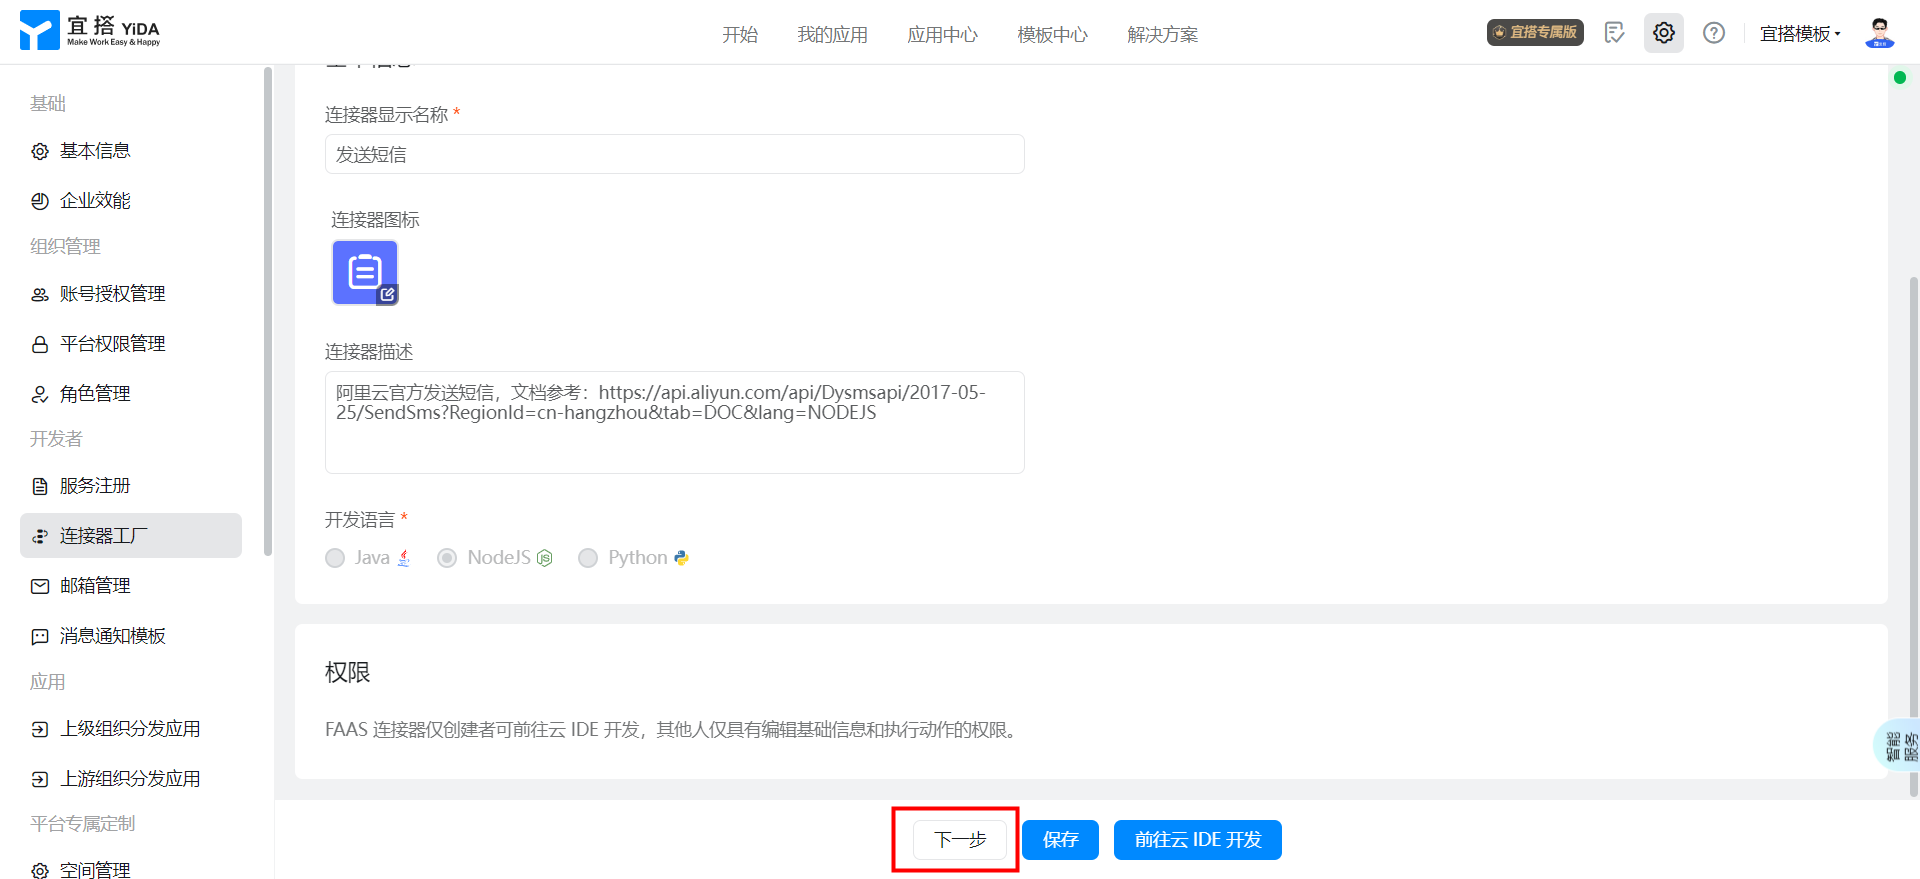
Configure connector basic information and development language
Click next after configuration to select the development language.NodeJS.
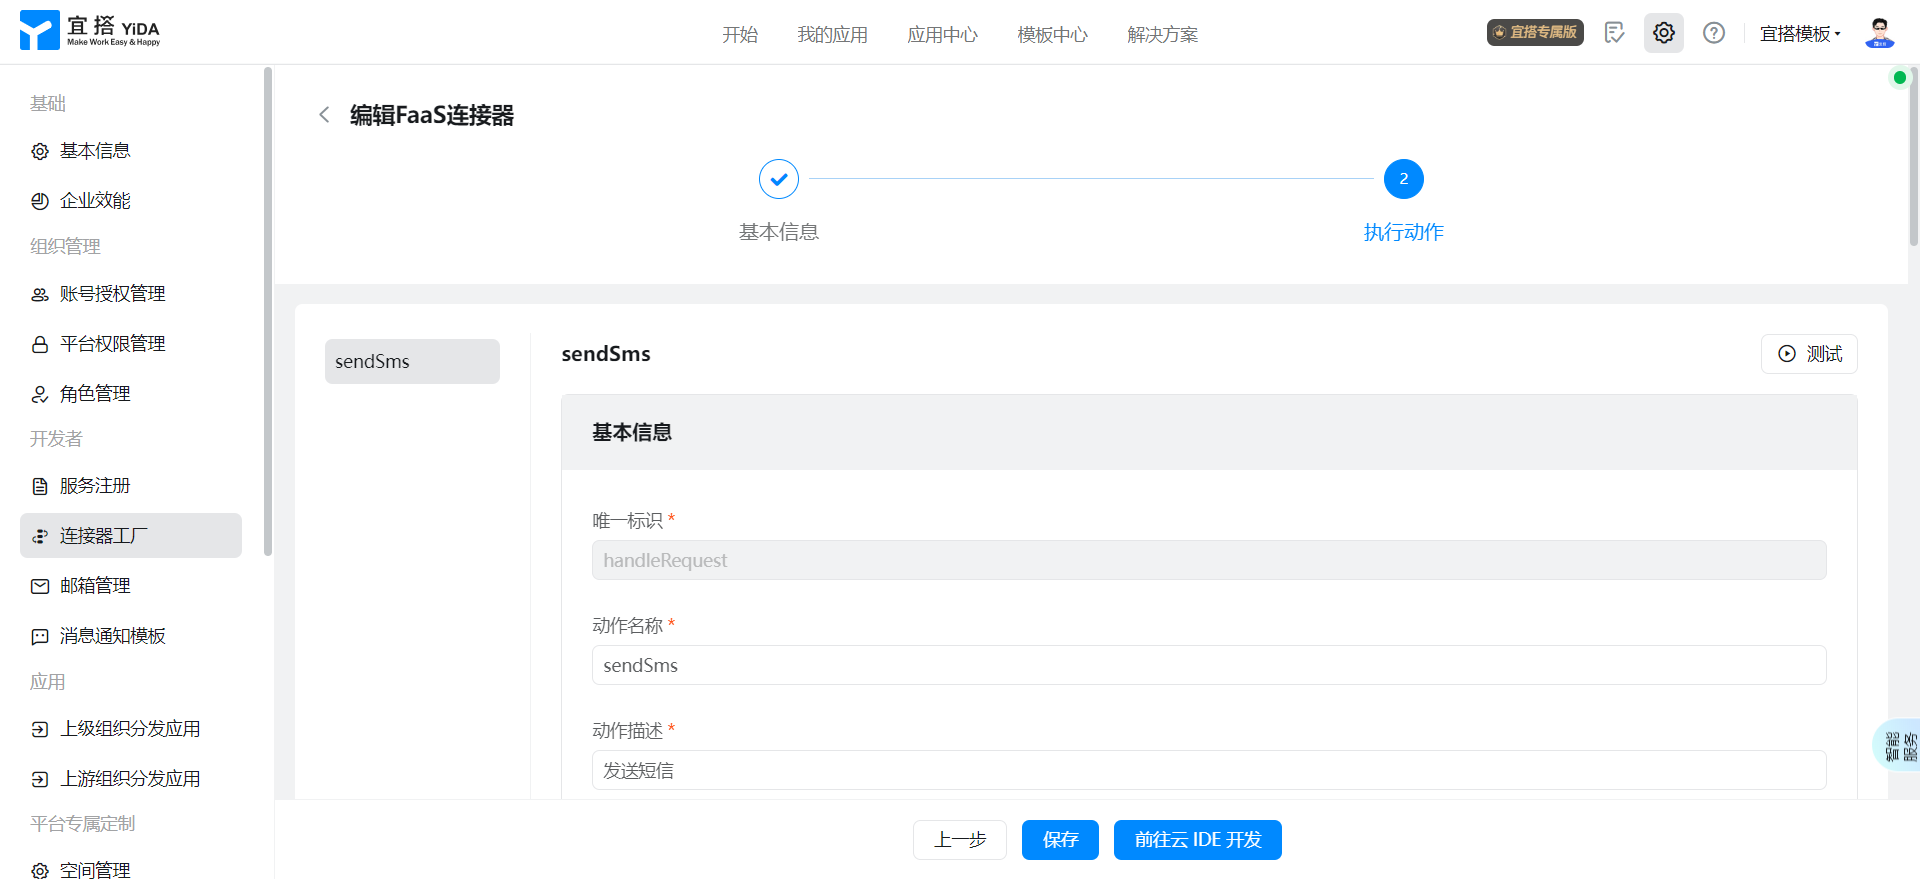
Configure connector execution actions
Configure basic information.
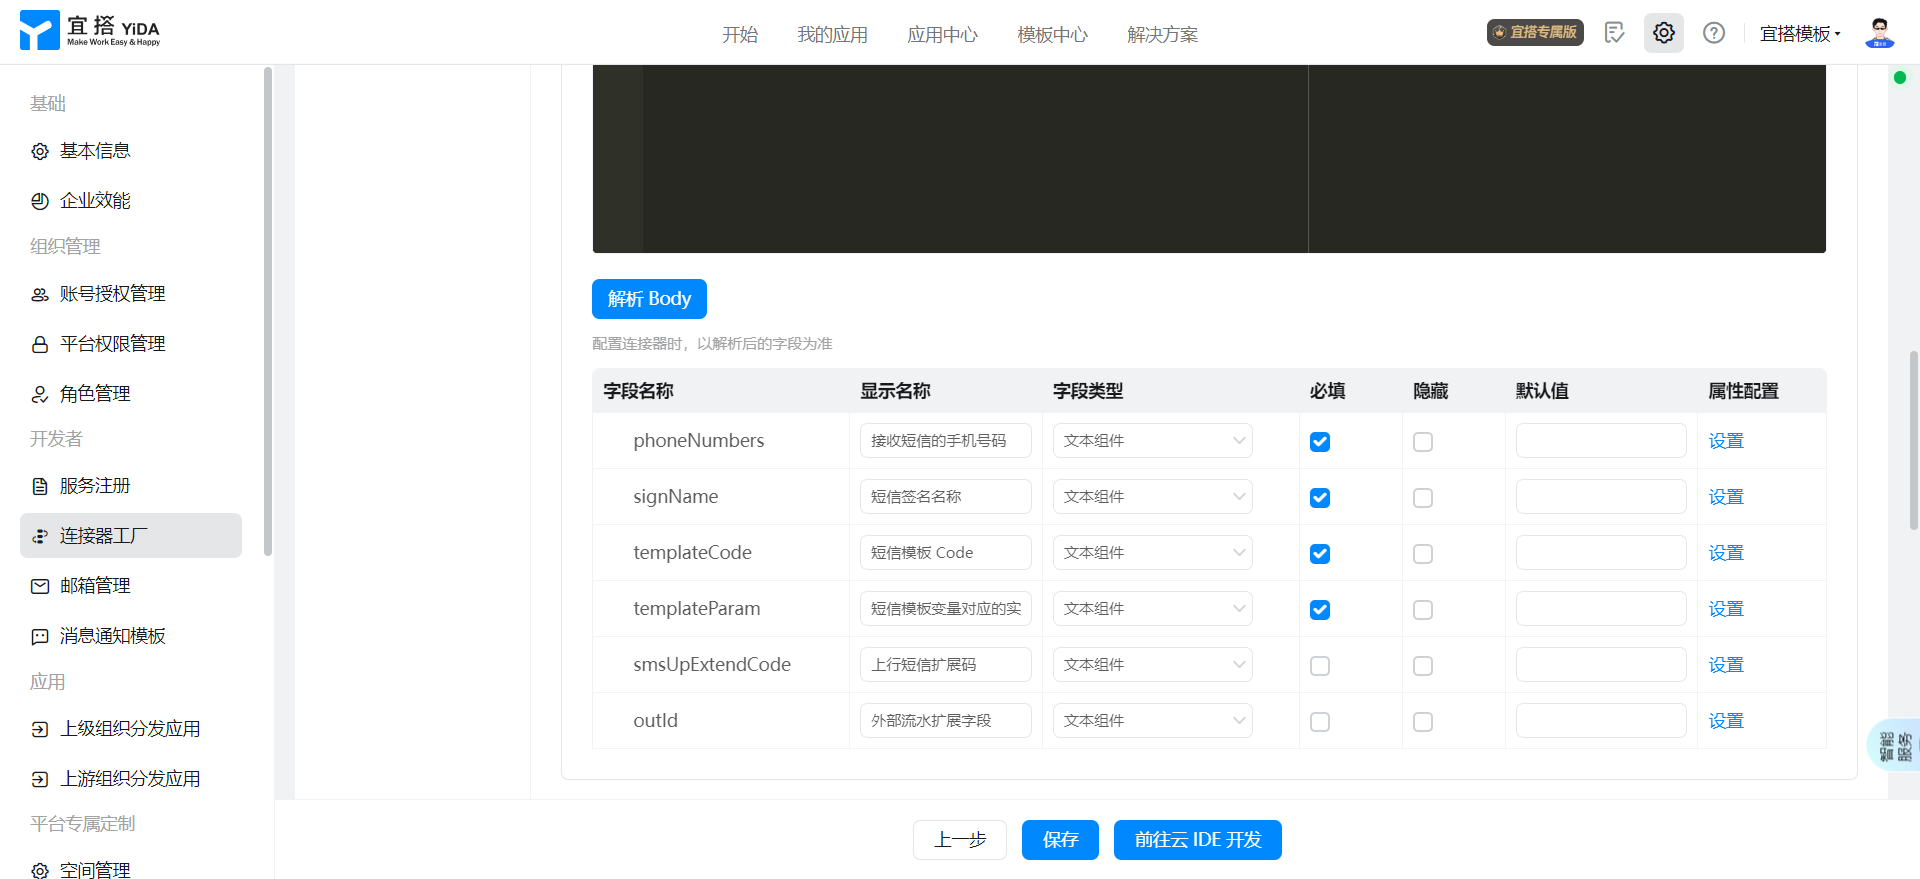
Configure the interface request and click parse Body after the configuration is complete.
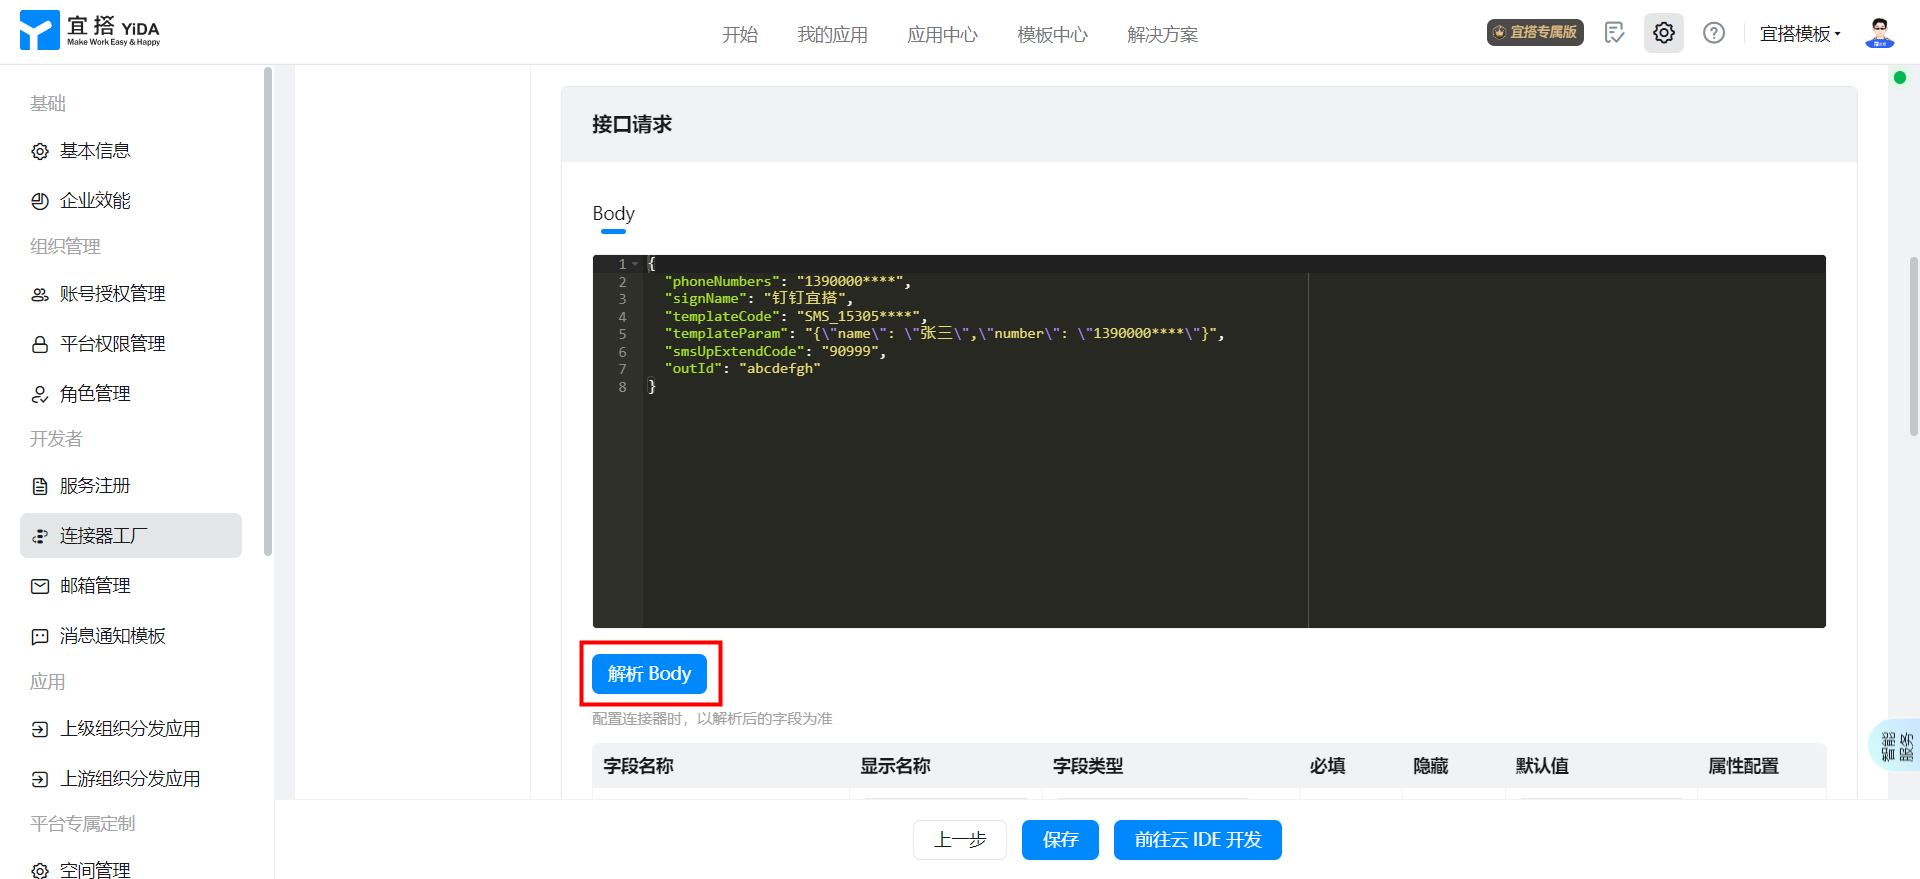
{
  "phoneNumbers": "1390000****",
  "signName": "钉钉宜搭",
  "templateCode": "SMS_15305****",
  "templateParam": "{\"name\": \"张三\",\"number\": \"1390000****\"}",
  "smsUpExtendCode": "90999",
  "outId": "abcdefgh"
}
The configuration interface returns. After the configuration is completed, click parse Body.
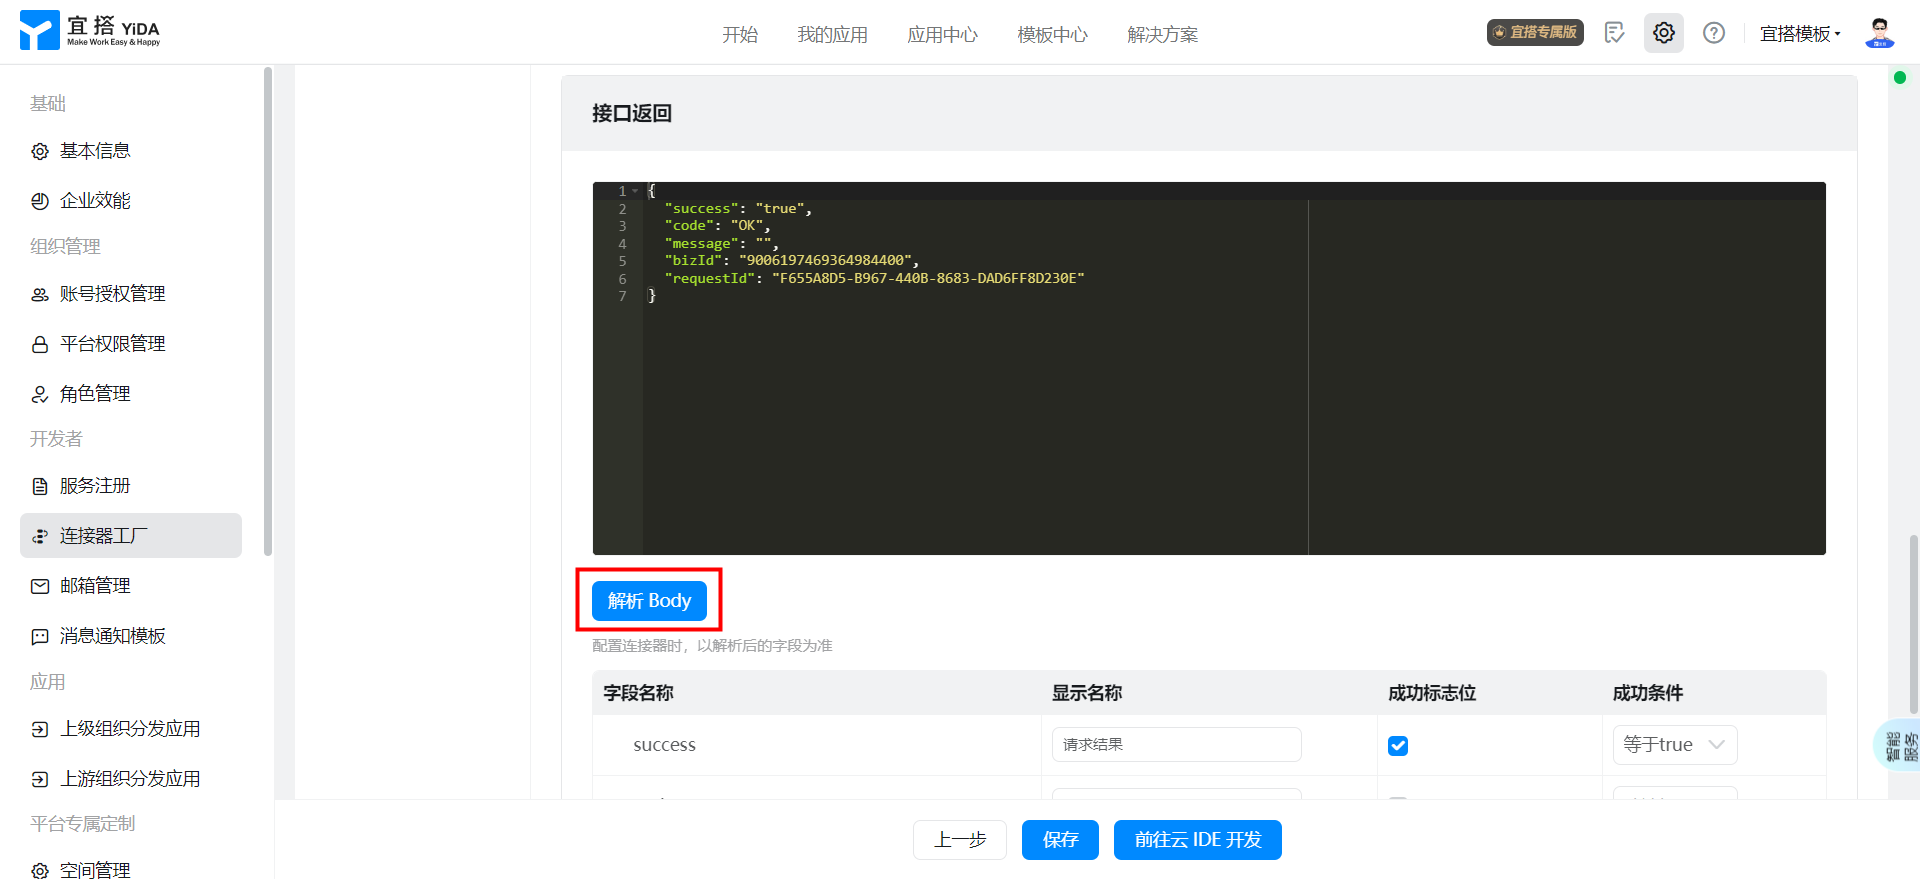
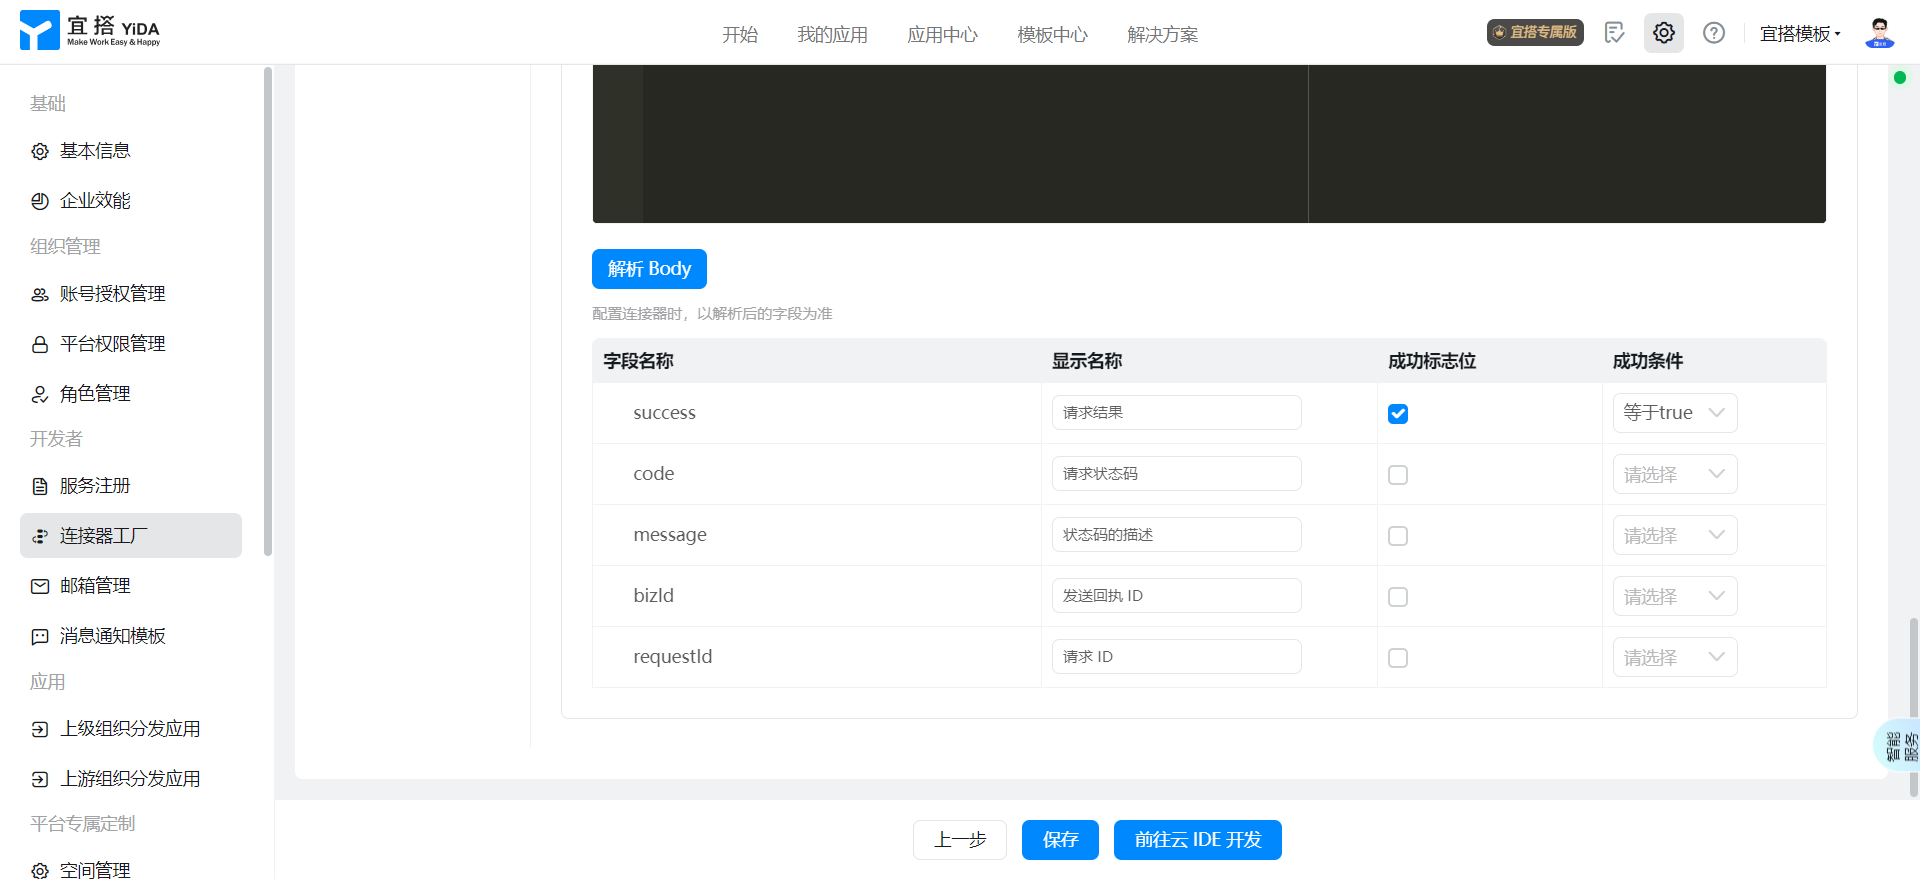
{
  "success": "true",
  "code": "OK",
  "message": "",
  "bizId": "9006197469364984400",
  "requestId": "F655A8D5-B967-440B-8683-DAD6FF8D230E"
}
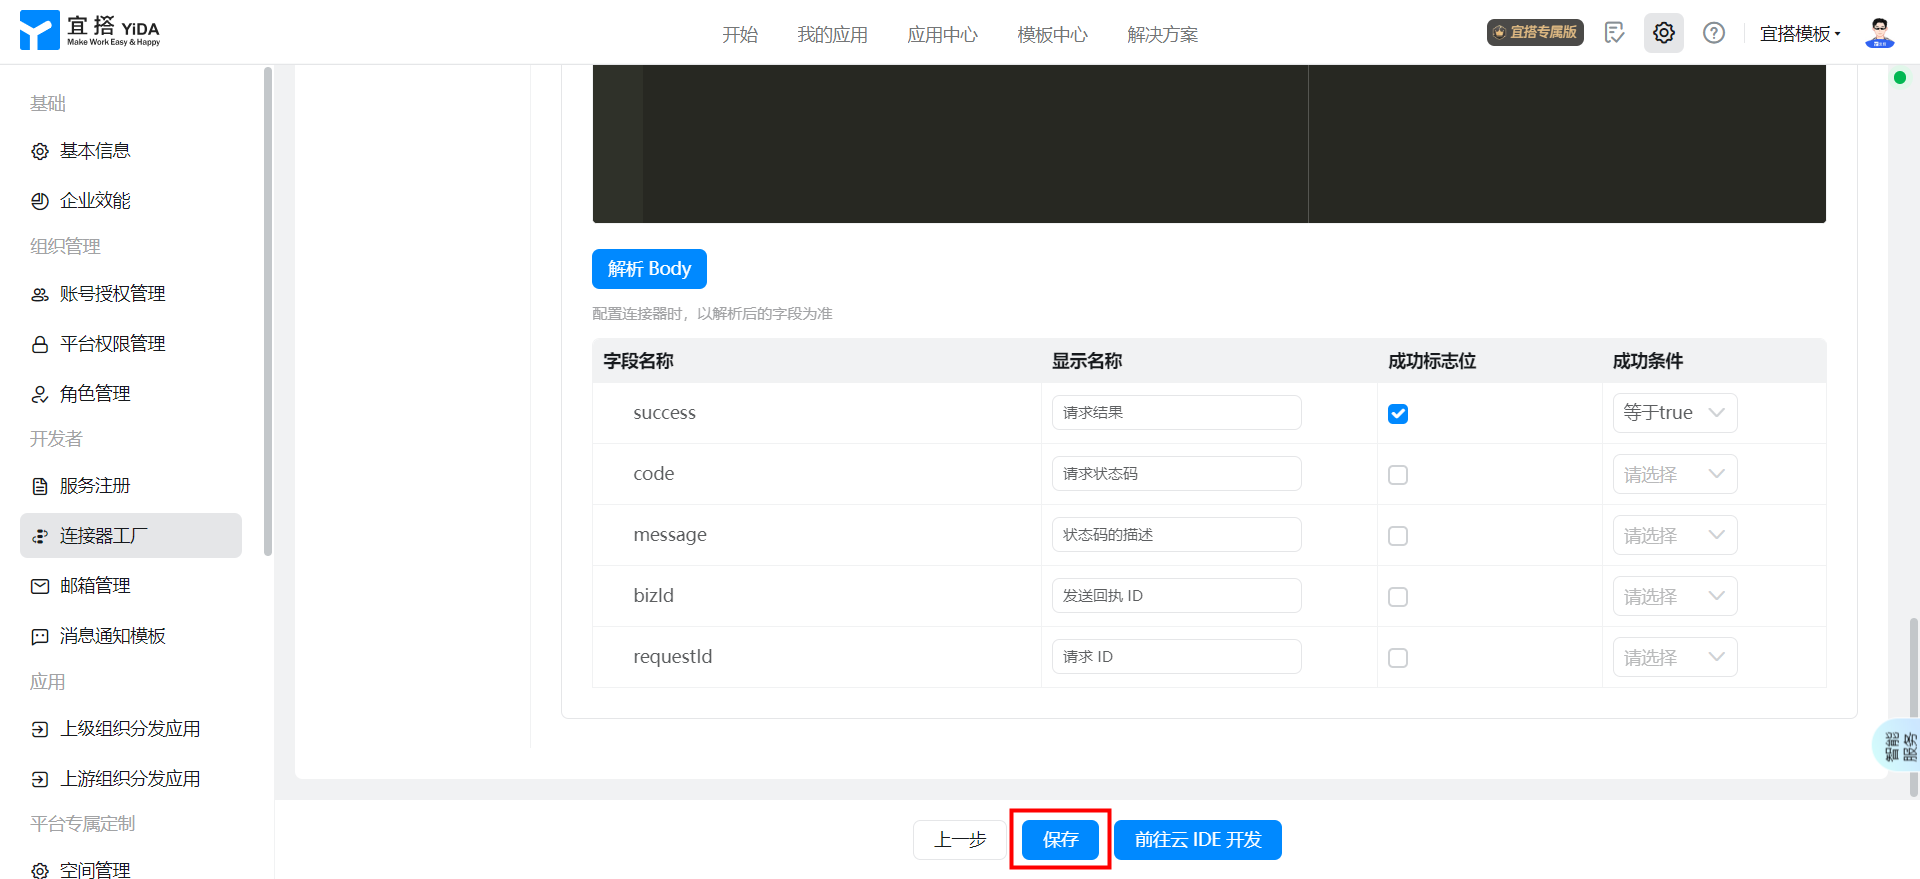
After completing the preceding configuration, click save.
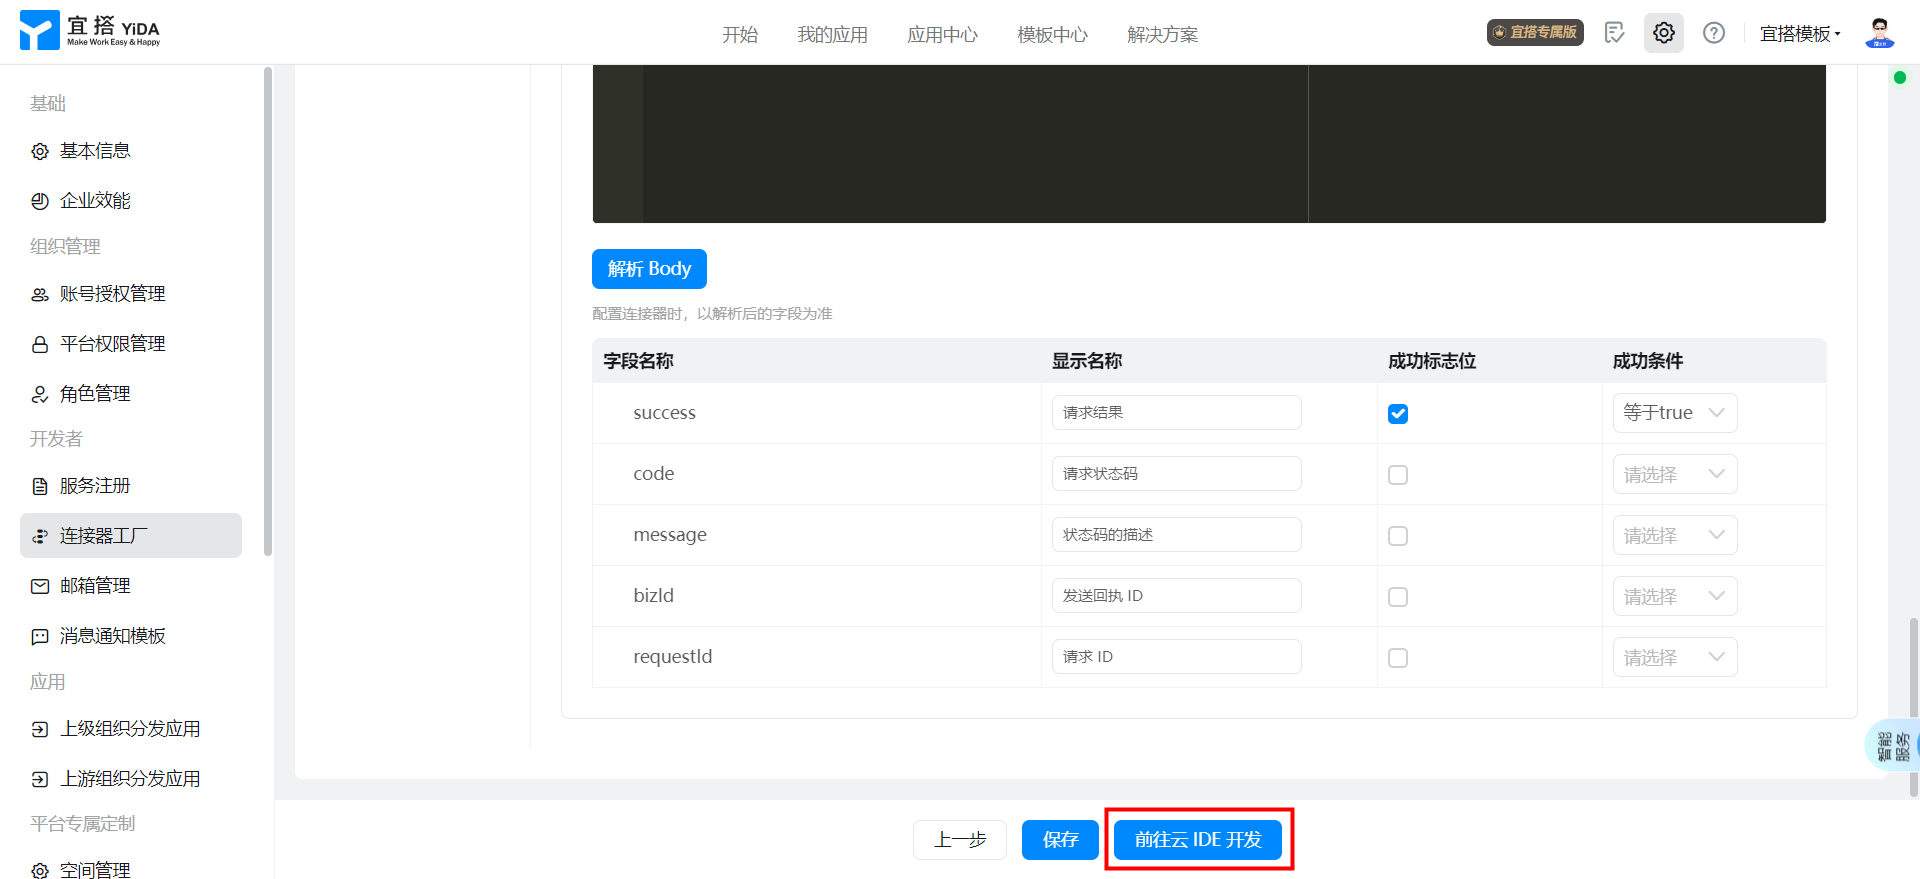
Go to Cloud IDE development
After saving, click go to Cloud IDE development.
Install the SDK
Create a terminal and run the SDK installation command. Enter and then enter.
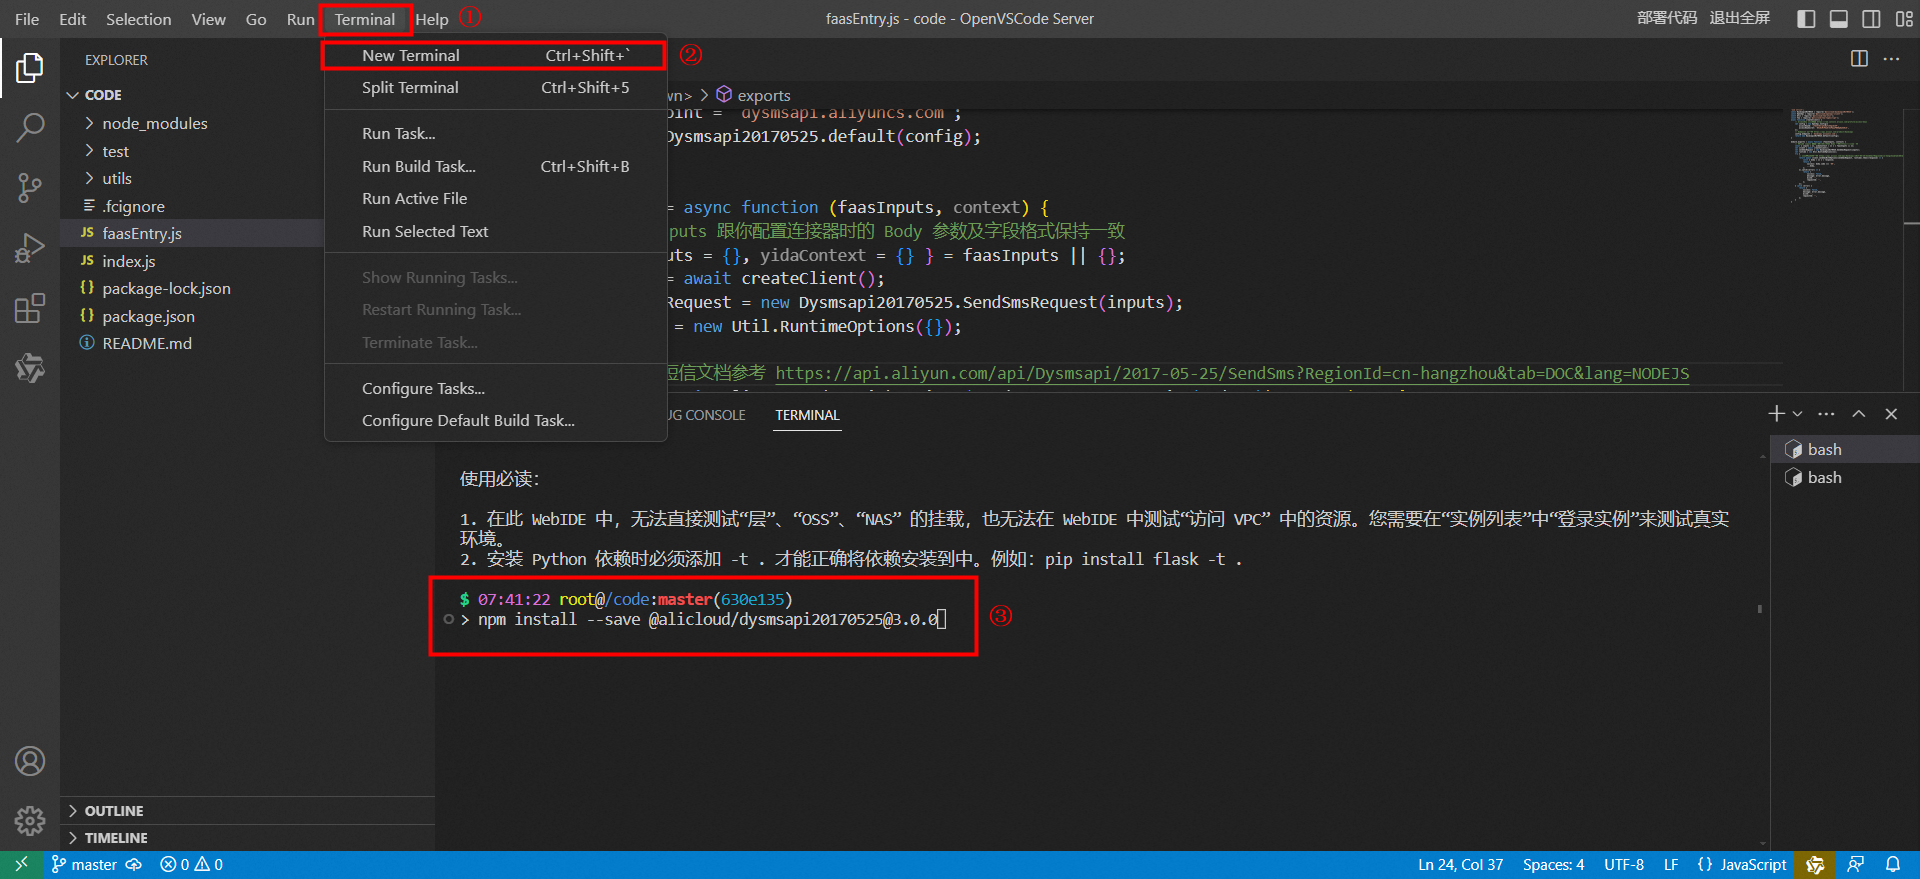
npm install --save @alicloud/dysmsapi20170525@3.0.0
The following information appears to indicate that the installation is successful. Otherwise, repeat the above operations.
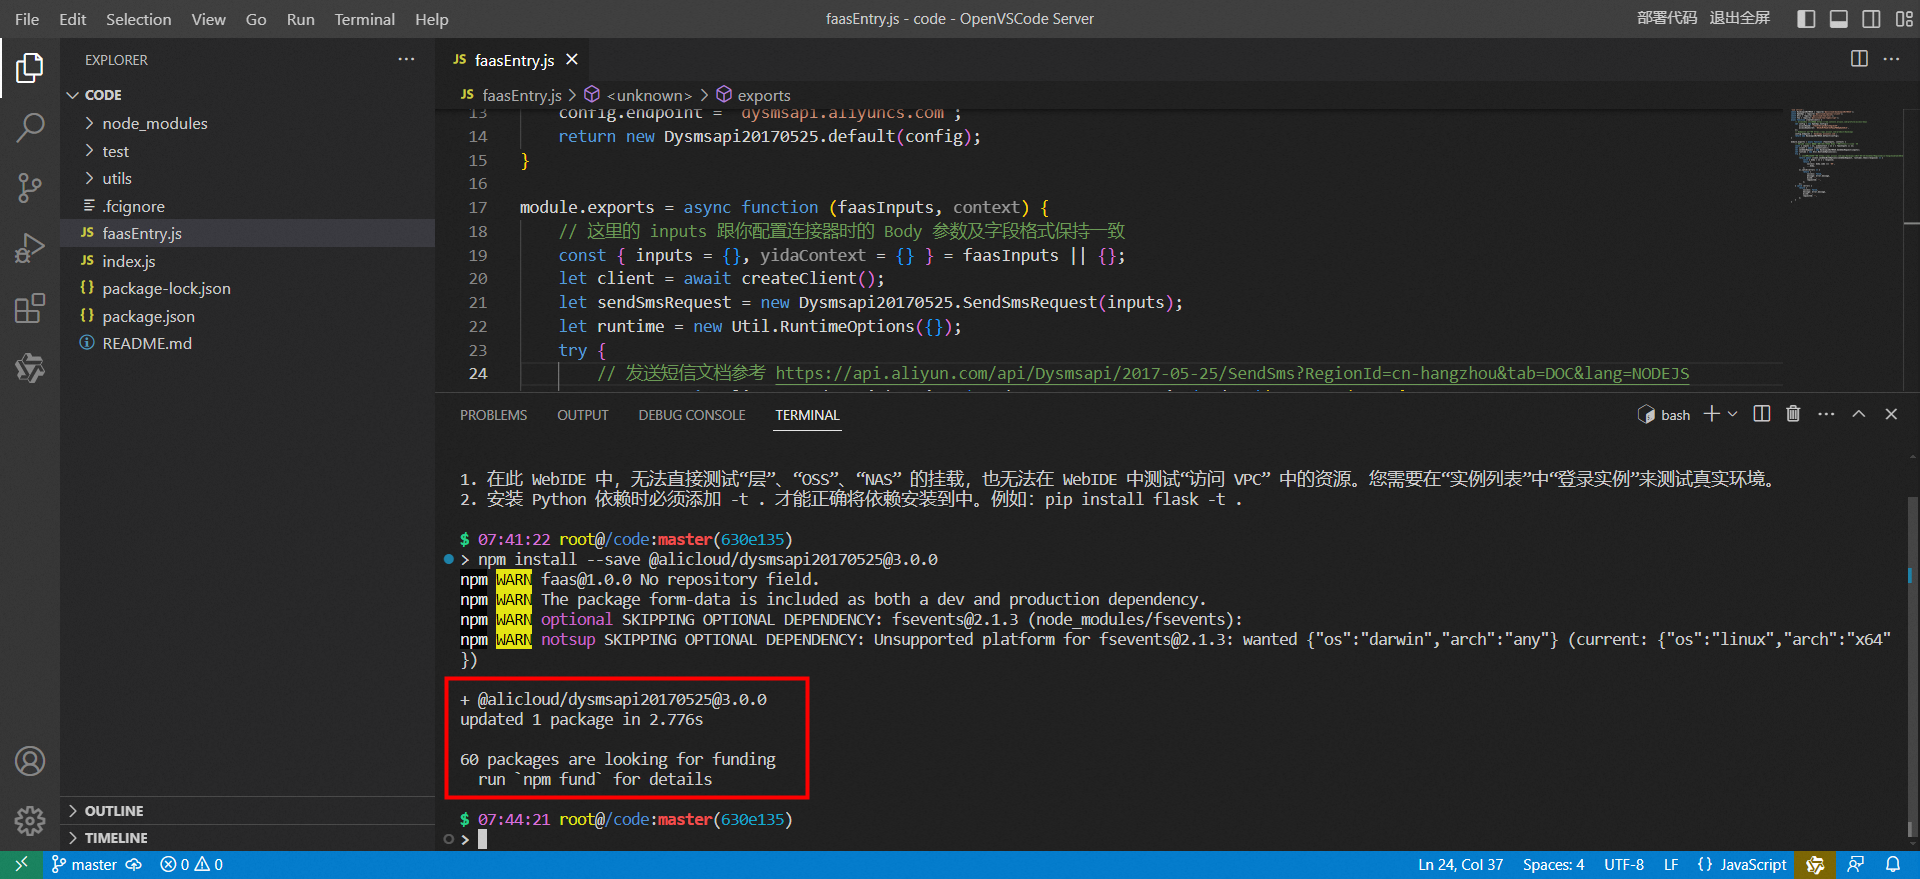
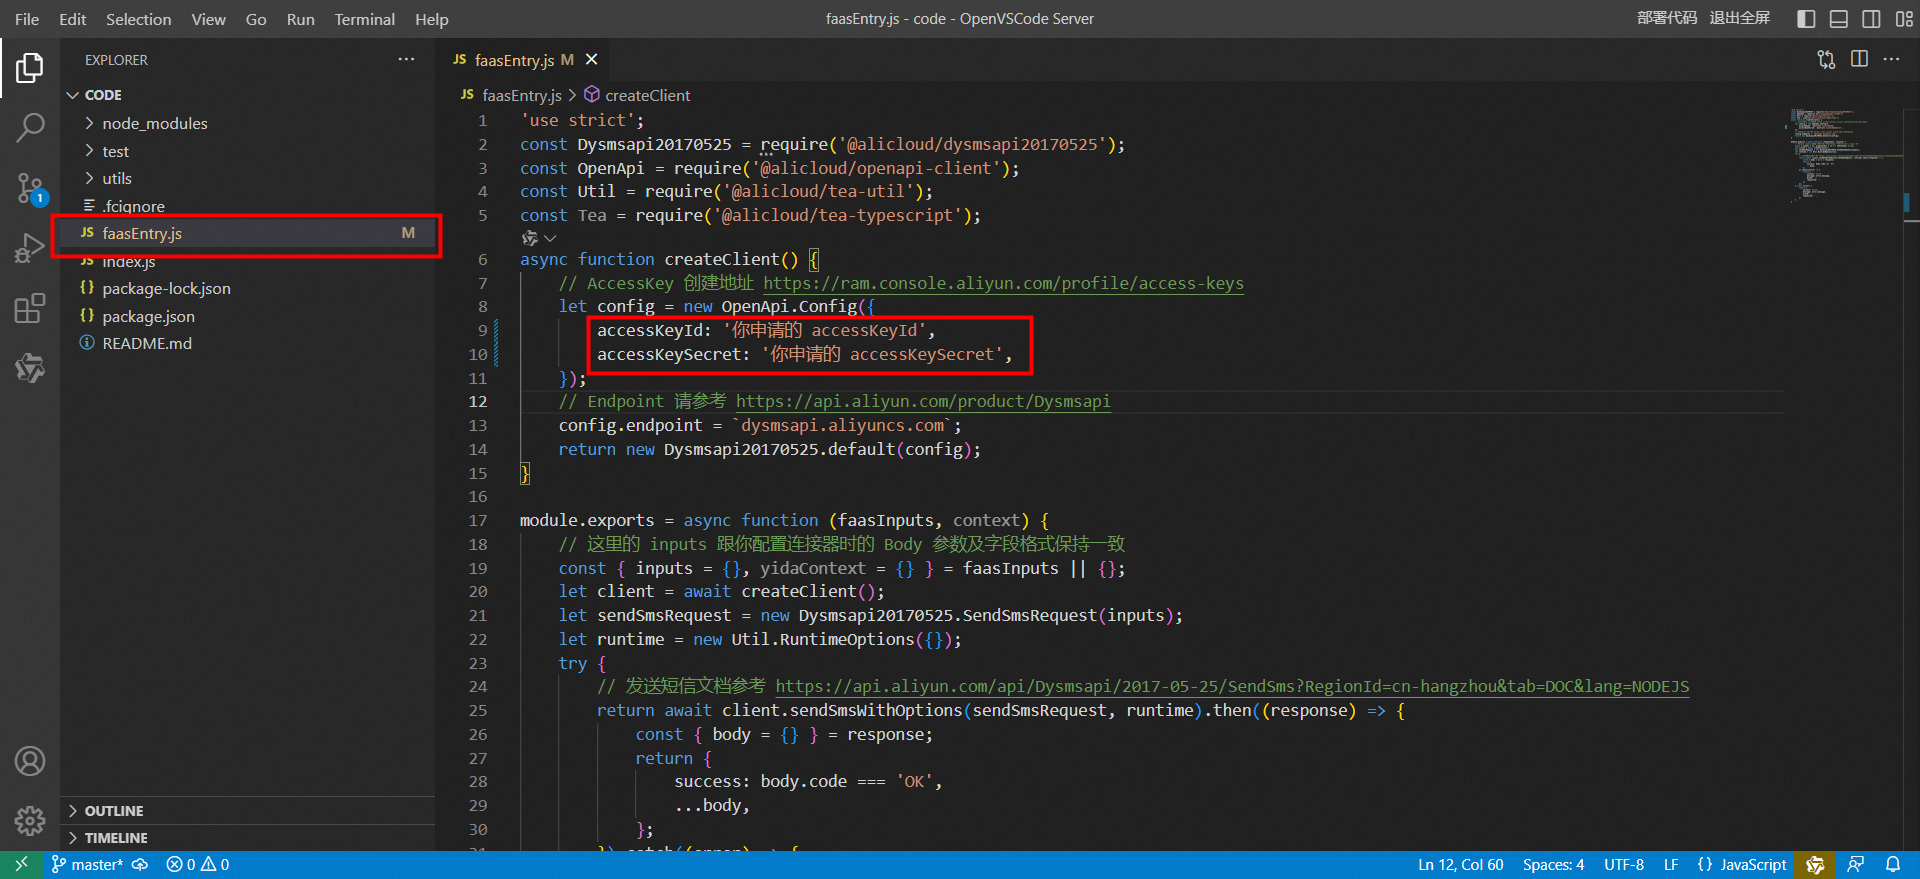
Replace the code in the faasEntry.js file completely.
Note the modificationaccessKeyIdAndaccessKeySecret.
'use strict';
const Dysmsapi20170525 = require('@alicloud/dysmsapi20170525');
const OpenApi = require('@alicloud/openapi-client');
const Util = require('@alicloud/tea-util');
const Tea = require('@alicloud/tea-typescript');
async function createClient() {
    // AccessKey 创建地址 https://ram.console.aliyun.com/profile/access-keys
    let config = new OpenApi.Config({
        accessKeyId: '你申请的 accessKeyId',
        accessKeySecret: '你申请的 accessKeySecret',
    });
    // Endpoint 请参考 https://api.aliyun.com/product/Dysmsapi
    config.endpoint = `dysmsapi.aliyuncs.com`;
    return new Dysmsapi20170525.default(config);
}

module.exports = async function (faasInputs, context) {
    // 这里的 inputs 跟你配置连接器时的 Body 参数及字段格式保持一致
    const { inputs = {}, yidaContext = {} } = faasInputs || {};
    let client = await createClient();
    let sendSmsRequest = new Dysmsapi20170525.SendSmsRequest(inputs);
    let runtime = new Util.RuntimeOptions({});
    try {
        // 发送短信文档参考 https://api.aliyun.com/api/Dysmsapi/2017-05-25/SendSms?RegionId=cn-hangzhou&tab=DOC&lang=NODEJS
        return await client.sendSmsWithOptions(sendSmsRequest, runtime).then((response) => {
            const { body = {} } = response;
            return {
                success: body.code === 'OK',
                ...body,
            };
        }).catch((error) => {
            return {
                success: false,
                message: error.message,
                bizId: '',
                requestId: '',
            };
        });
    } catch (error) {
        return {
            success: false,
            message: error.message,
            bizId: '',
            requestId: '',
        };
    }
}
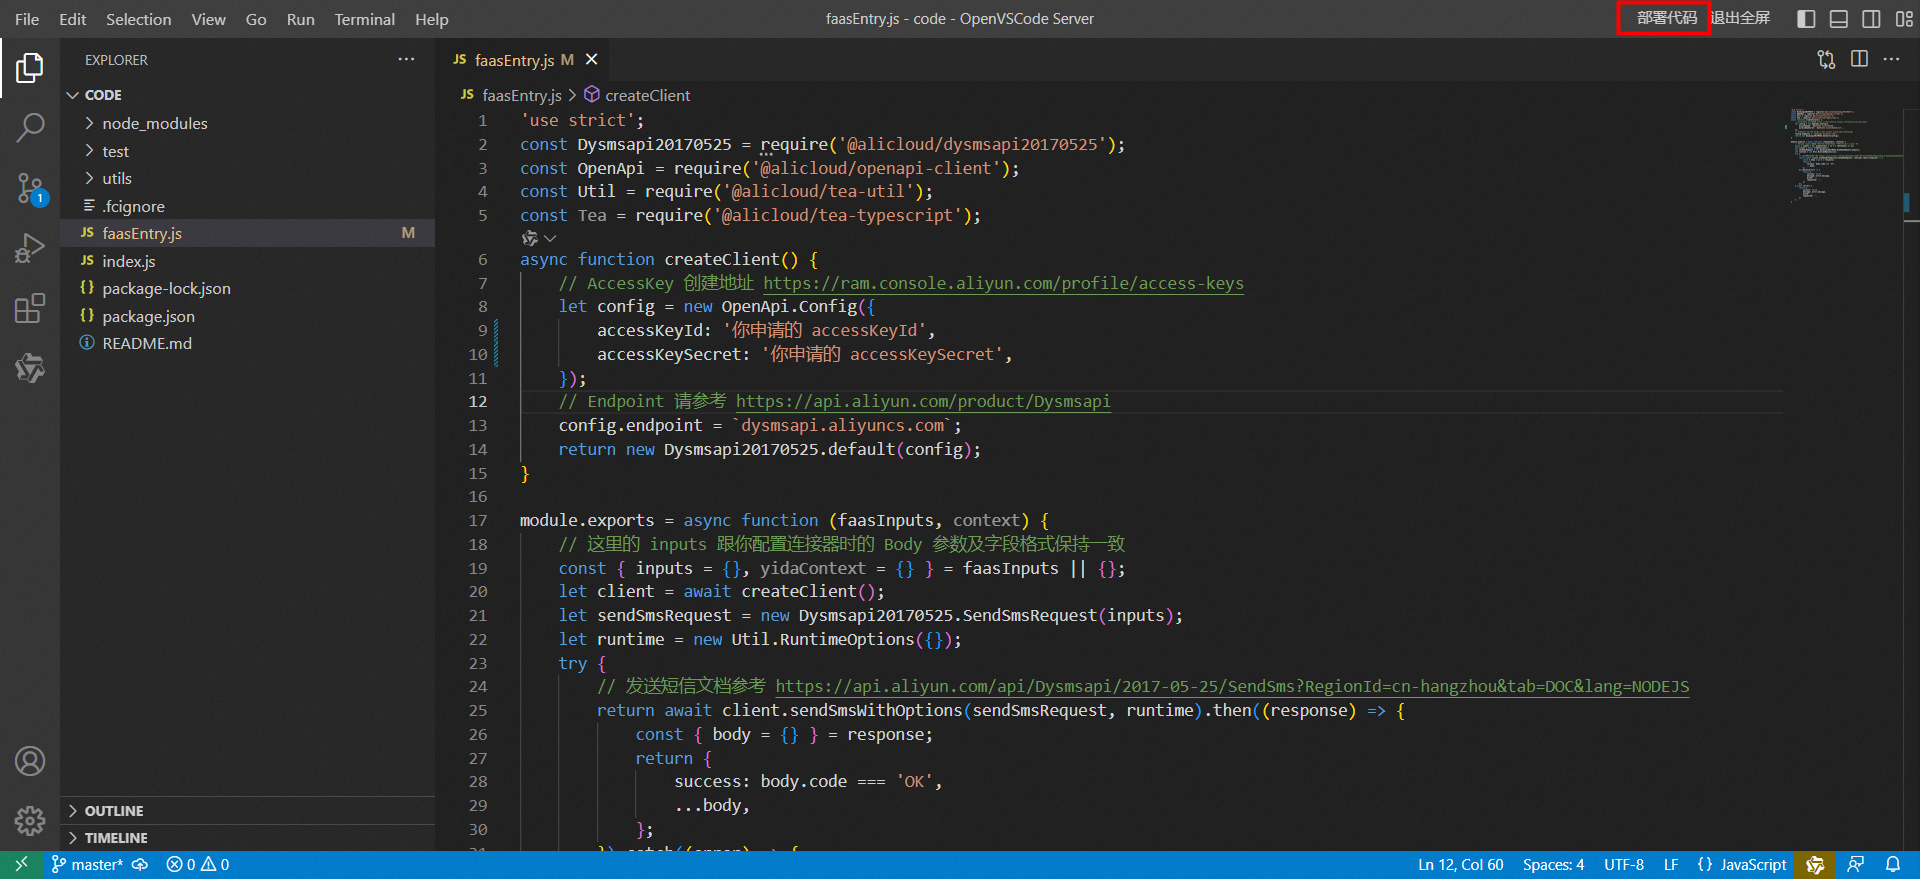
Deployment code
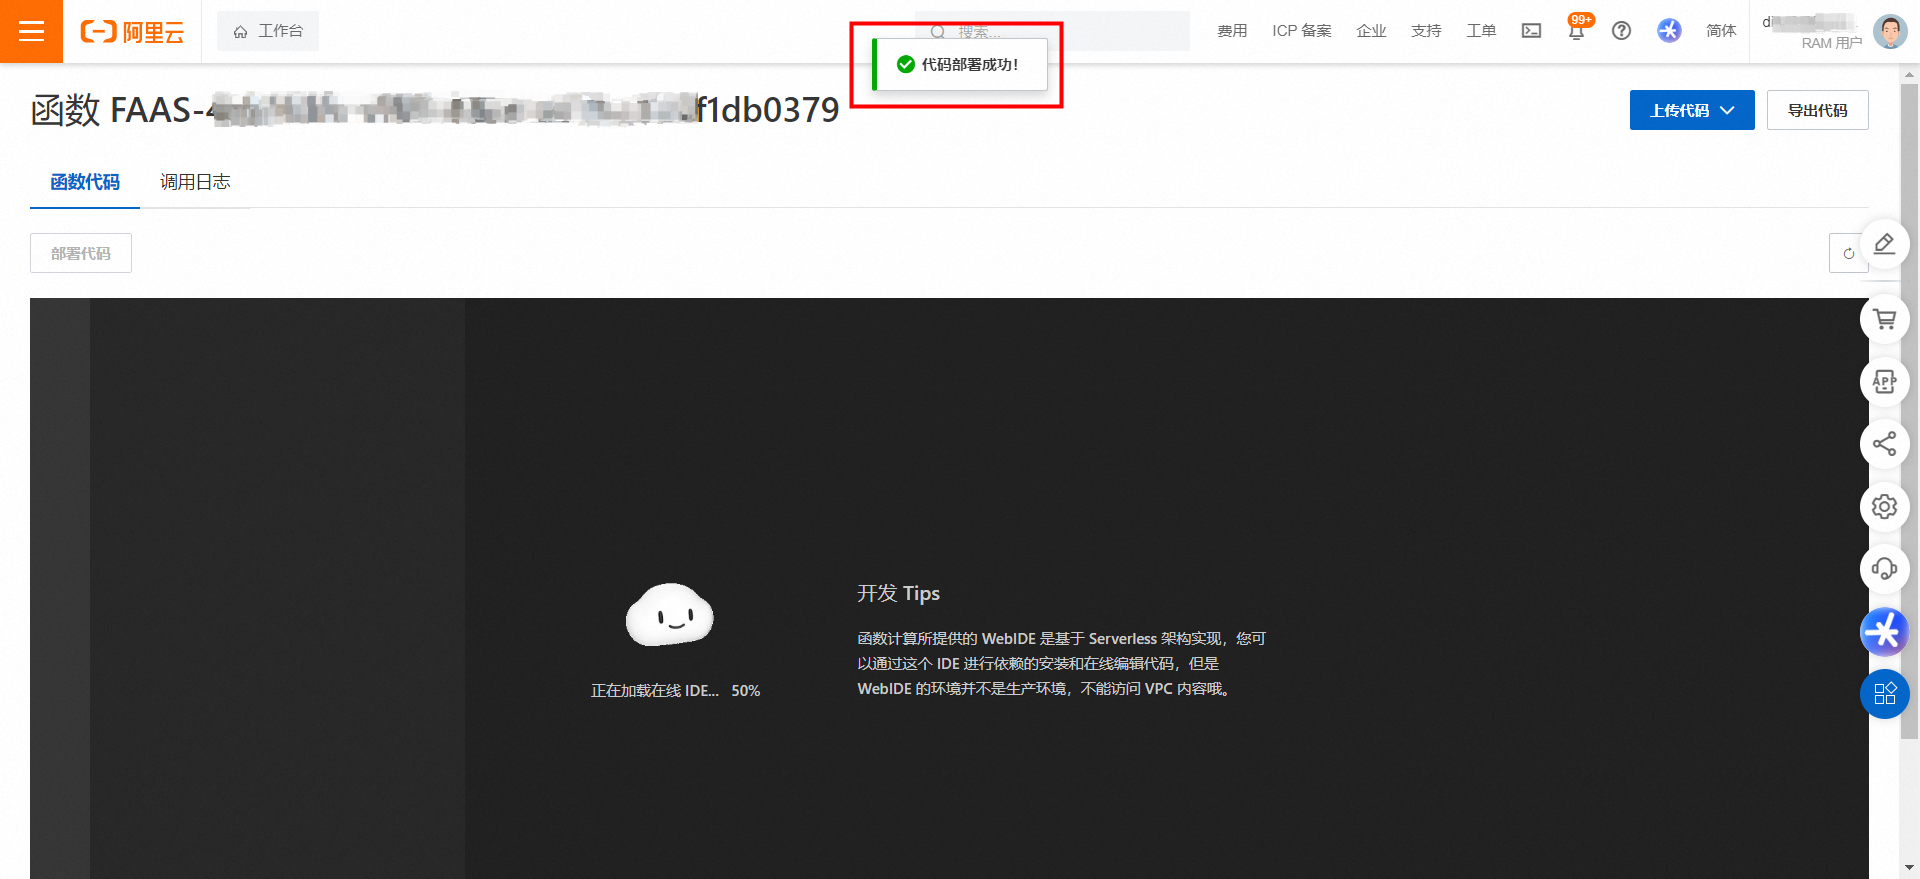
Test connector
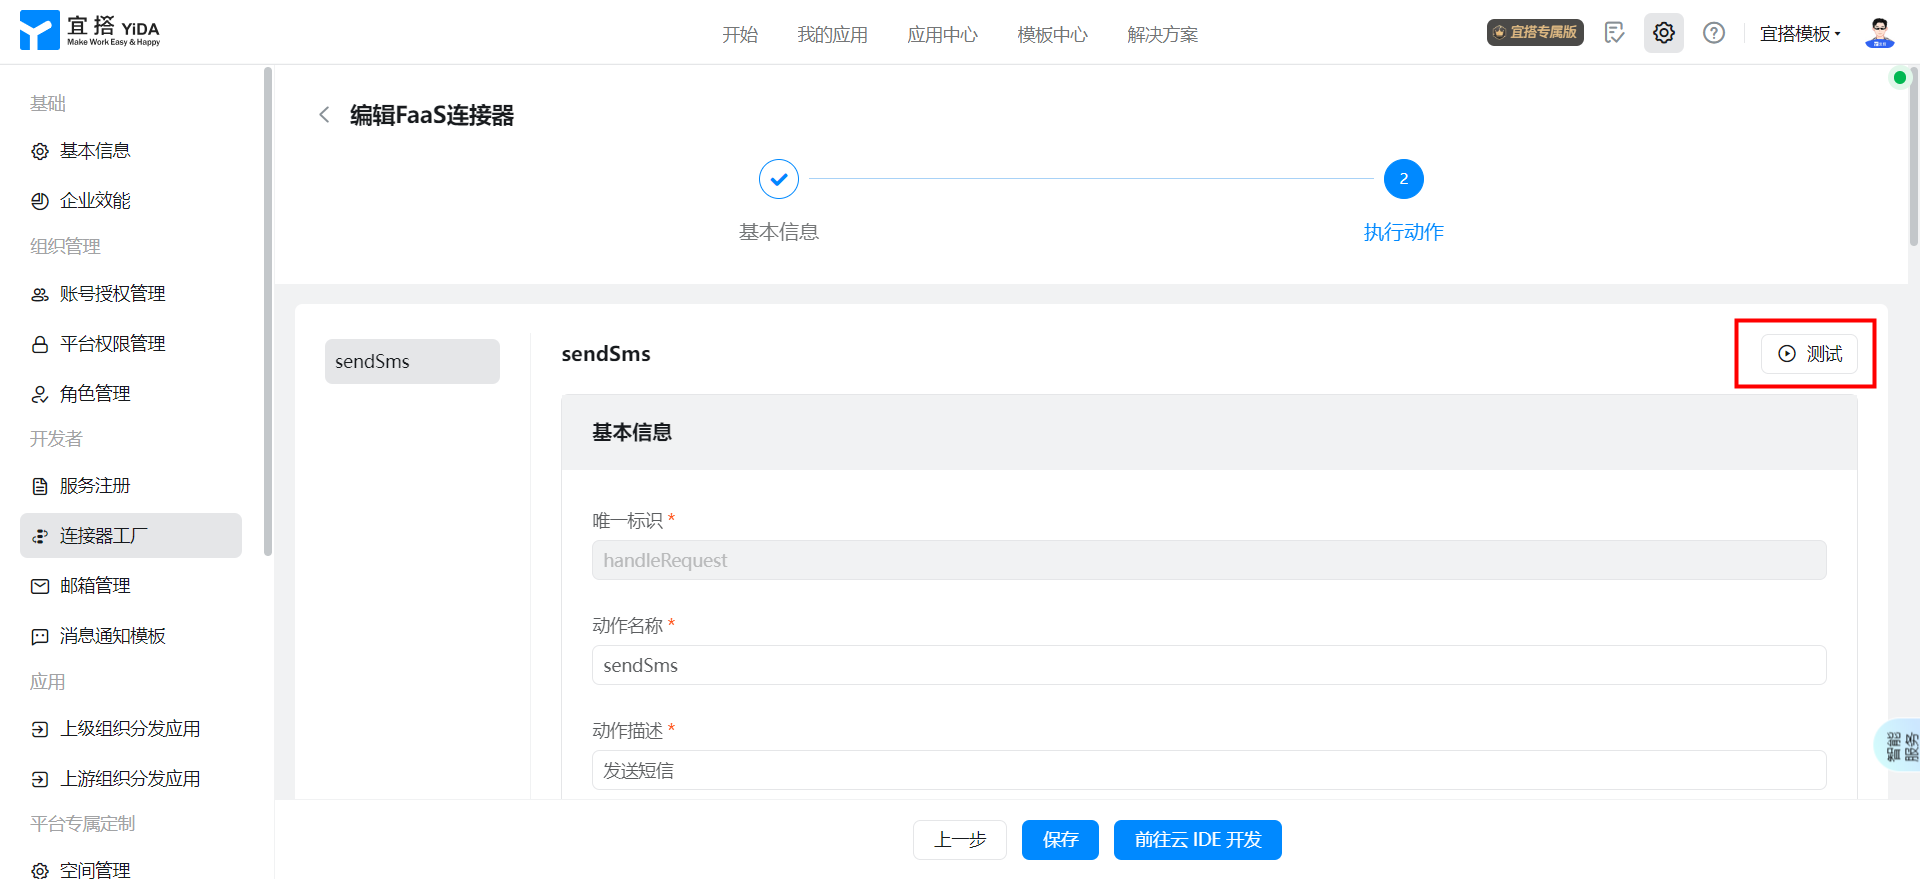
Click the test button.
Enter Request Body information and click test.
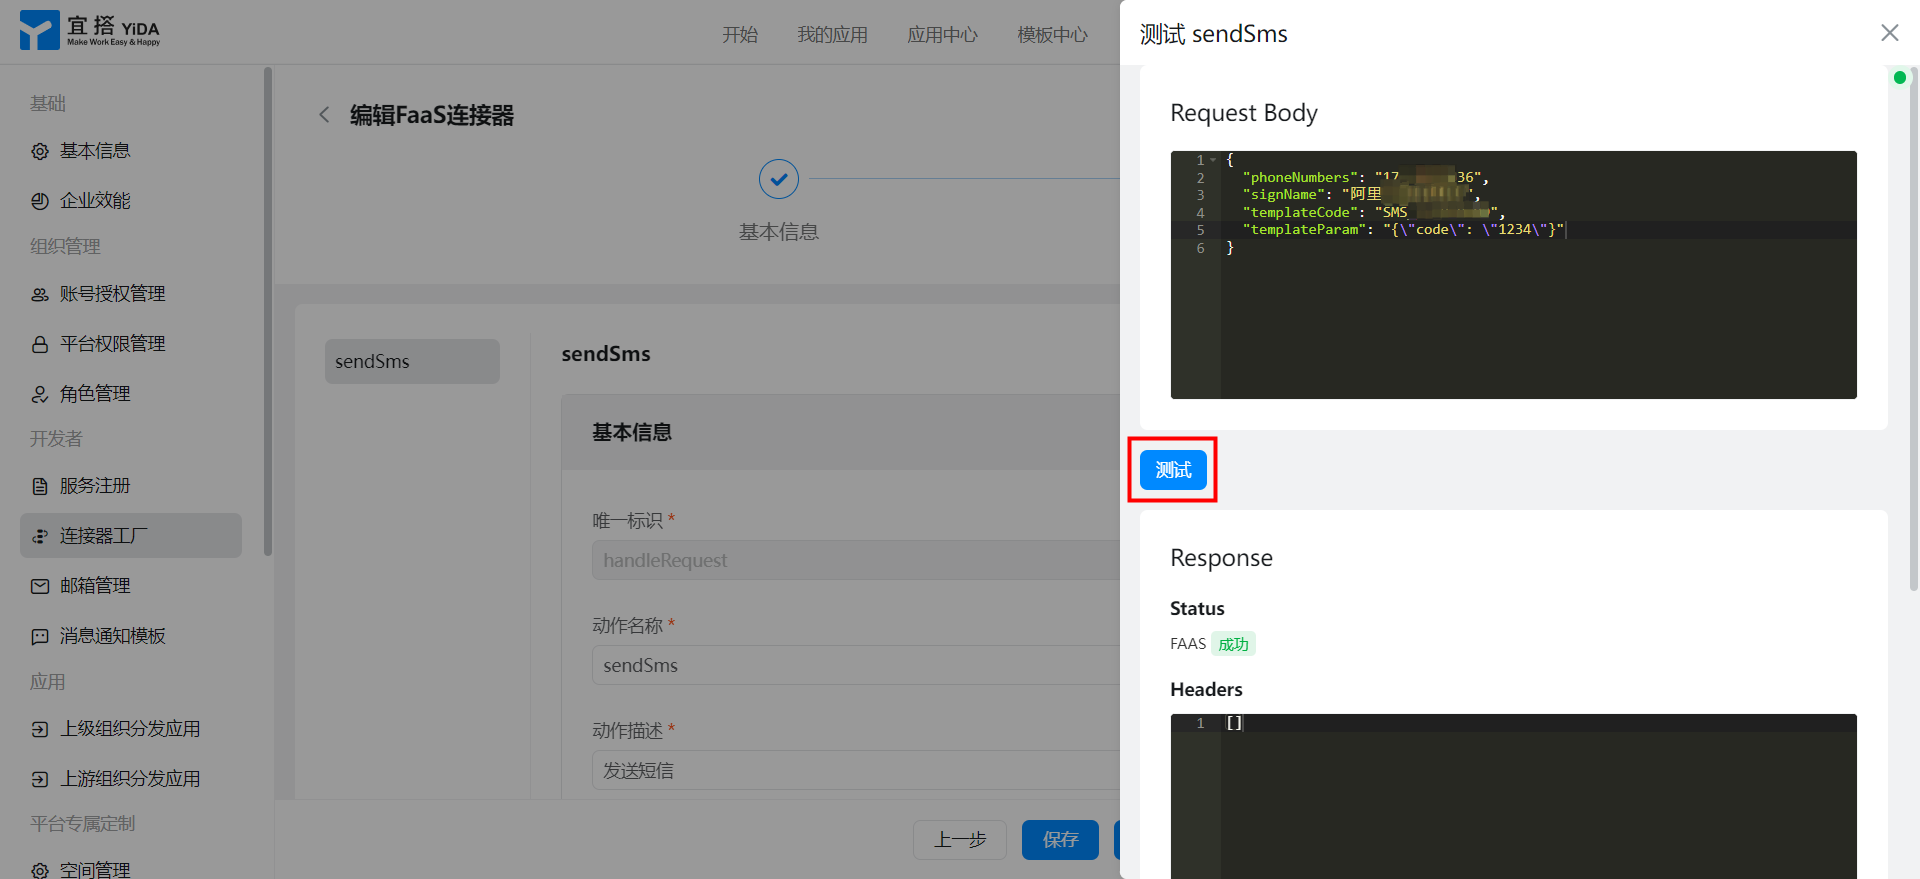
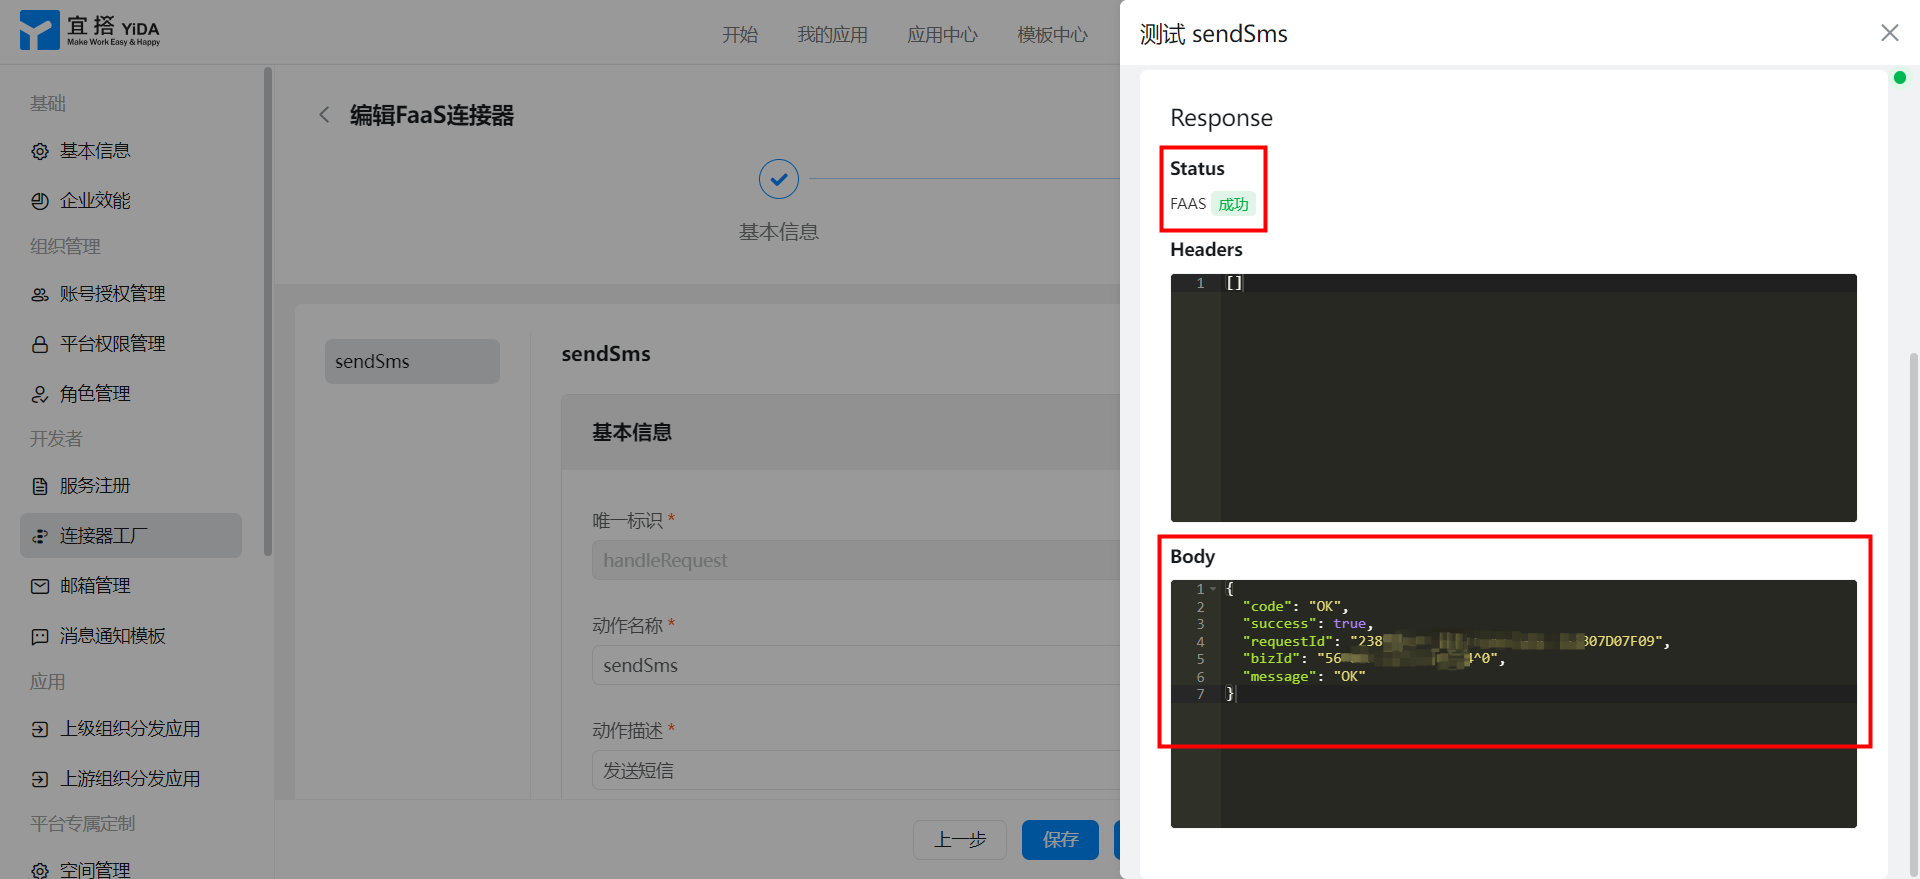
The following information indicates that the connector configuration is successful.
