Obtain logon information
In the process of building YIDA applications, you may encounter the following problems.
- In the attendance management system, record the employee's work number and clock-in record, associate the name and avatar, which is convenient for managers to review and count the employee's attendance.
- In HR system, it is used for employee file management, salary payment, performance evaluation, training records, etc. The employee number is used as the unique identifier and is associated with all relevant information of the employee.
- In the project management tool, the employee information of the assigned task is displayed, including the name and avatar, so as to track the progress of the task and clarify the responsibility.
Prerequisites
This tutorial uses some basic functions of YIDA. You can first understand the followingForm formula,JS-API.
Effect
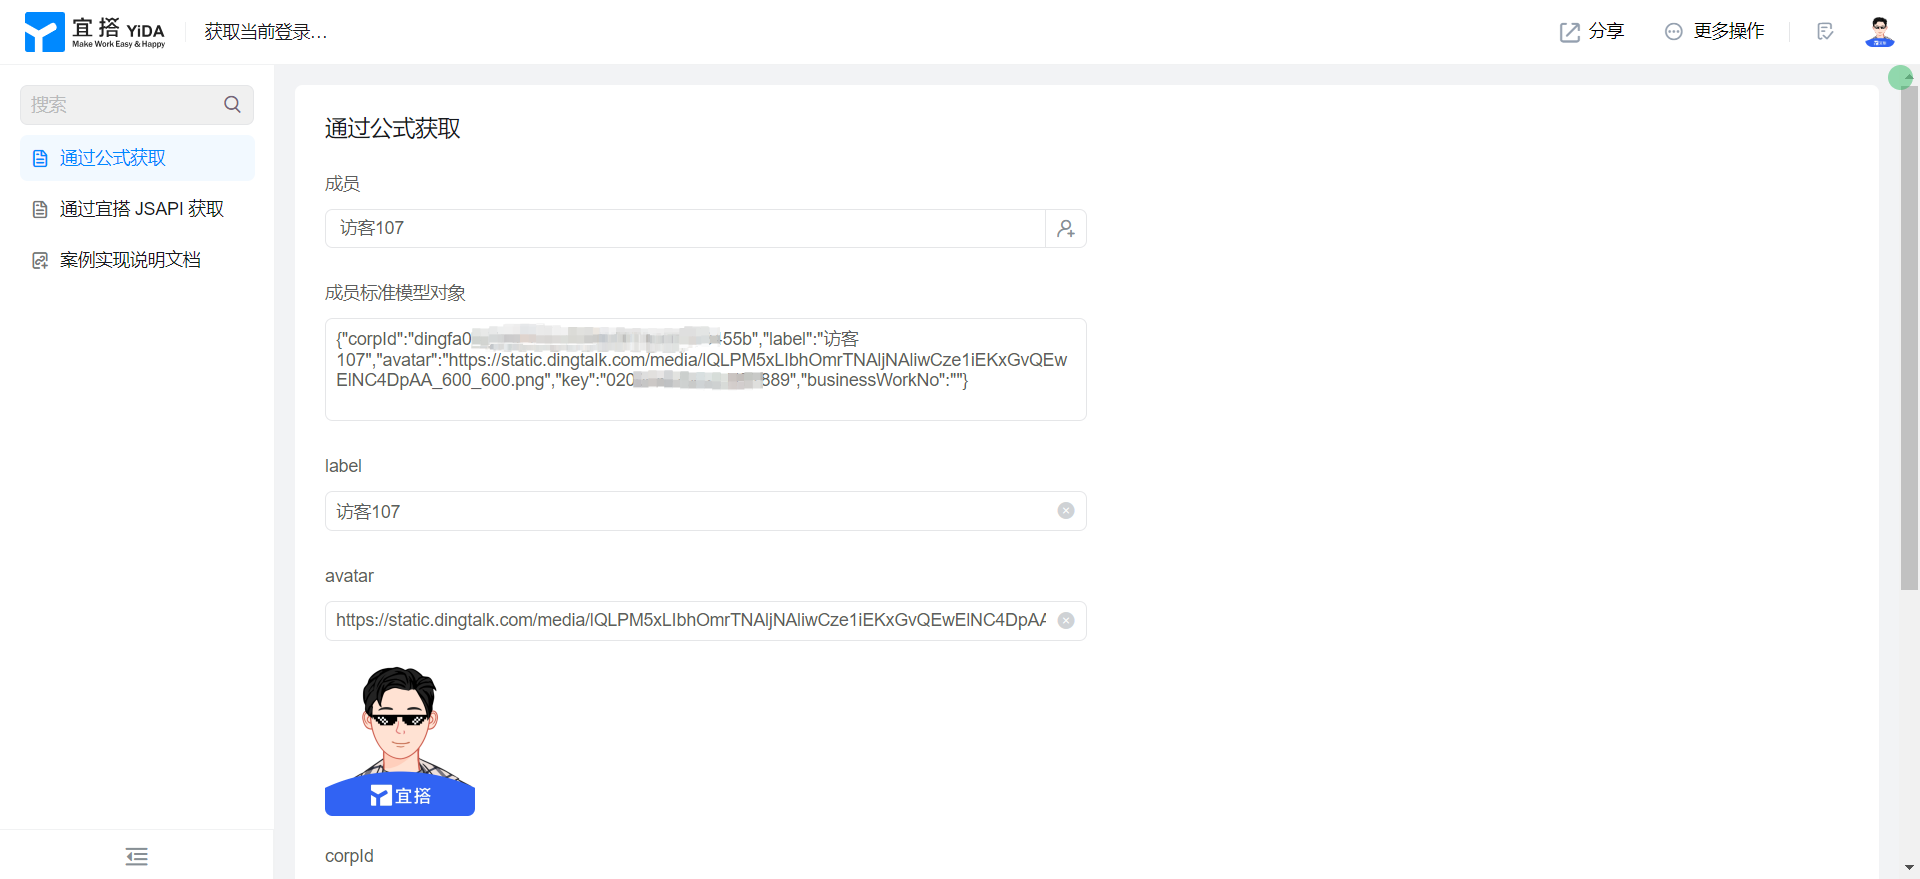
Obtain by formula
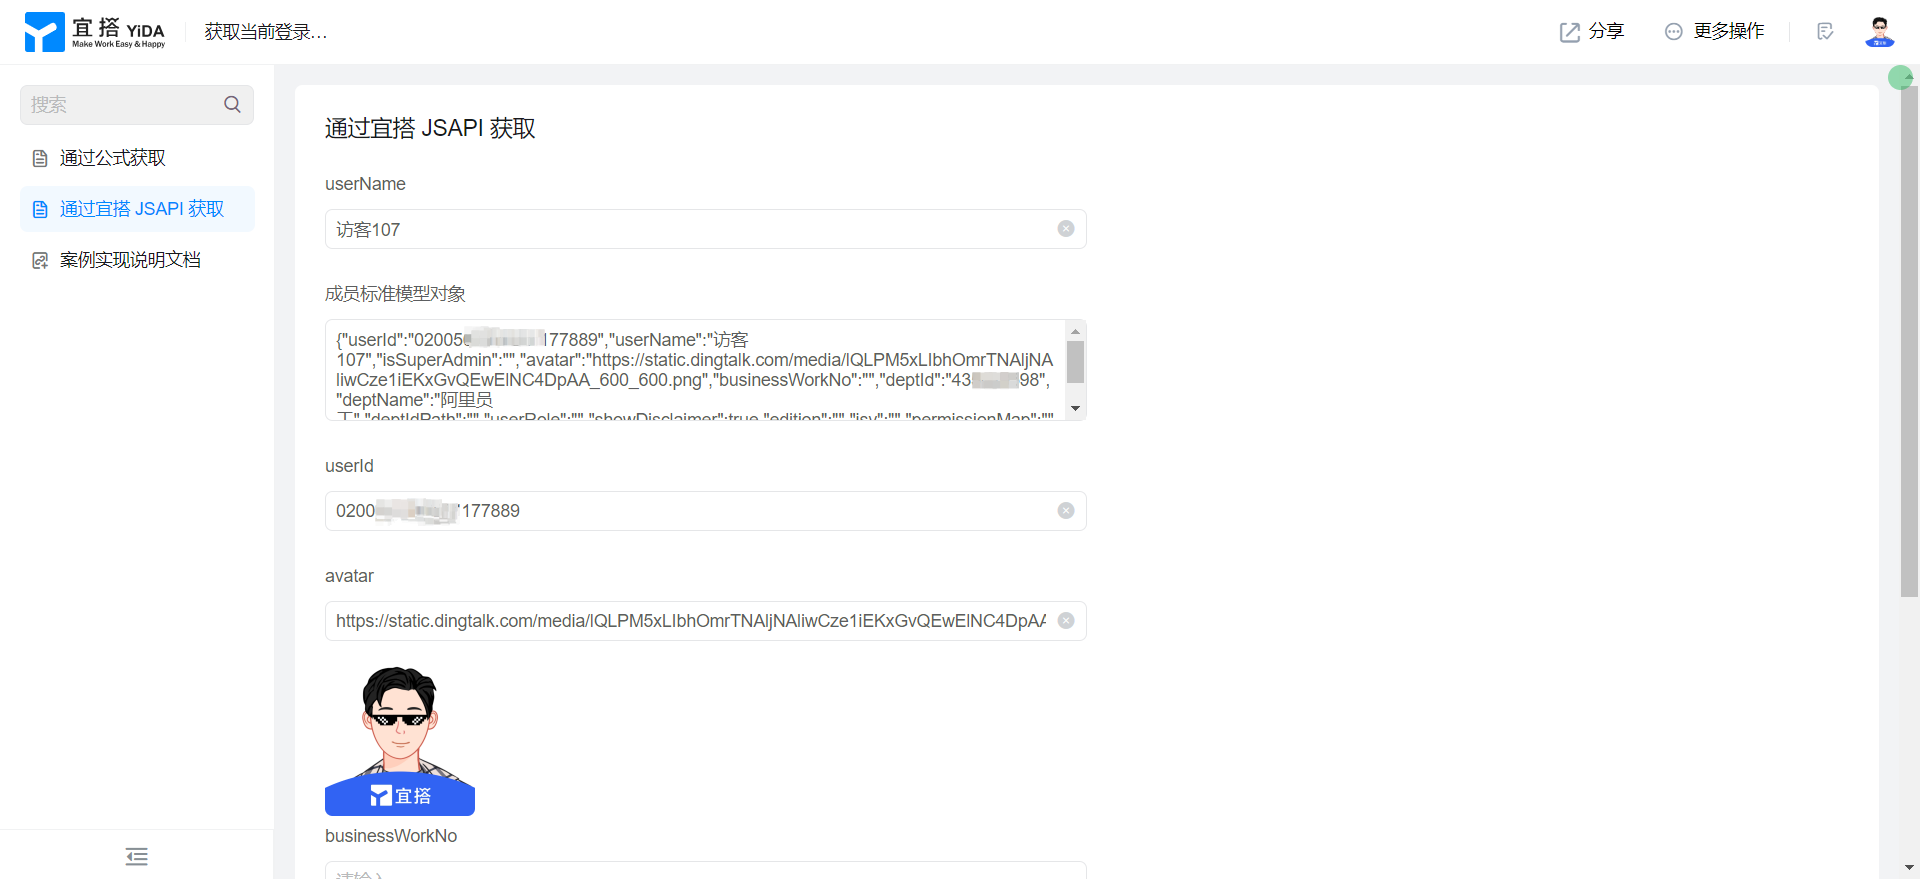
Obtain by YIDA JS-API
Implementation steps
Obtain by formula
{
	"corpId": "登录人 corpId",
	"label": "登录人姓名",
	"avatar": "头像地址",
	"key": "登录人 userId",
	"businessWorkNo": "登录人工号"
}
Create a common form page
Create a common form page. For more information, seeCommon form.
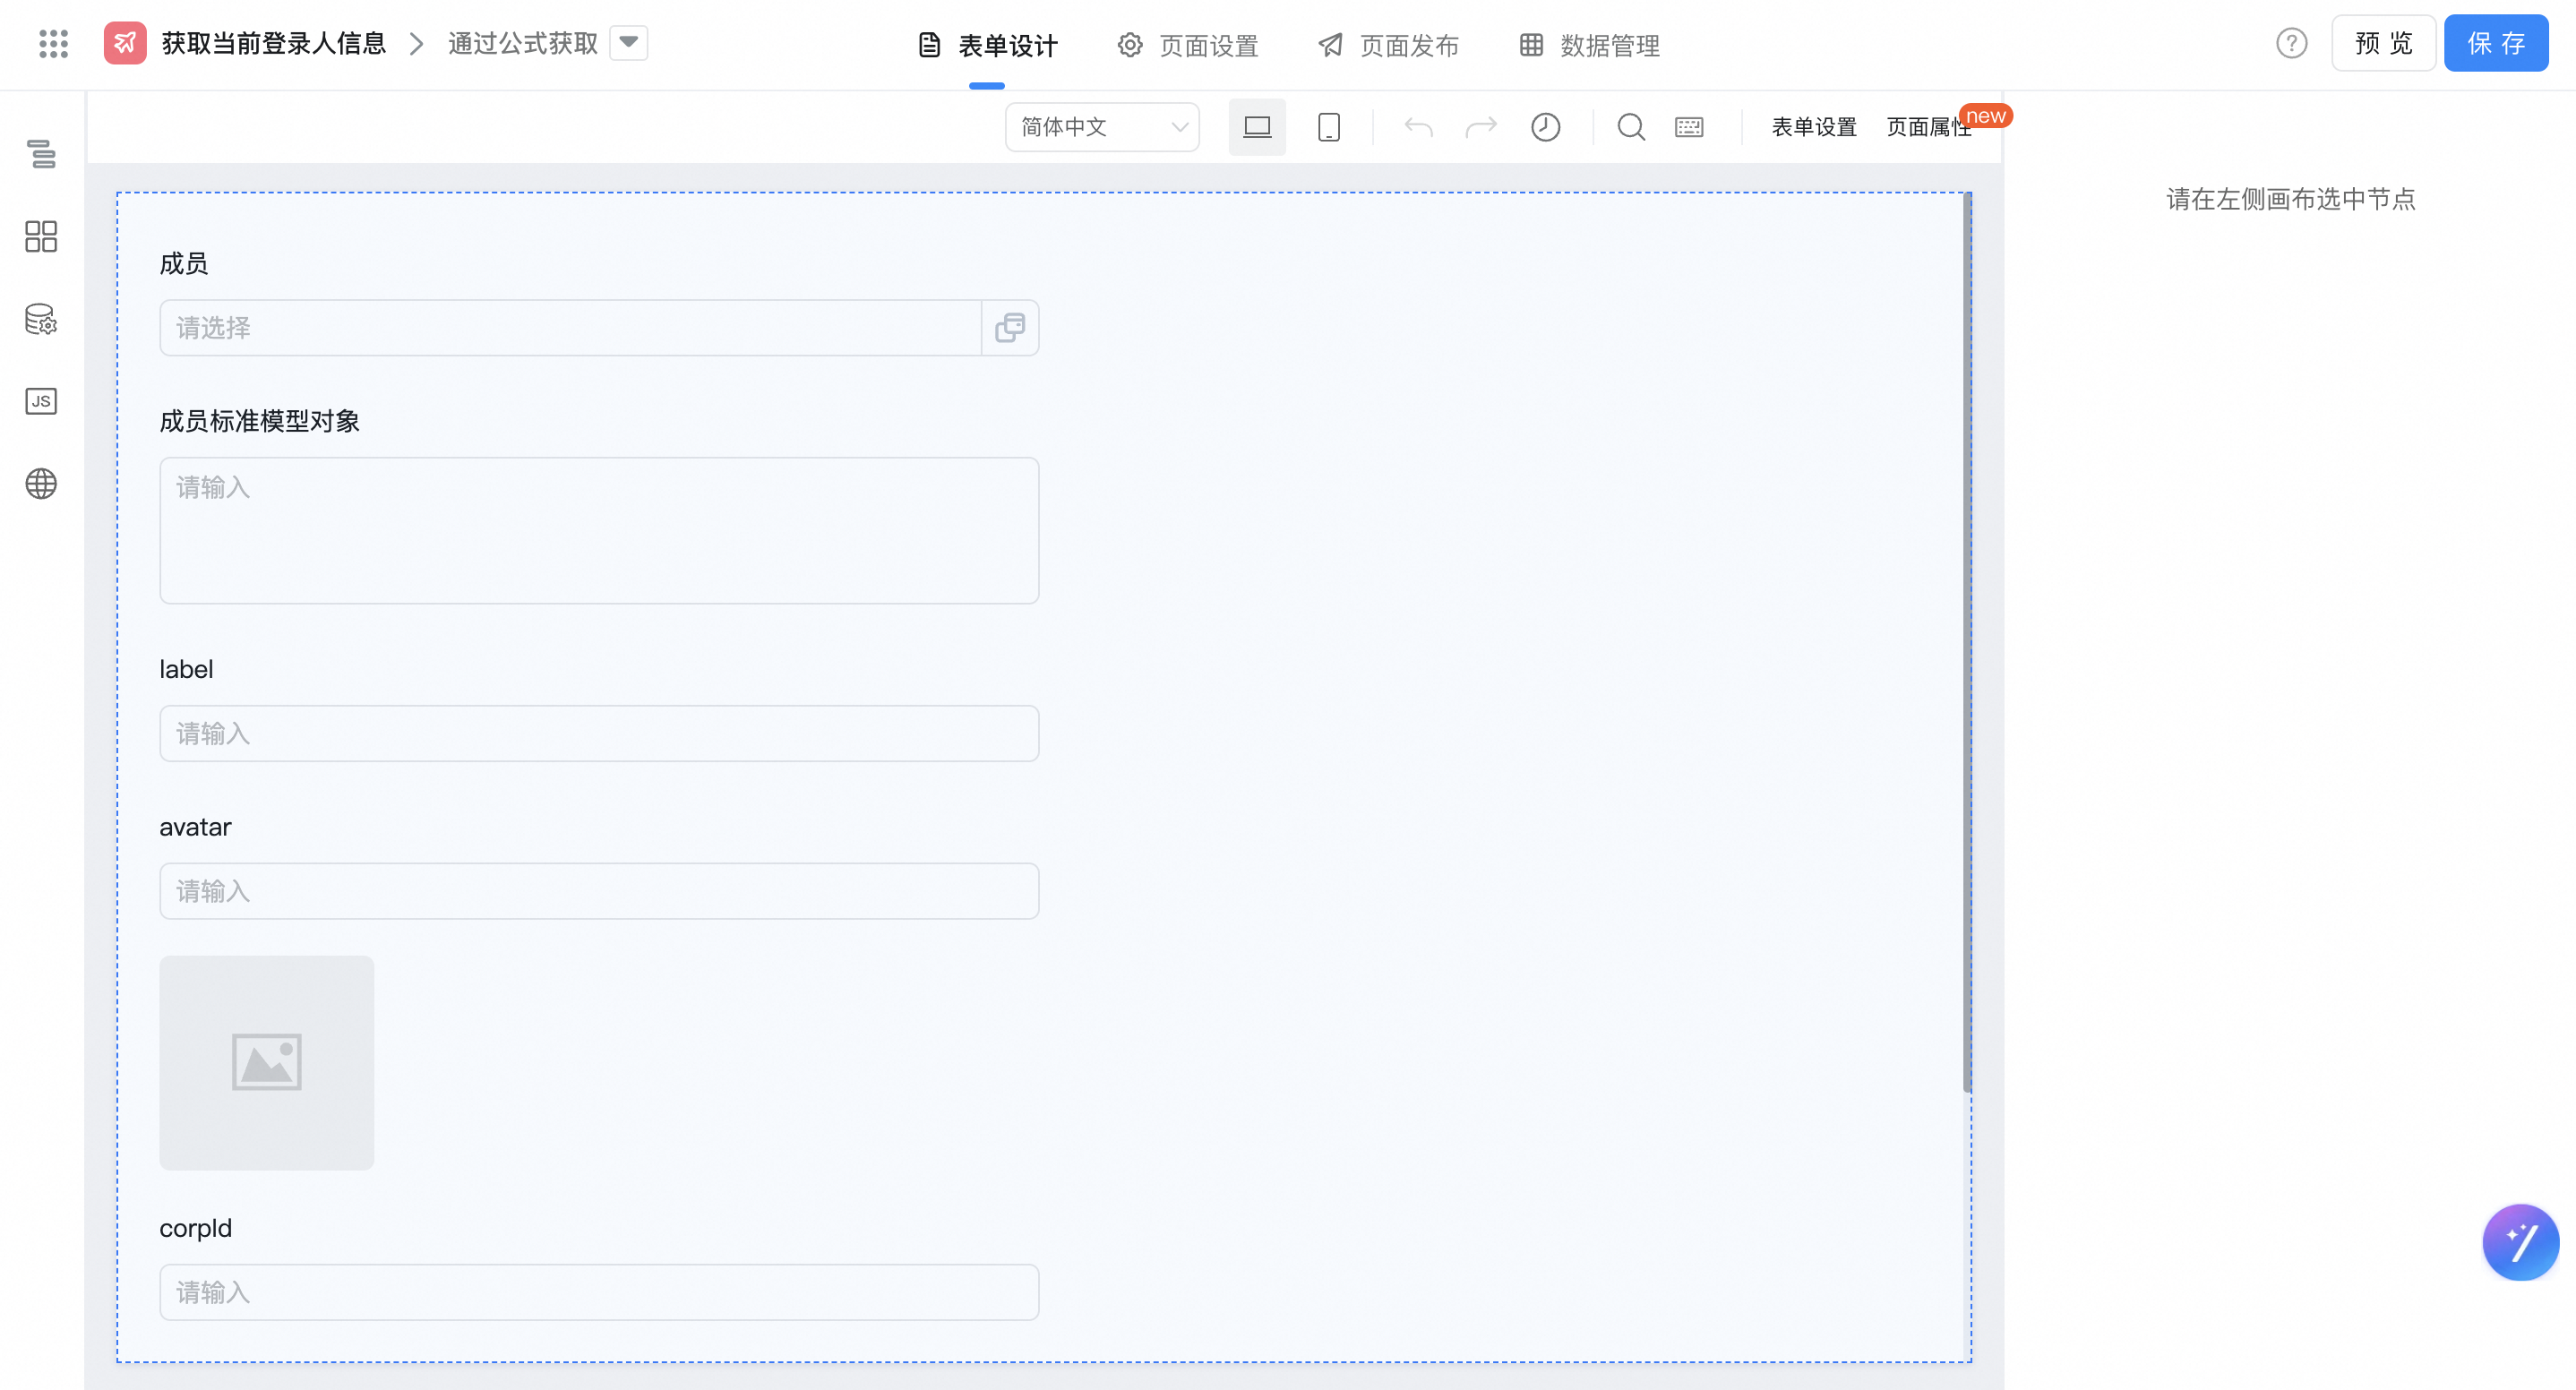
Drag the following components into the canvas area.
- Member: Named as a member
- Multi-line text: Named member Standard Model object
- Single line text: Named label
- Single line text: named avatar
- Picture: used for image display of avatar
- Single line text: named corpId
- Single line text: named businessWorkNo
- Single line text: named userId
Add Form formula
"Member" select formula Edit and configure the formula shown in the following figure. You can also copy the formula source code directly, and pay attention to modifying the fields.
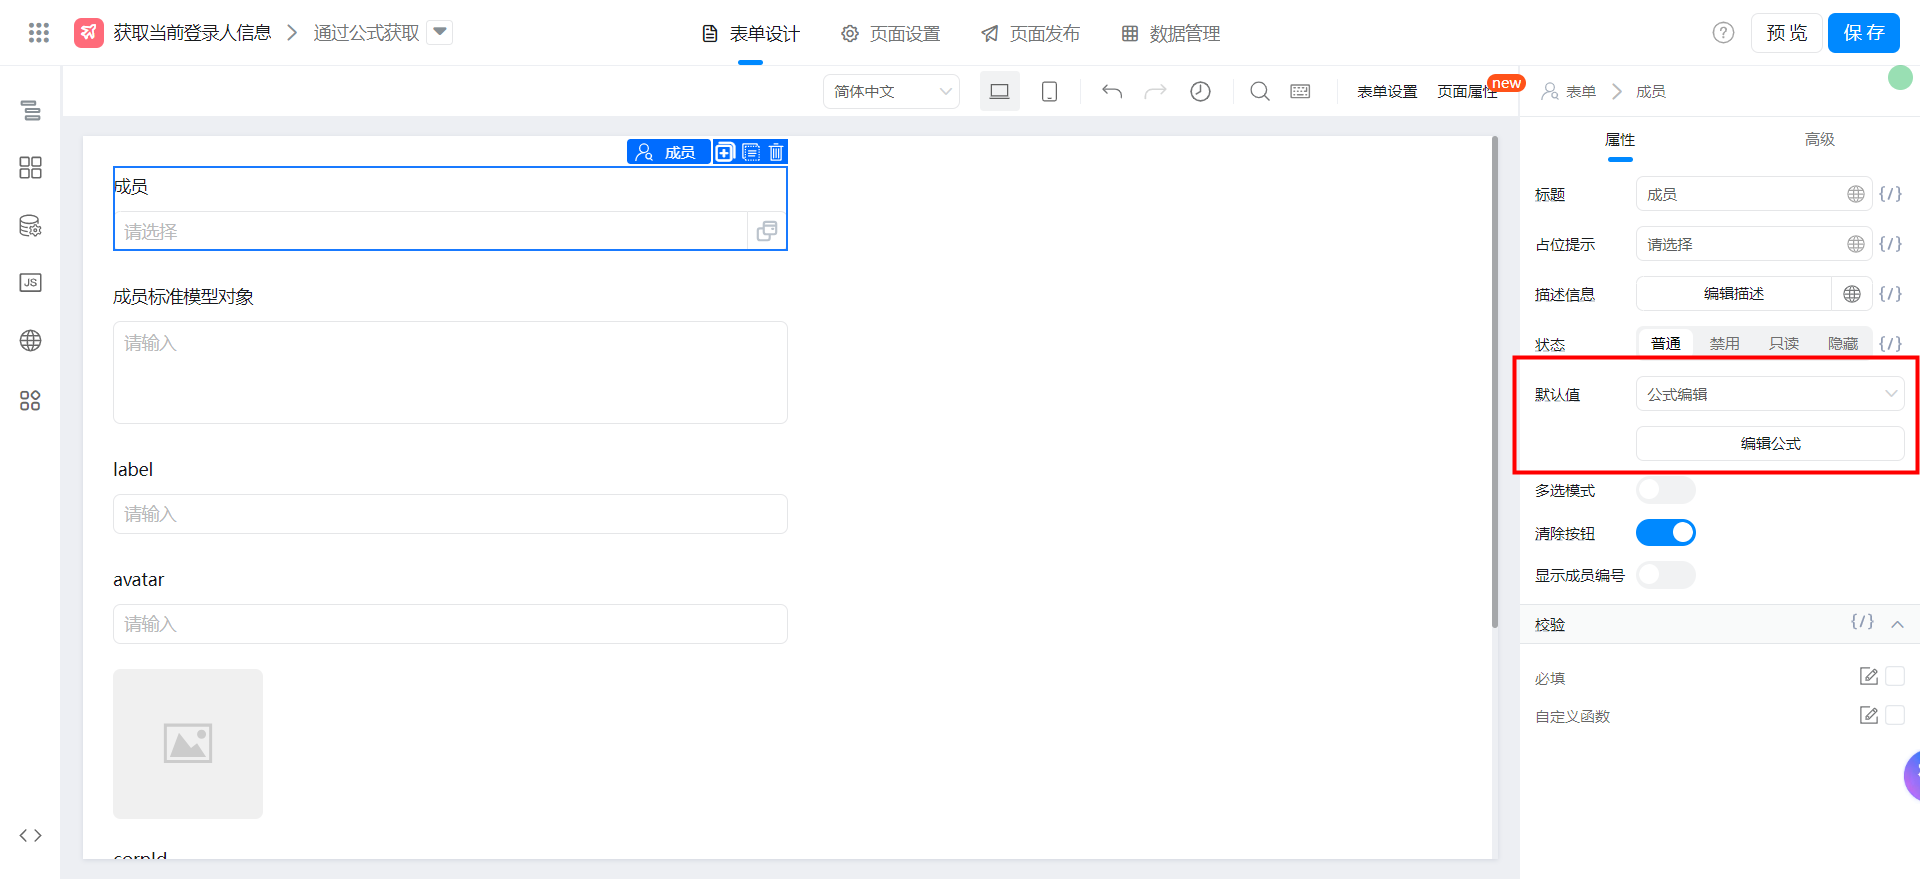
{"text":"USER()","marks":[],"isCmData":true}
Member name "label" select formula Edit and configure the formula shown in the following figure. You can also copy the formula source code directly. Note that you can modify the fields.
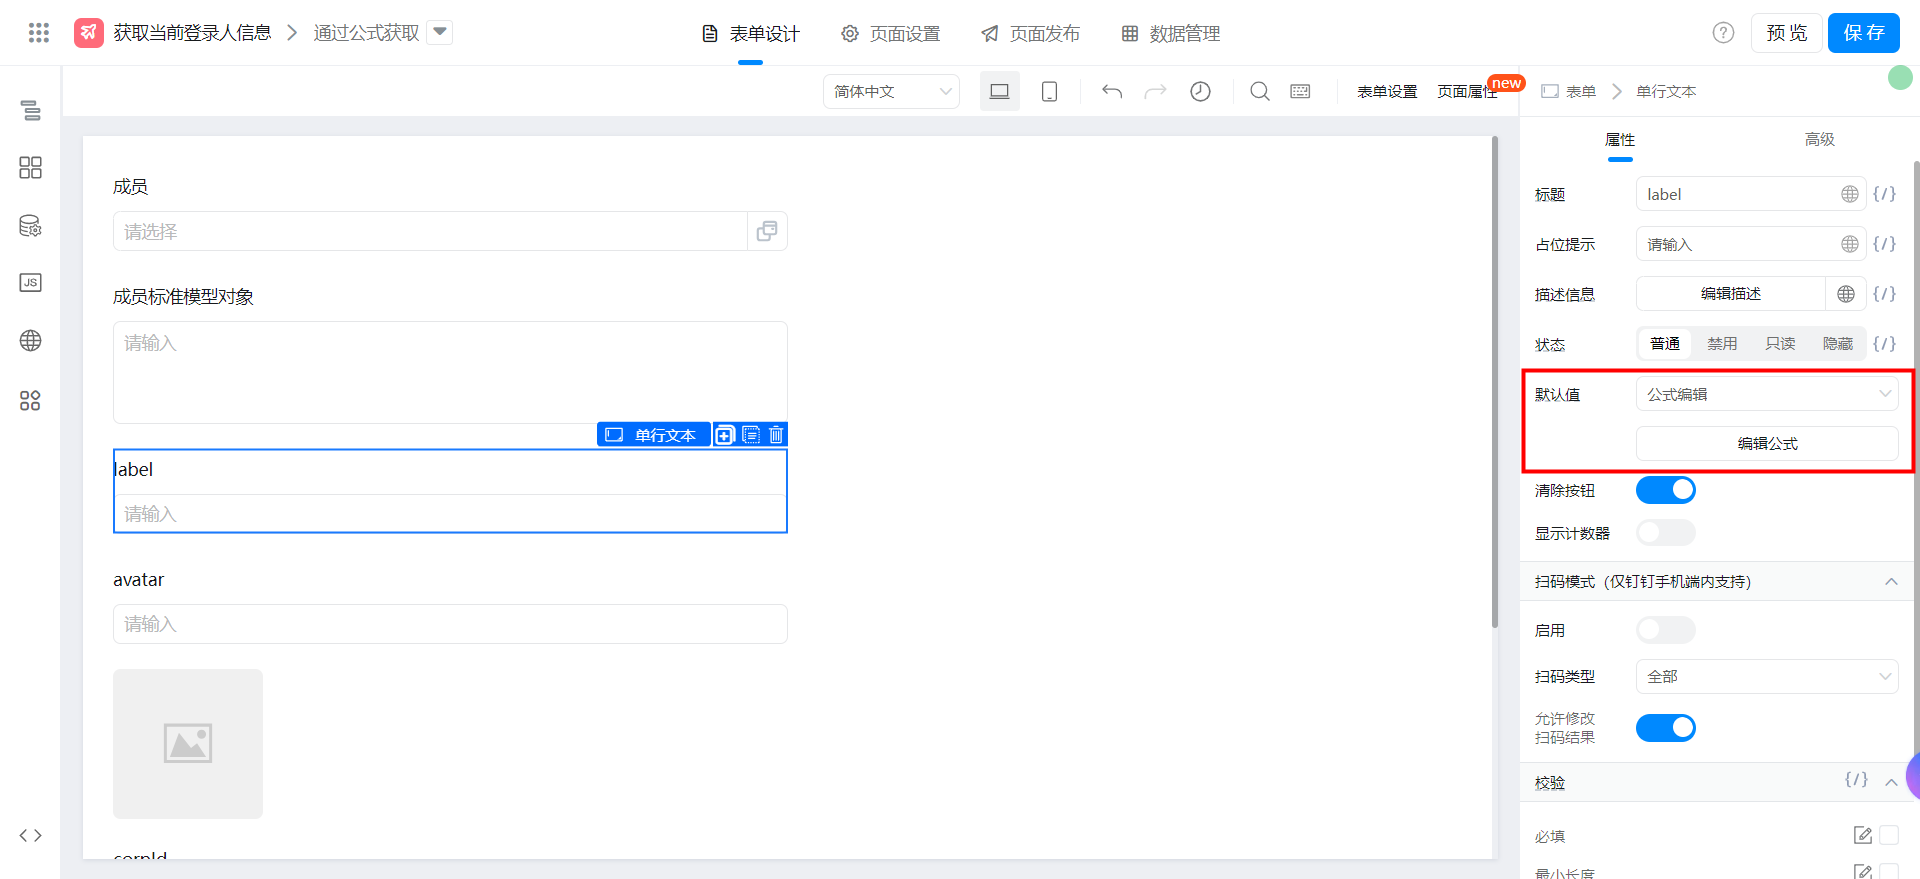
{"text":"GetObjectField(GetArrayItem(UserBuilder(成员),1),\"label\")","marks":[{"from":{"line":0,"ch":40,"sticky":null},"to":{"line":0,"ch":44,"sticky":null},"value":"employeeField_lbeuamvz","invalid":false}],"isCmData":true}
avatar Image address "avatar" select formula Edit, and configure the formula shown in the following figure. You can also directly copy the formula source code, and pay attention to modifying the fields.
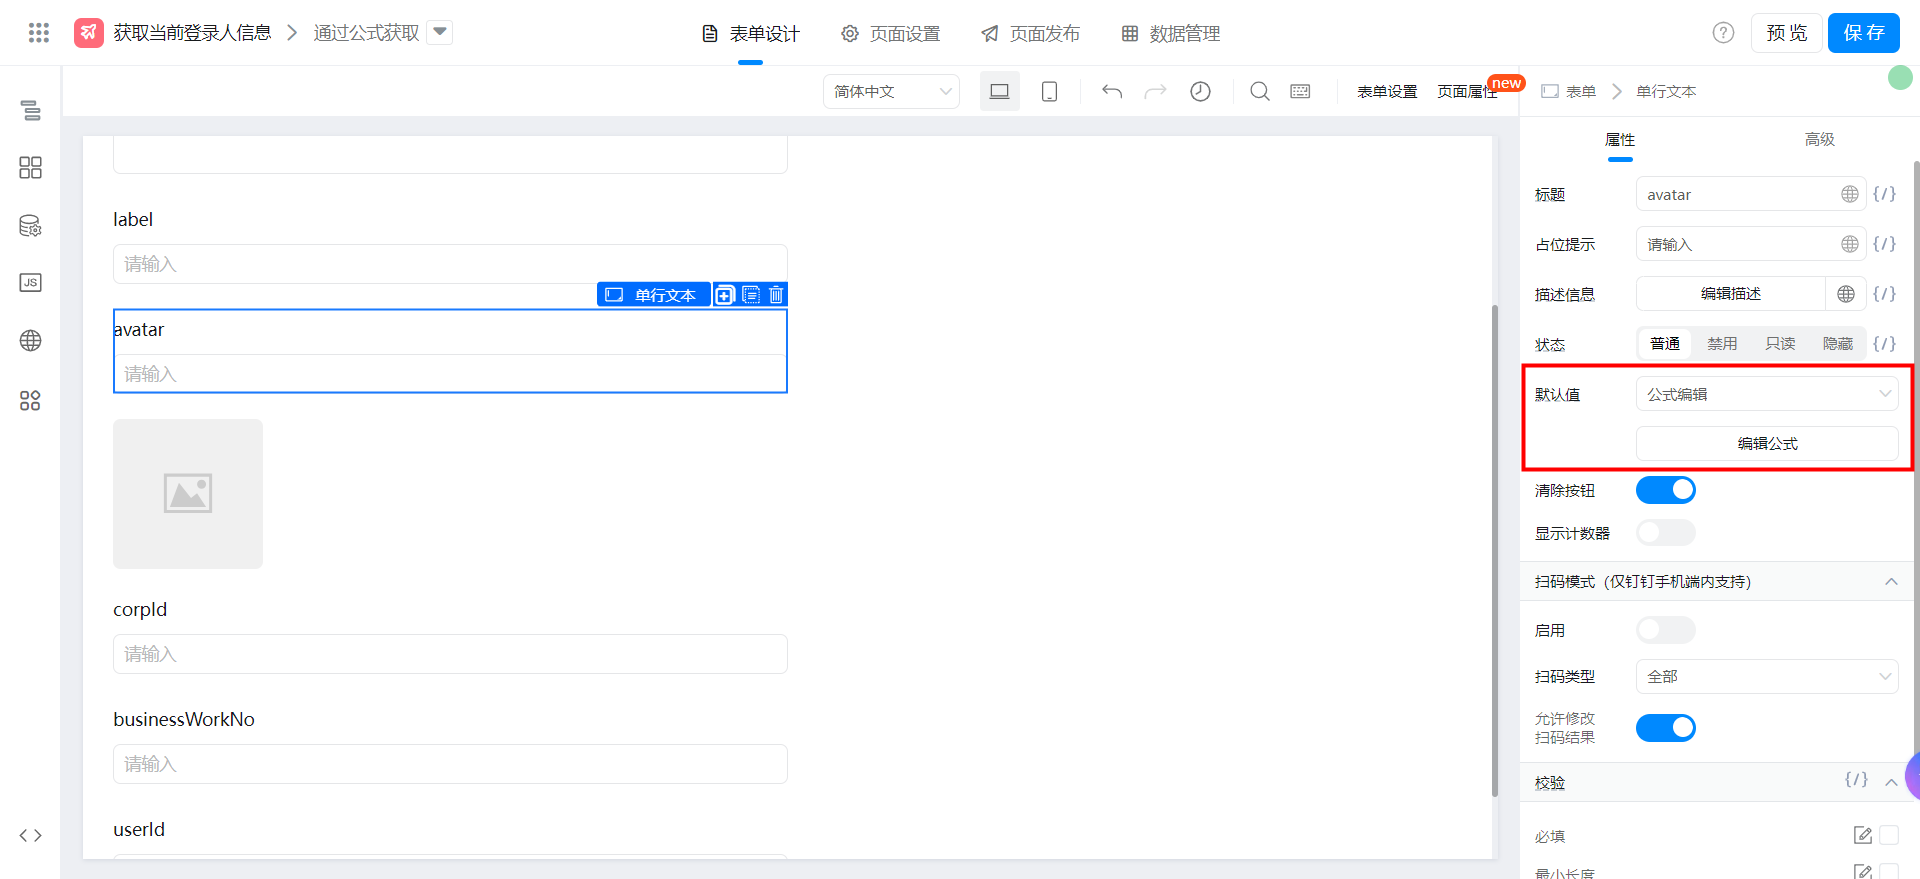
{"text":"GetObjectField(GetArrayItem(UserBuilder(成员),1),\"avatar\")","marks":[{"from":{"line":0,"ch":40,"sticky":null},"to":{"line":0,"ch":44,"sticky":null},"value":"employeeField_lbeuamvz","invalid":false}],"isCmData":true}
Select Formula edit and configure the formula shown in the following figure. You can also directly copy the formula source code and modify the fields.
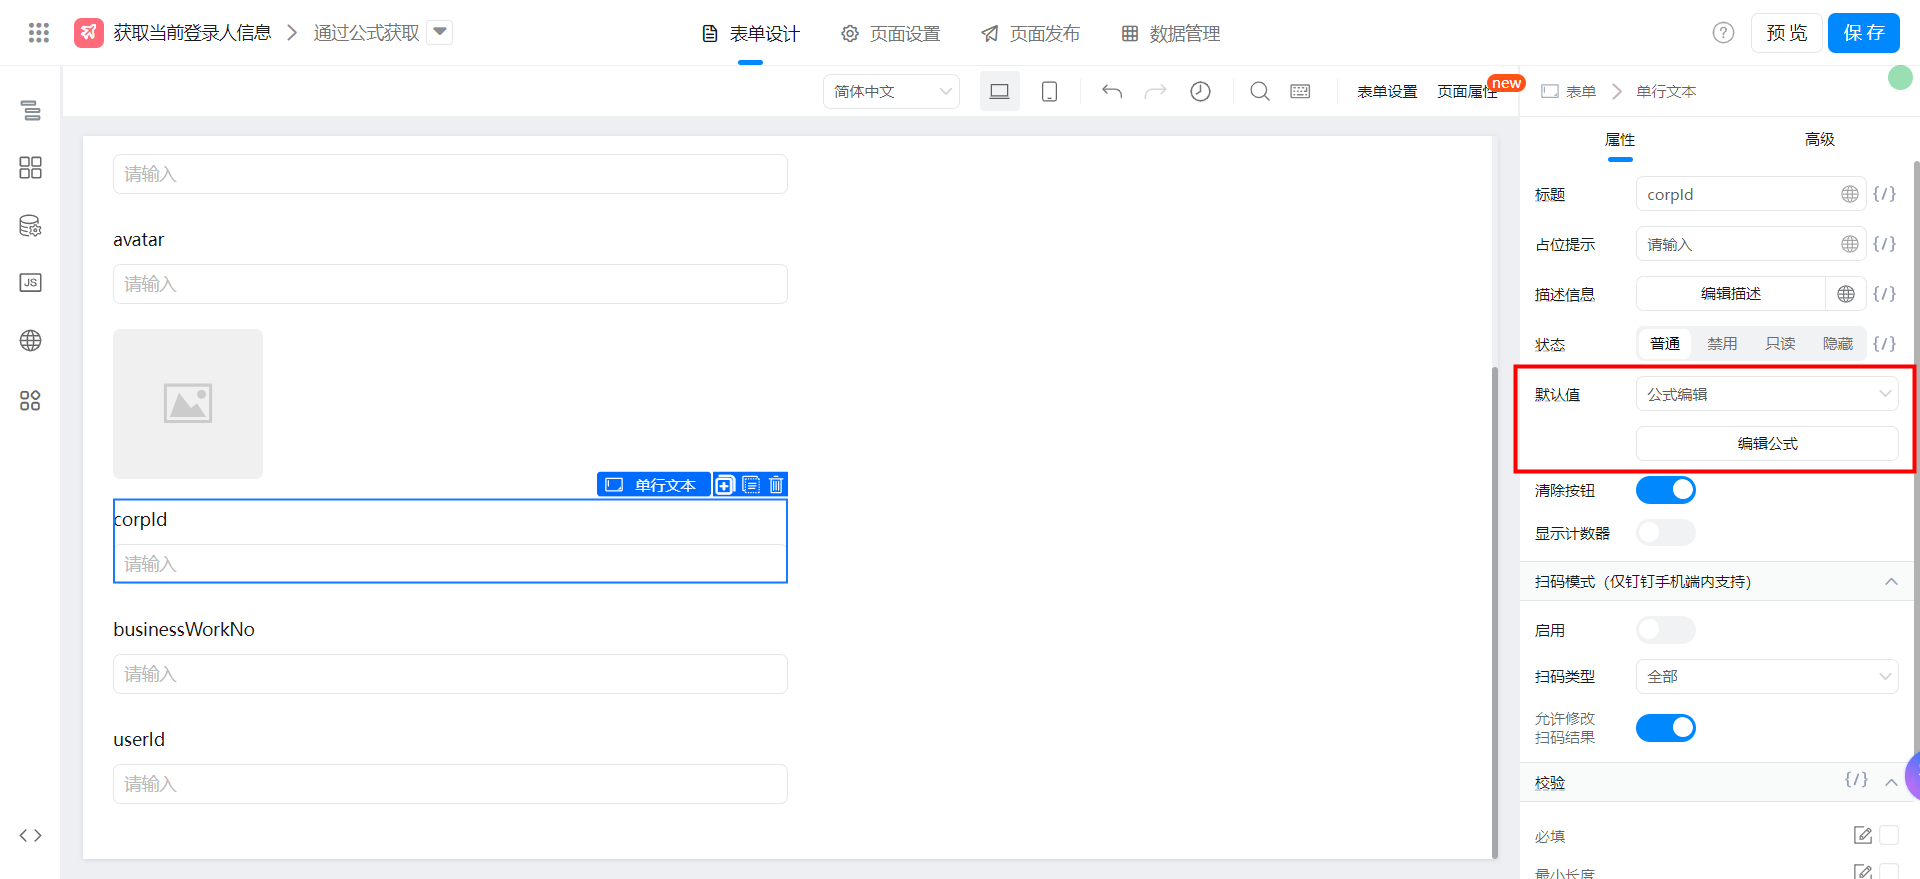
{"text":"GetObjectField(GetArrayItem(UserBuilder(成员),1),\"corpId\")","marks":[{"from":{"line":0,"ch":40,"sticky":null},"to":{"line":0,"ch":44,"sticky":null},"value":"employeeField_lbeuamvz","invalid":false}],"isCmData":true}
The employee ID "businessWorkNo" selects formula editing and configures the formula shown in the following figure. You can also directly copy the formula source code and modify the fields.
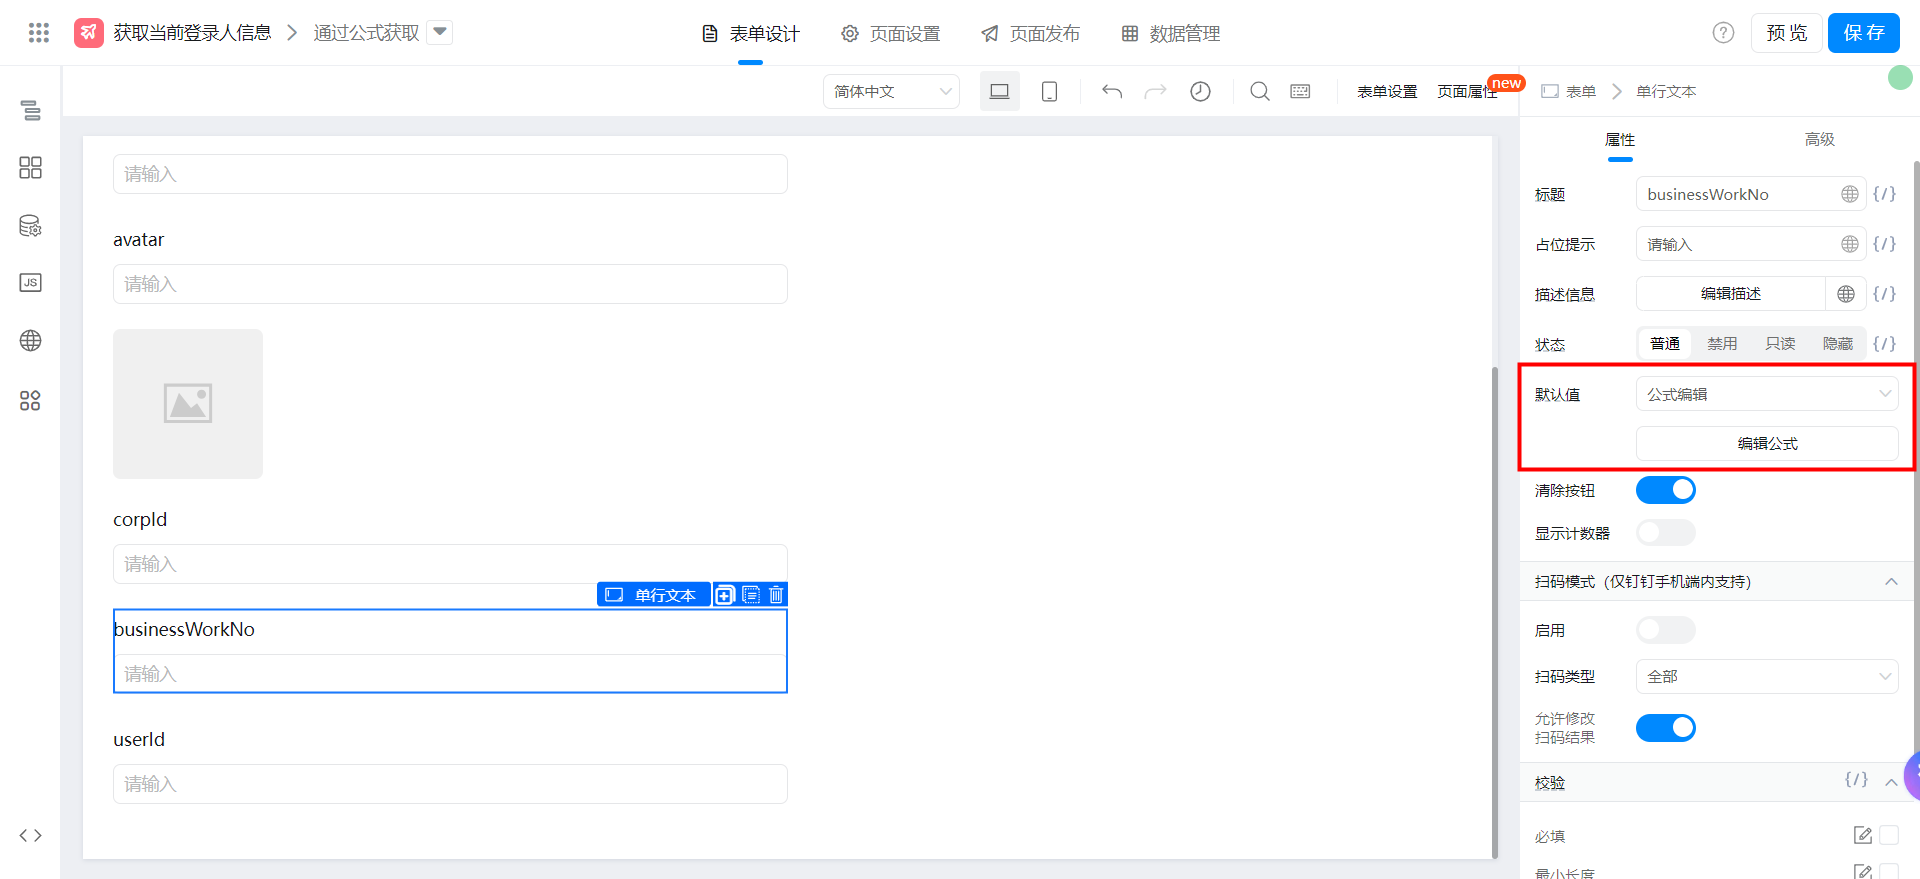
{"text":"GetObjectField(GetArrayItem(UserBuilder(成员),1),\"businessWorkNo\")","marks":[{"from":{"line":0,"ch":40,"sticky":null},"to":{"line":0,"ch":44,"sticky":null},"value":"employeeField_lbeuamvz","invalid":false}],"isCmData":true}
The employee "userId" selects formula editing and configures the formula shown in the following figure. You can also directly copy the formula source code and pay attention to modifying the fields.
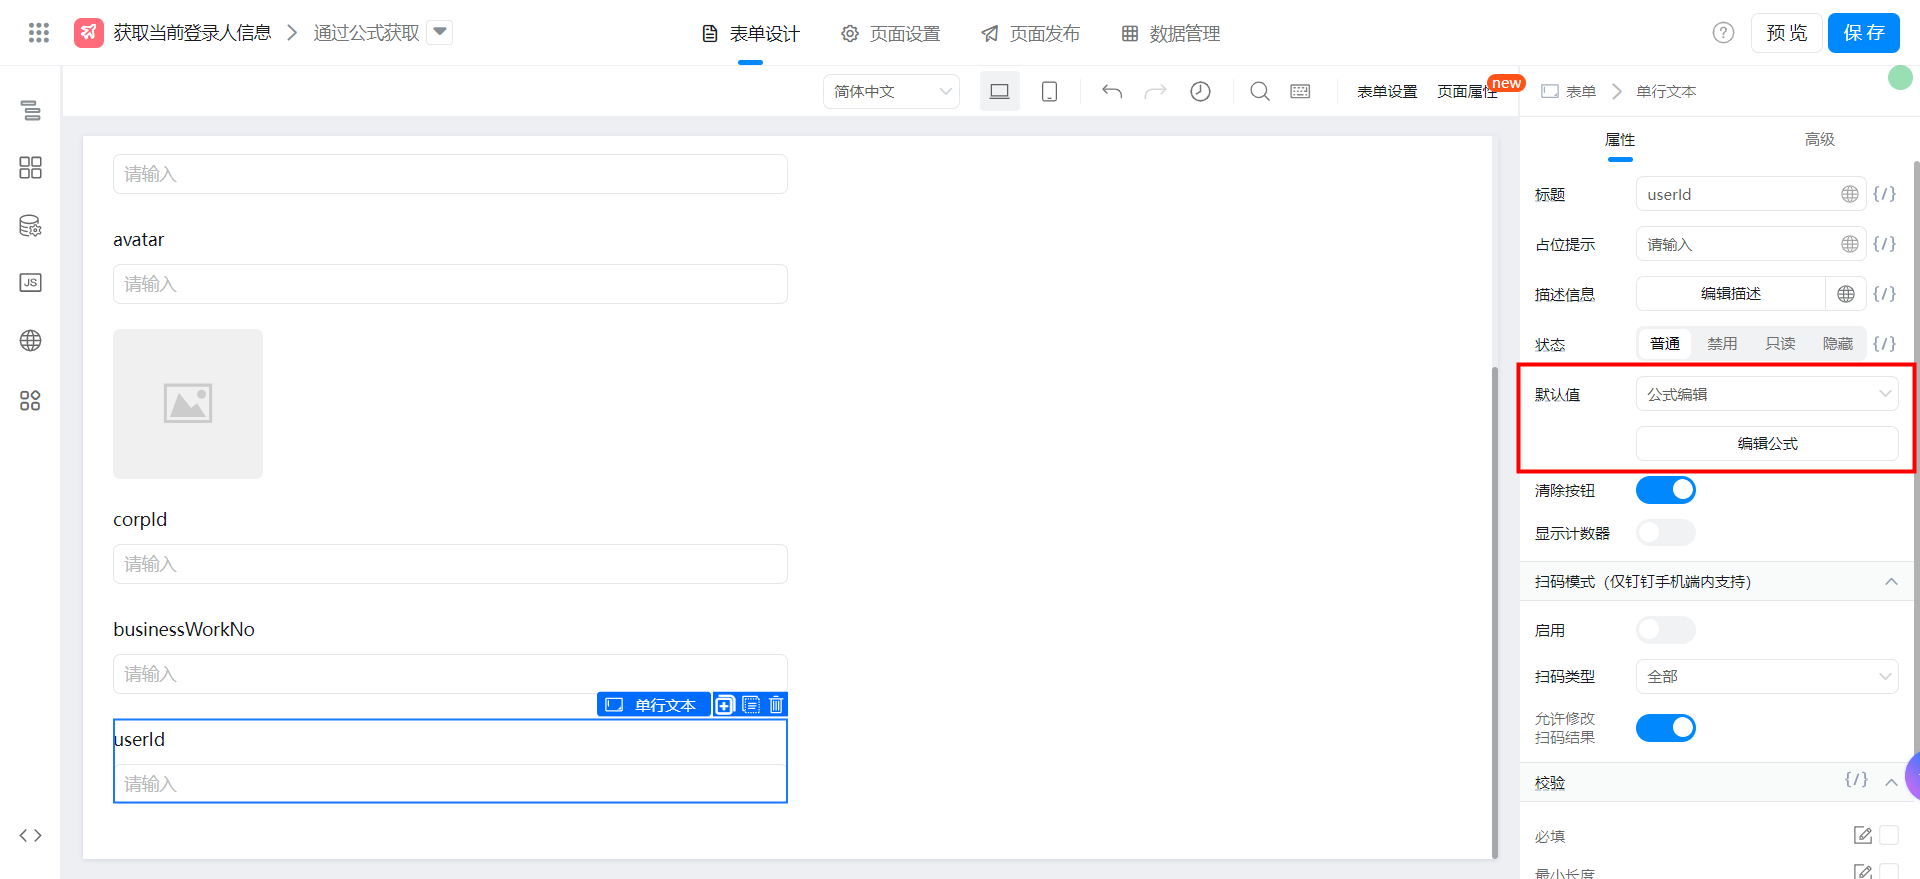
{"text":"GetObjectField(GetArrayItem(UserBuilder(成员),1),\"key\")","marks":[{"from":{"line":0,"ch":40,"sticky":null},"to":{"line":0,"ch":44,"sticky":null},"value":"employeeField_lbeuamvz","invalid":false}],"isCmData":true}
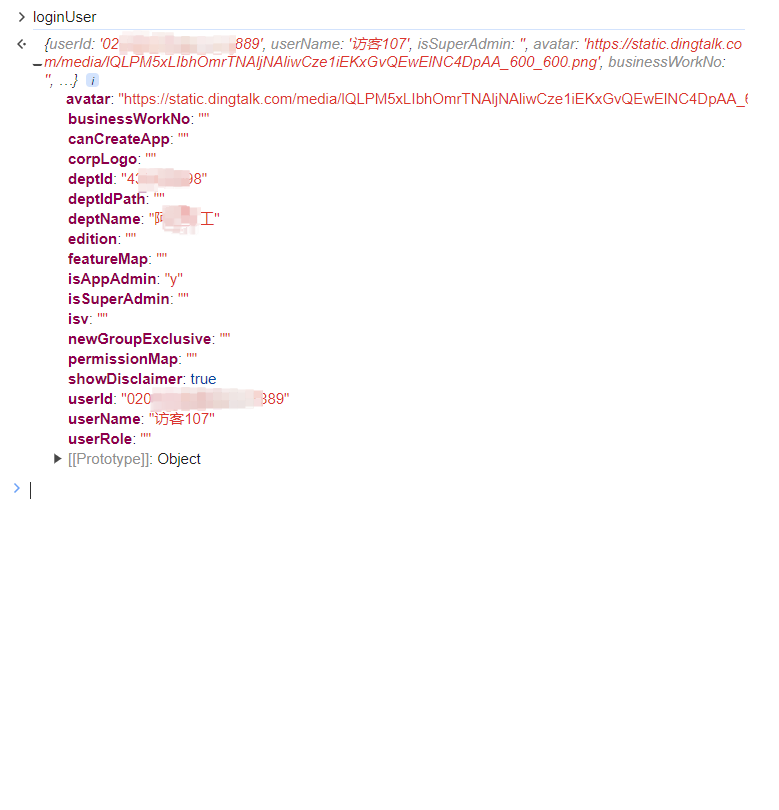
Obtain by YIDA JS-API
window.loginUser;
Create a common form page
Create a common form page. For more information, seeCommon form.
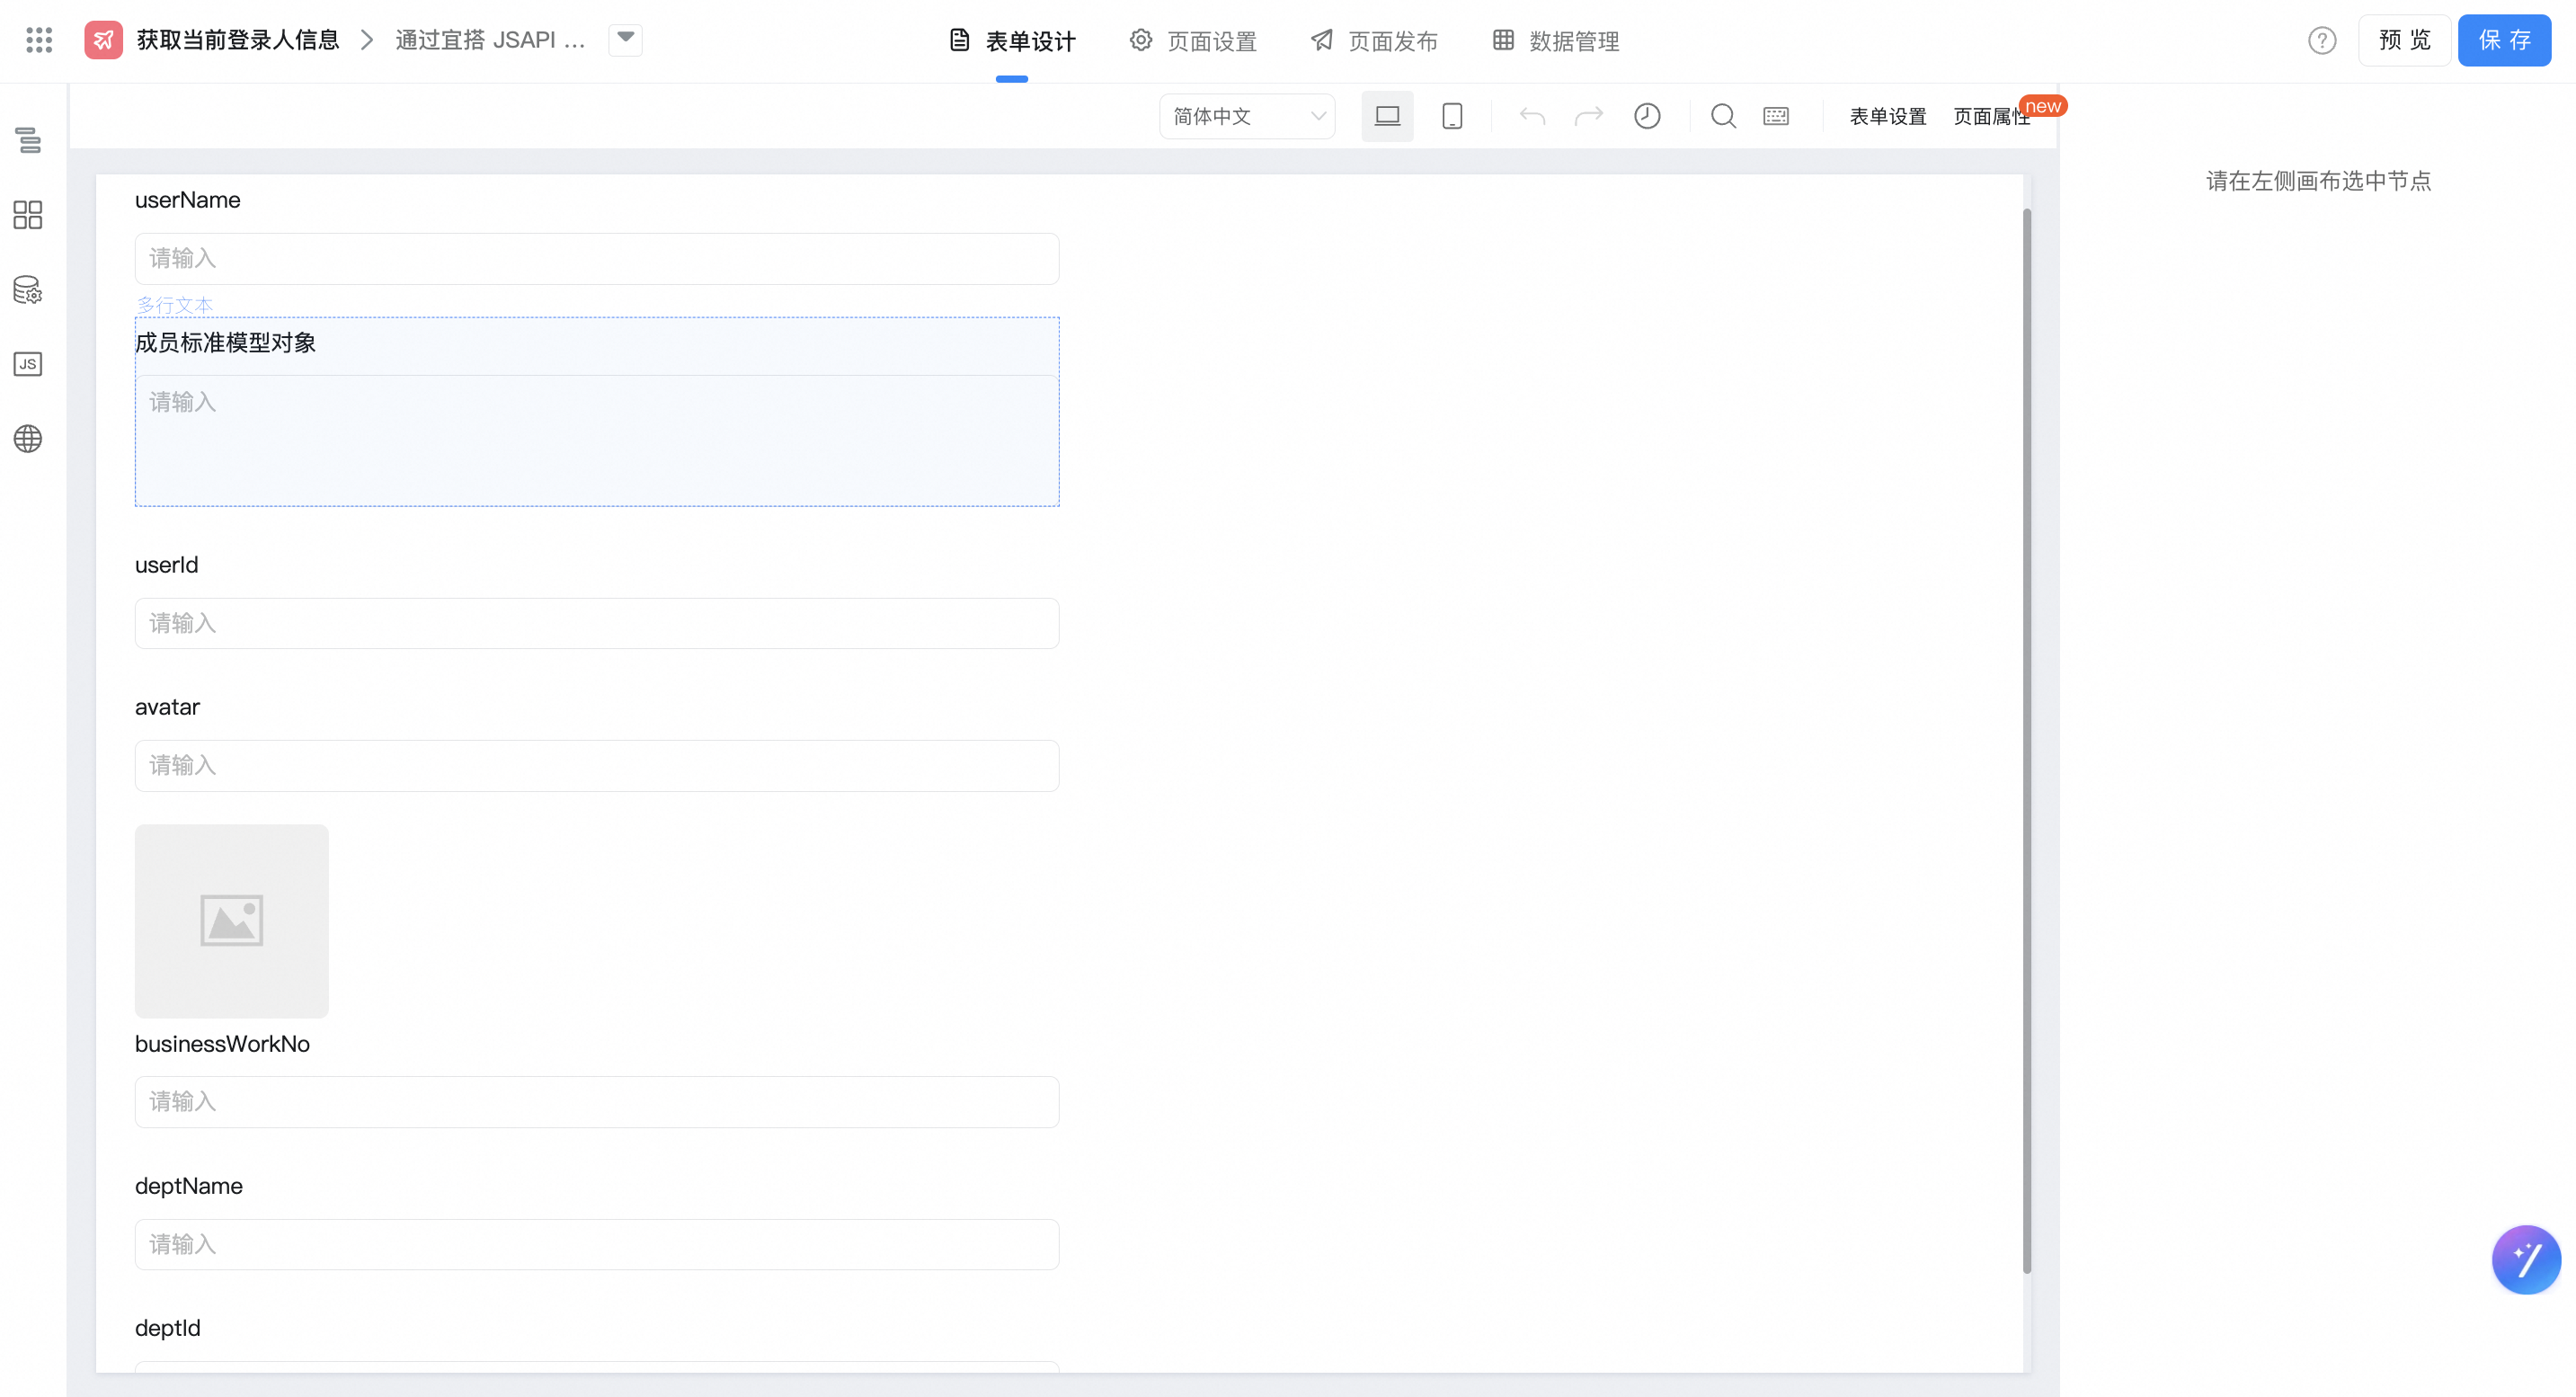
Drag the following components into the canvas area.
- Single line text: named userName
- Multi-line text: Named member Standard Model object
- Single line text: named userId
- Single line text: named avatar
- Picture: used for image display of avatar
- Single line text: named businessWorkNo
- Single line text: named deptName
- Single line text: named deptId
Configure JS-API
The employee name "userName" is bound to the default value and the JS-API code shown in the following figure is configured. You can also copy the code directly.
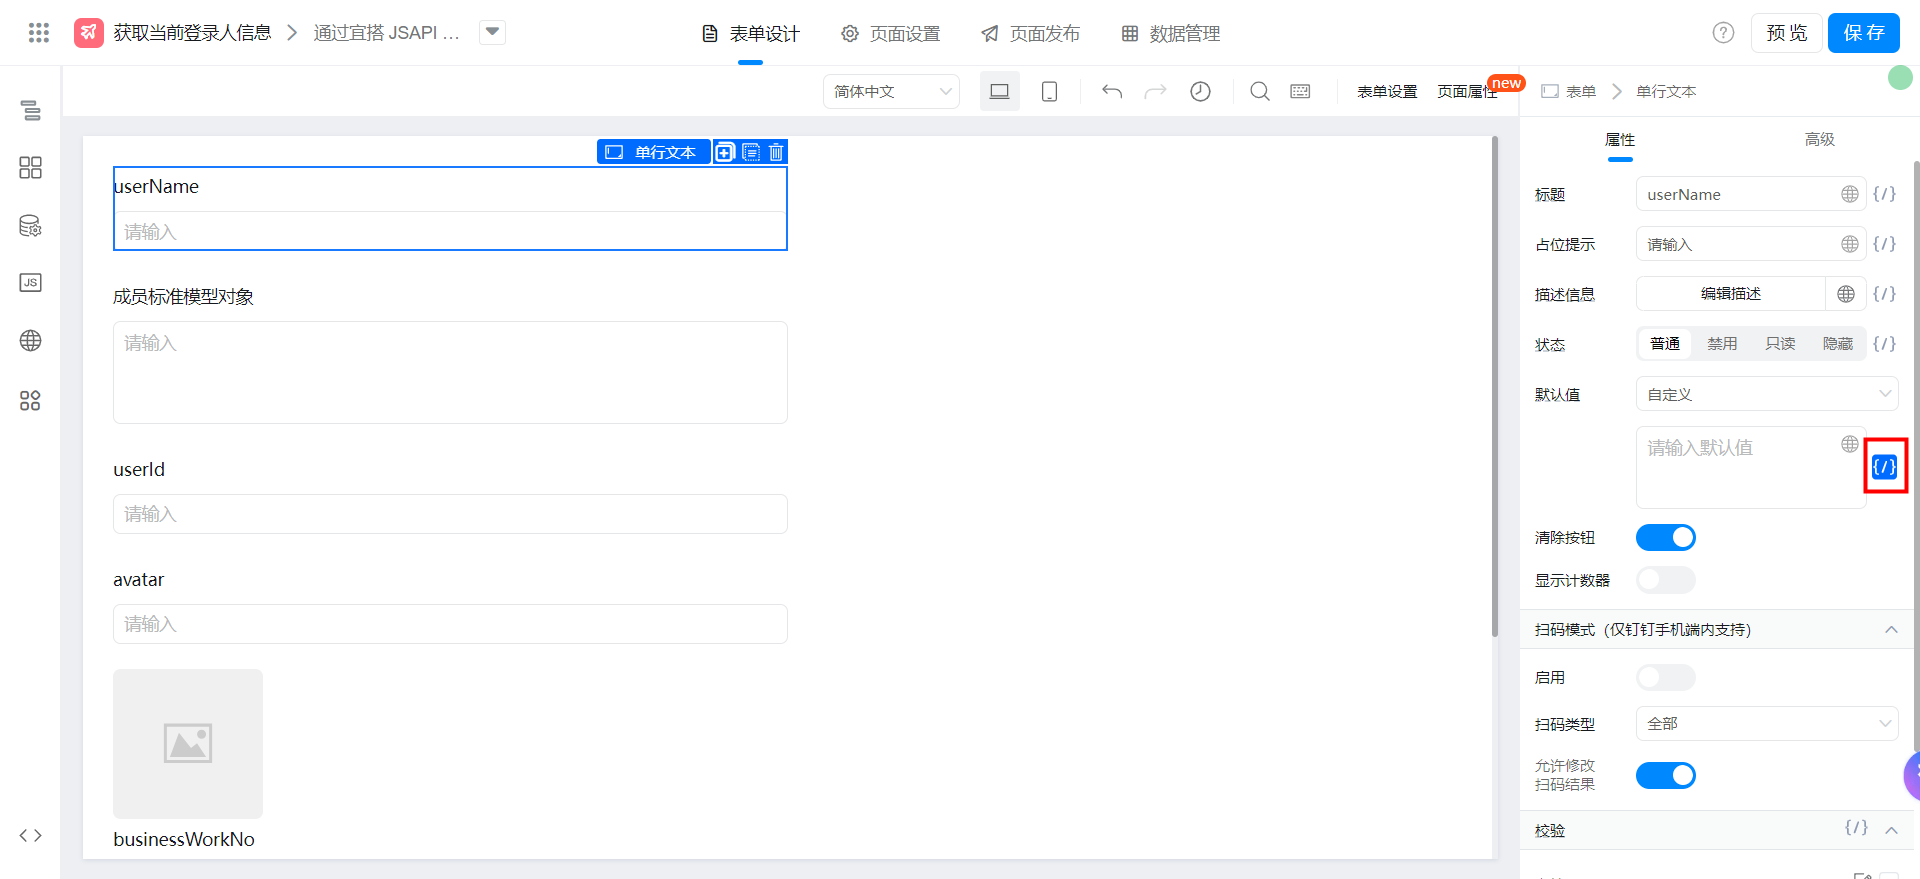
utils.getLoginUserName()
The employee "userId" binds the default value and configures the code shown in the following figure. You can also copy the code directly.
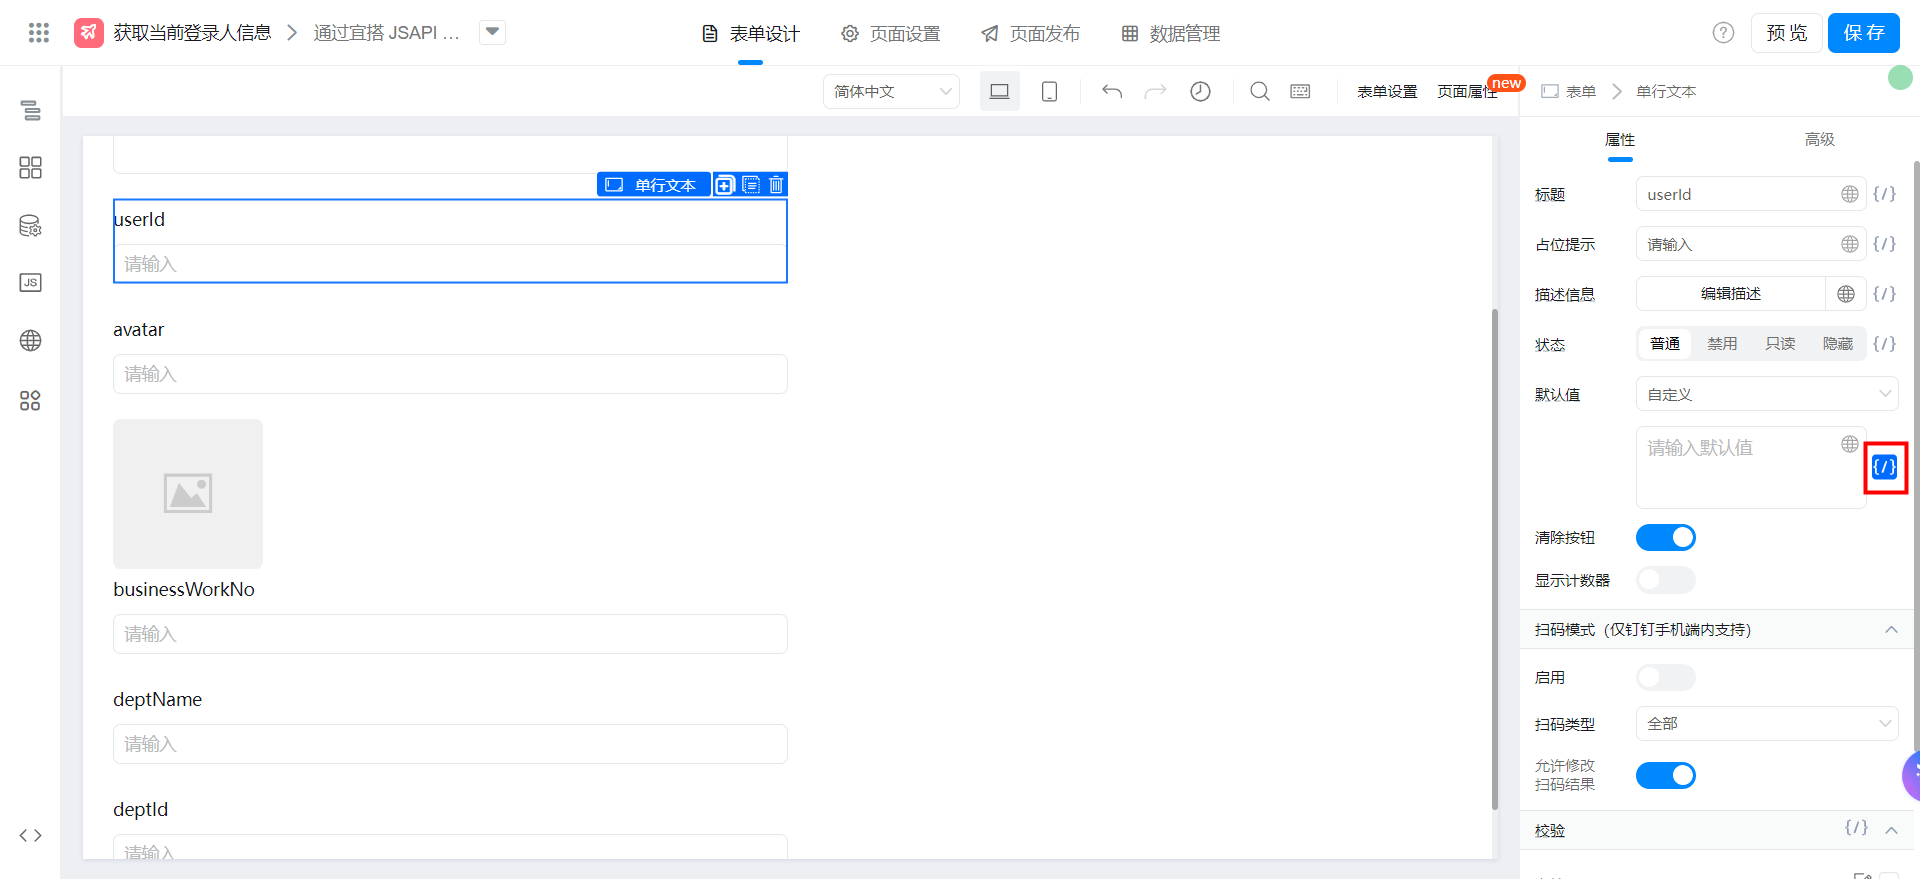
utils.getLoginUserId()
The avatar image address "avatar" is bound to the default value, and the JS-API code shown in the following figure is configured. You can also copy the code directly.
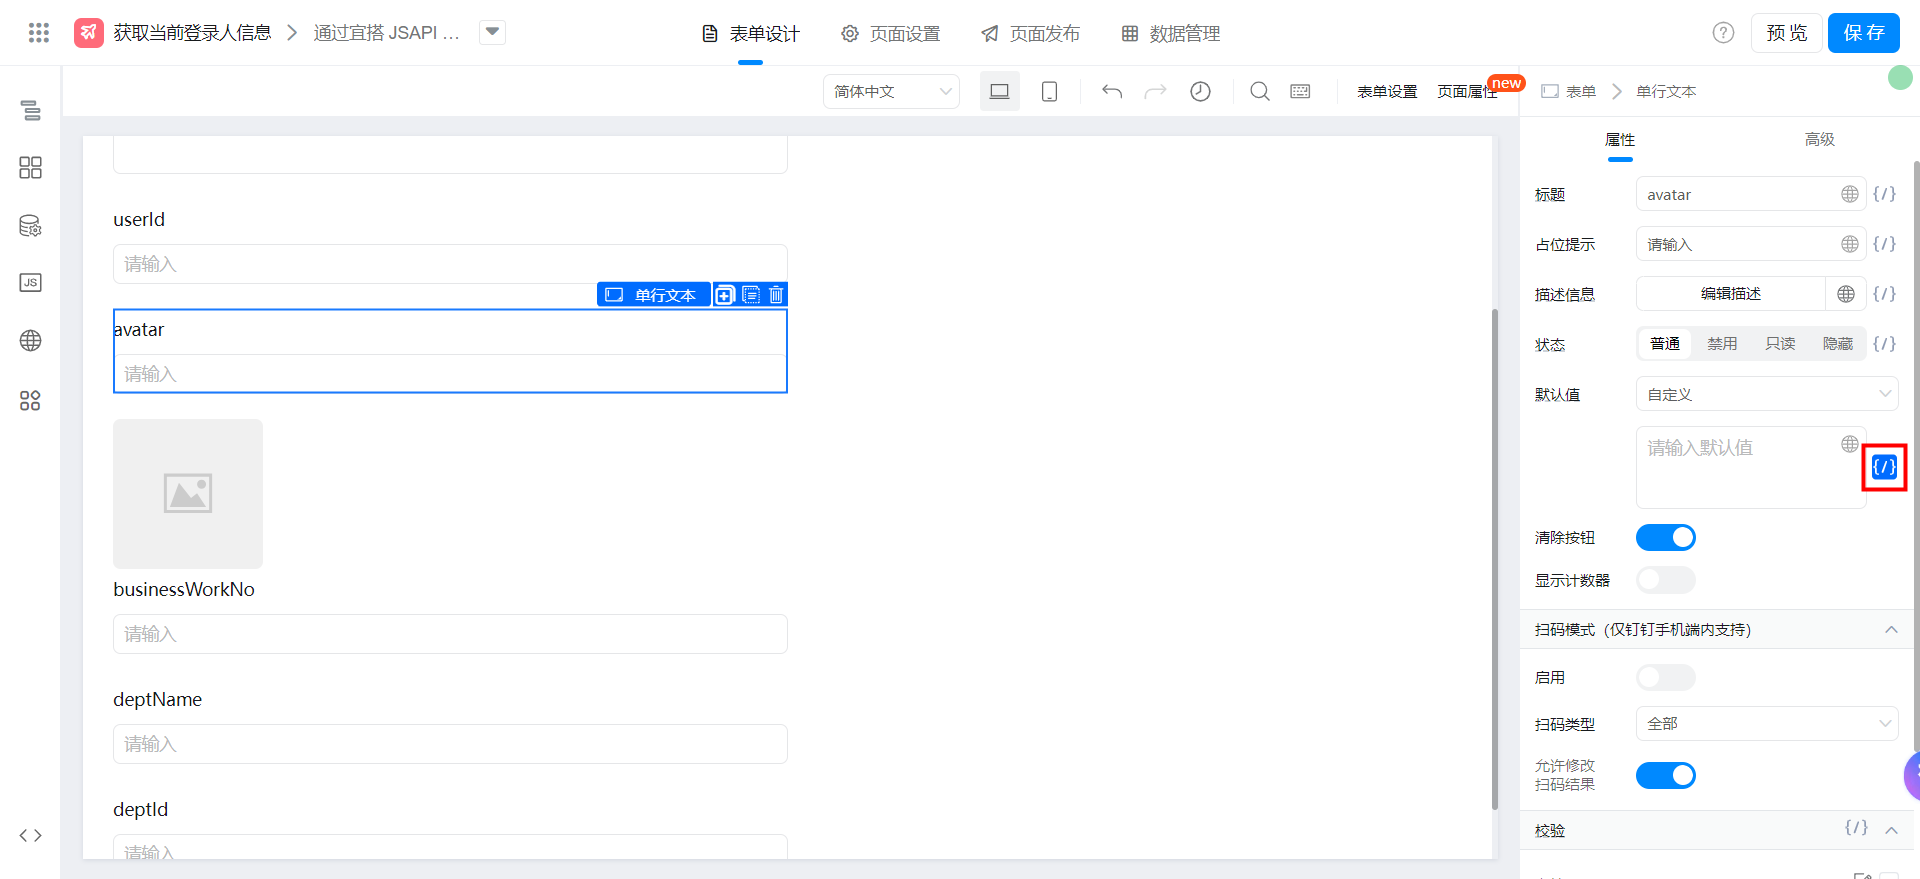
window.loginUser.avatar
The employee ID "businessWorkNo" is bound to the default value, and the JS-API code shown in the following figure is configured. You can also copy the code directly.
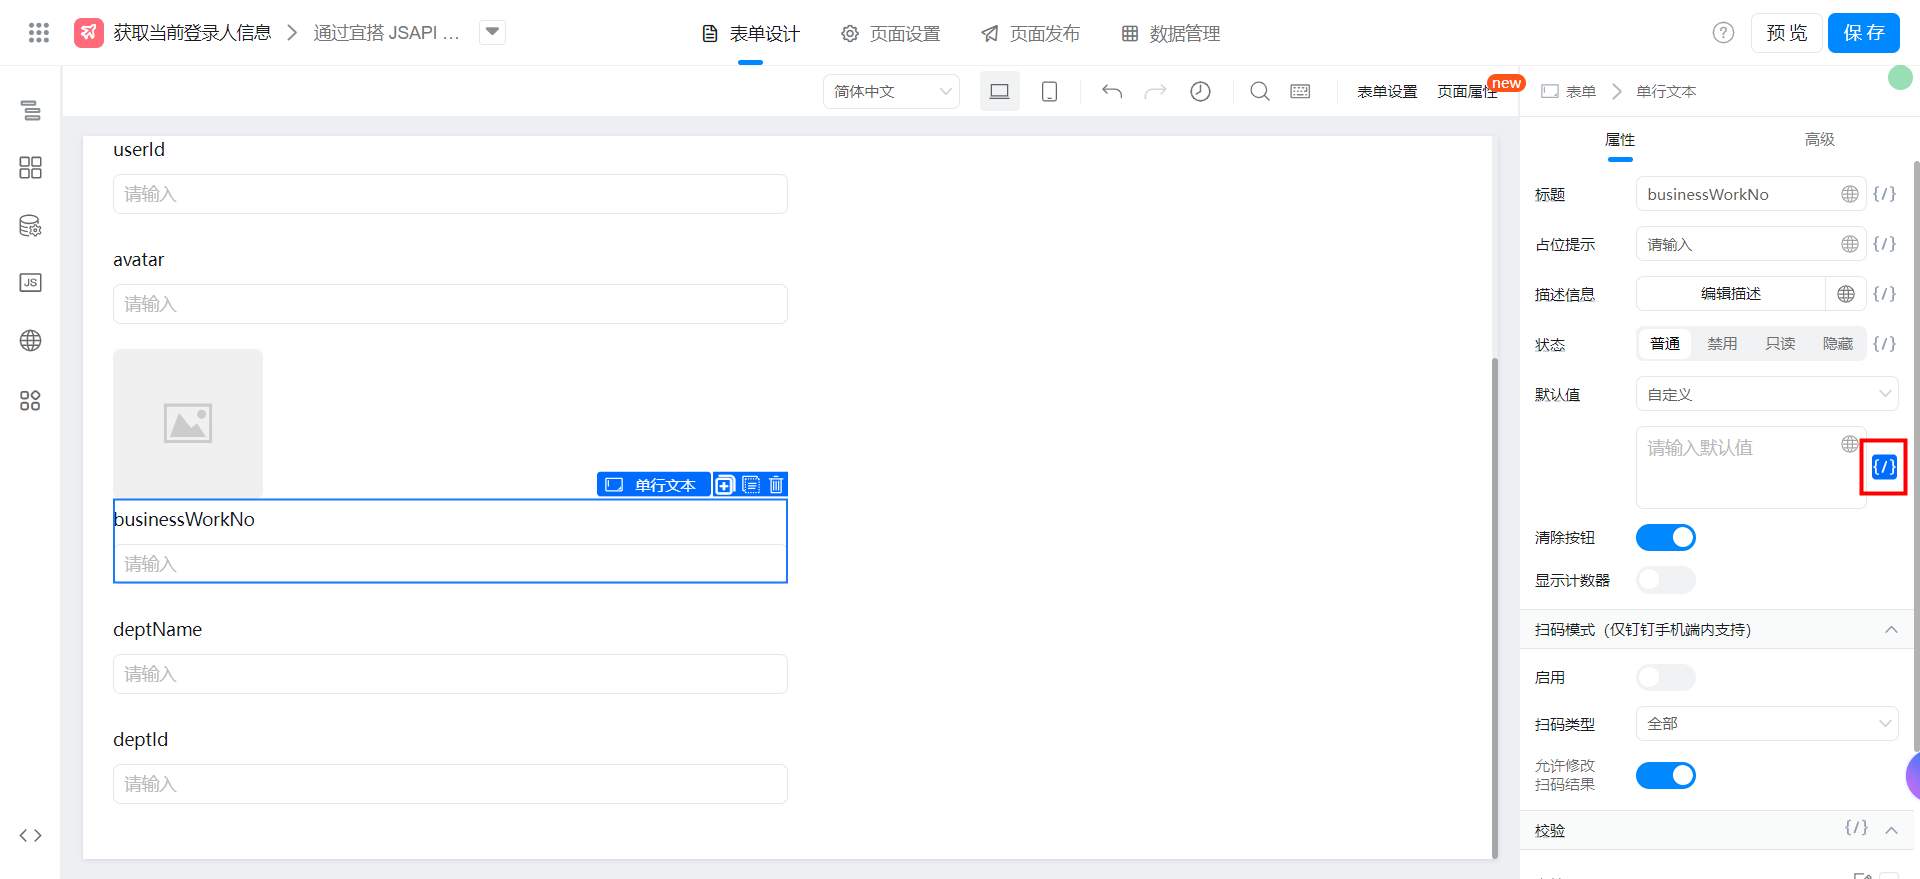
window.loginUser.businessWorkNo
The department name "deptName" is bound to the default value, and the JS-API code shown in the following figure is configured. You can also copy the code directly.
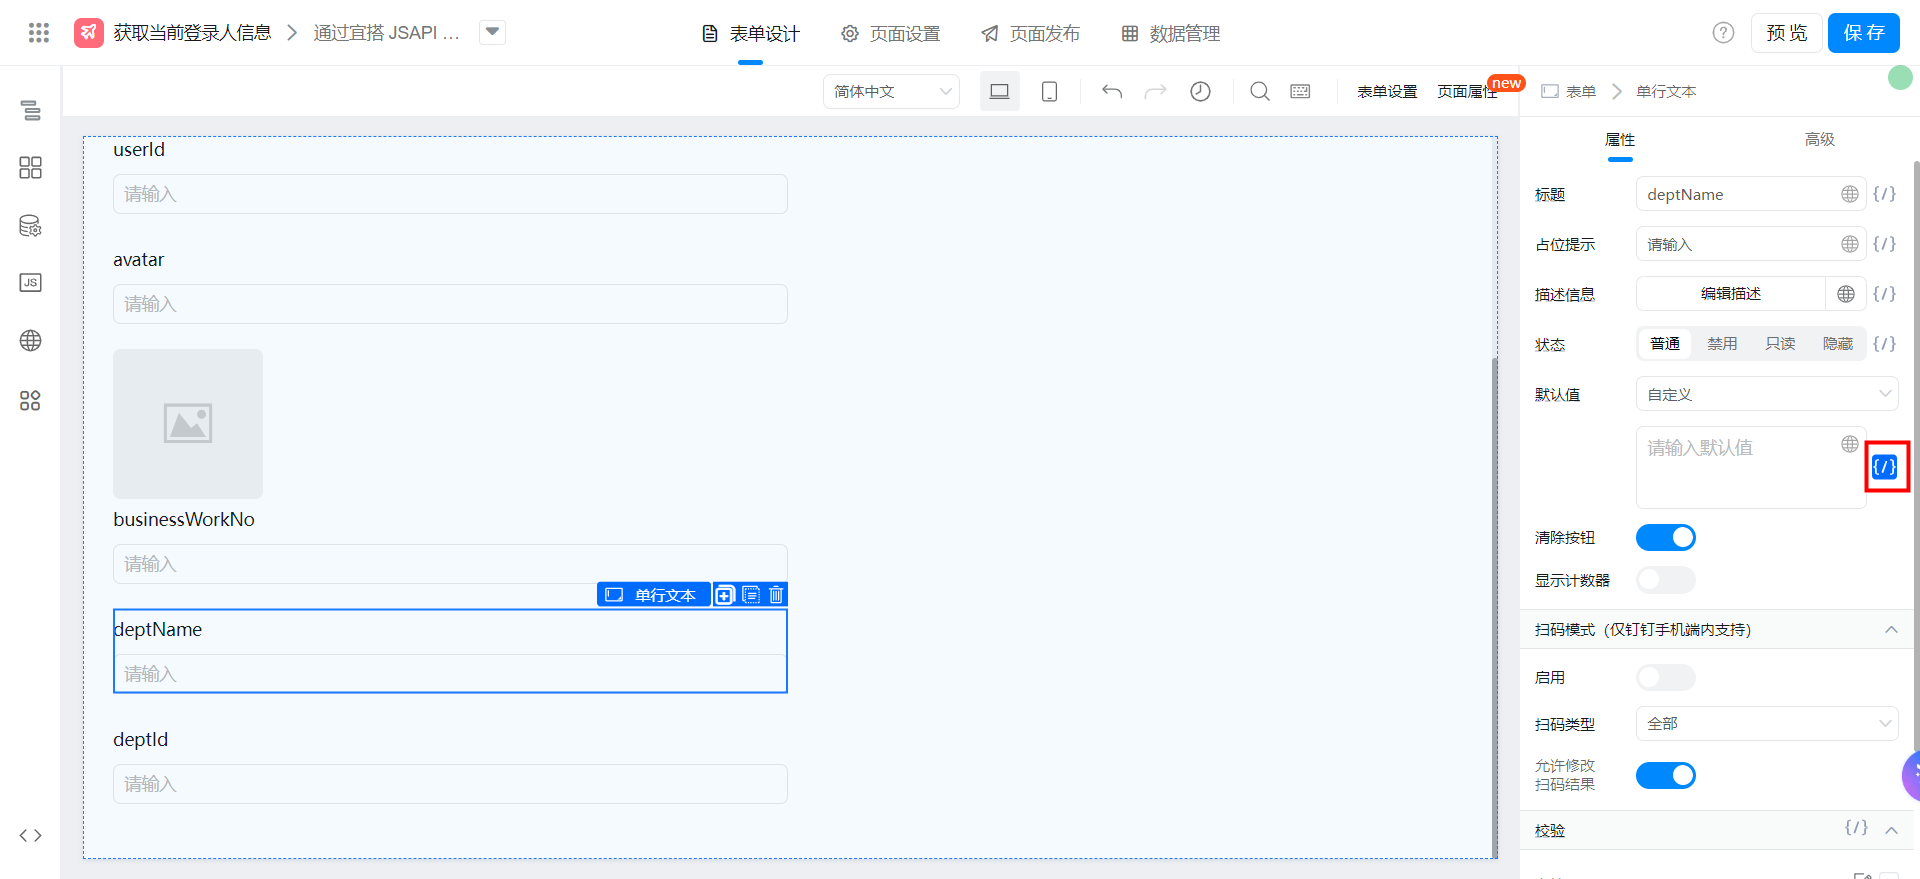
window.loginUser.deptName
The Department id "deptId" is bound to the default value, and the JS-API code shown in the following figure is configured. You can also copy the code directly.
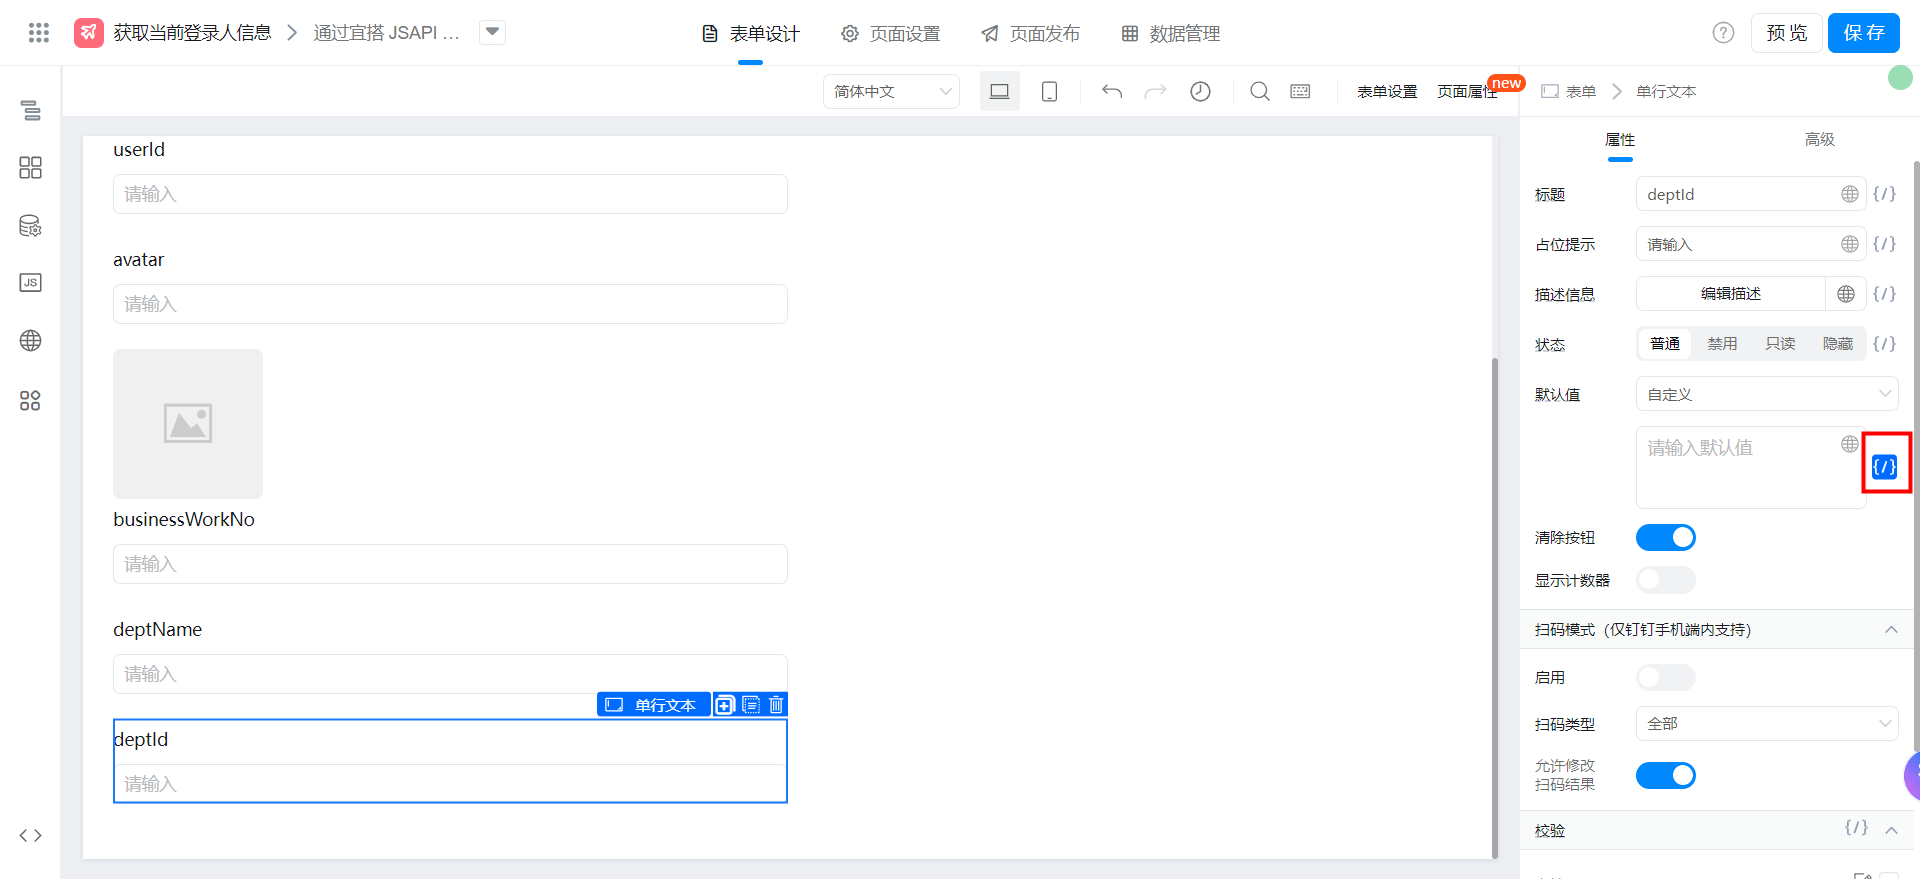
window.loginUser.deptId