The form Upload image is displayed in the table and you can click preview.
In the process of building YIDA applications, you may encounter the following problems.
- In CRM system, customers often need to upload some pictures of actual visits. How can these pictures be displayed and previewed in tables during data analysis?
- In the IT equipment management system, there will be some related pictures when IT equipment is put into storage. How can these pictures be displayed and previewed in the table during data analysis?
Prerequisites
This tutorial uses some basic functions of YIDA. You can first learn about the following functions.
Effect
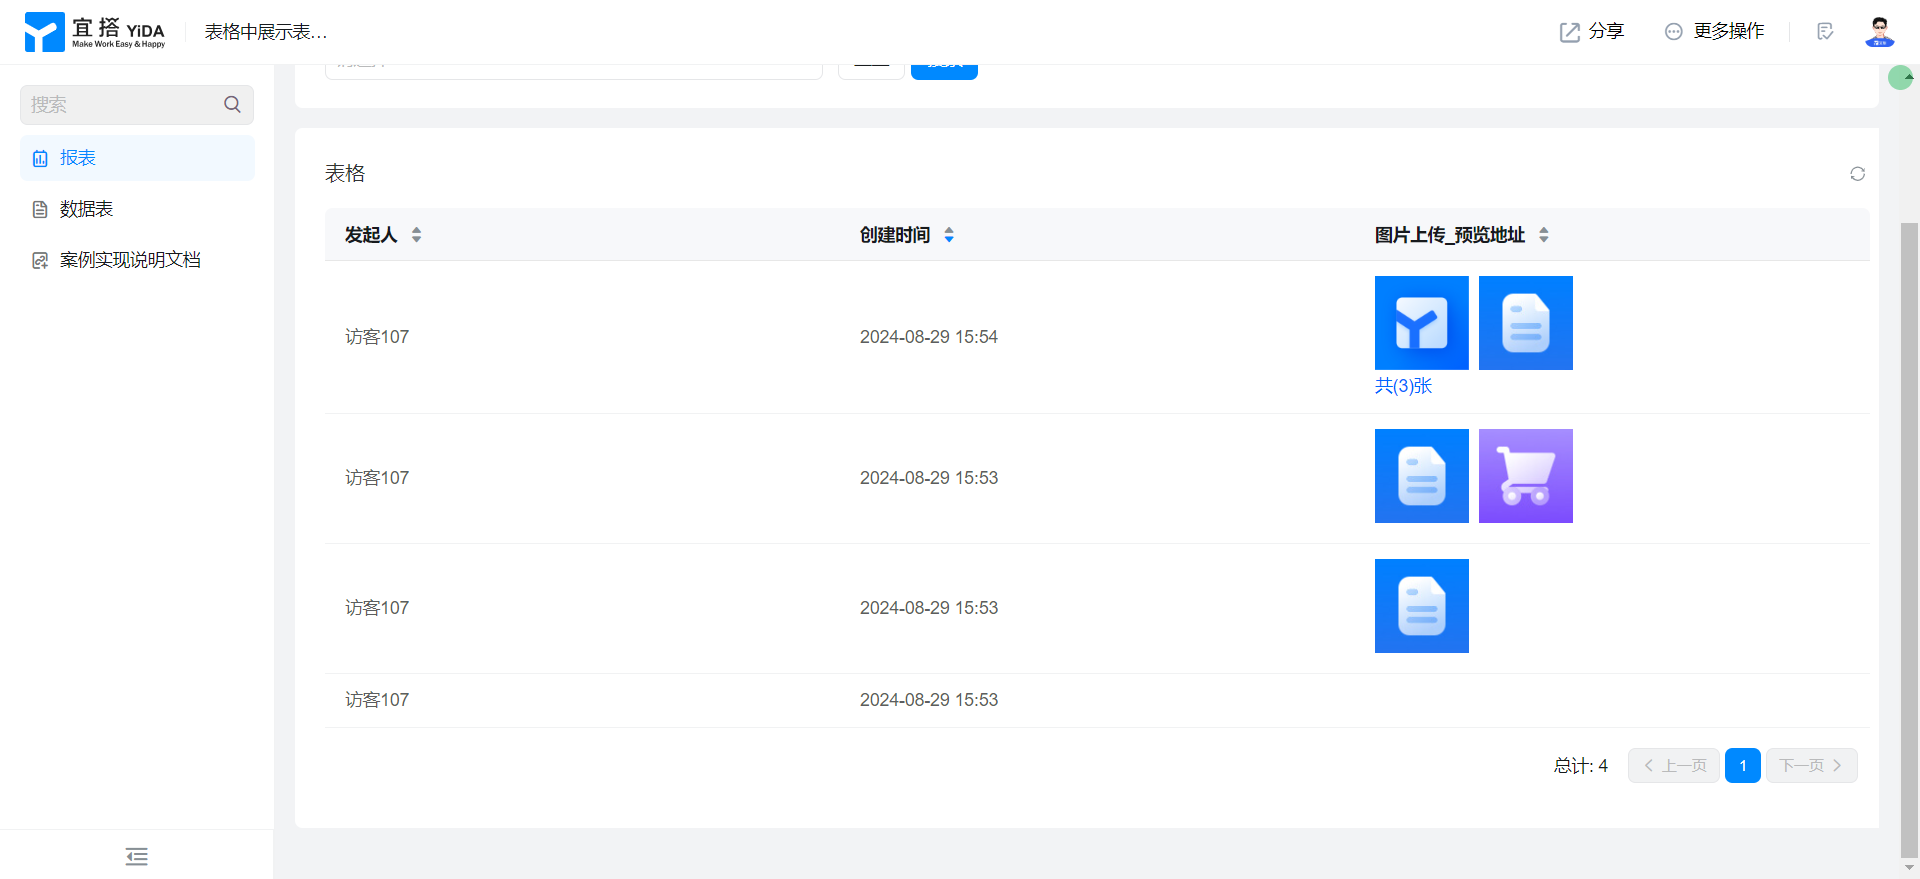
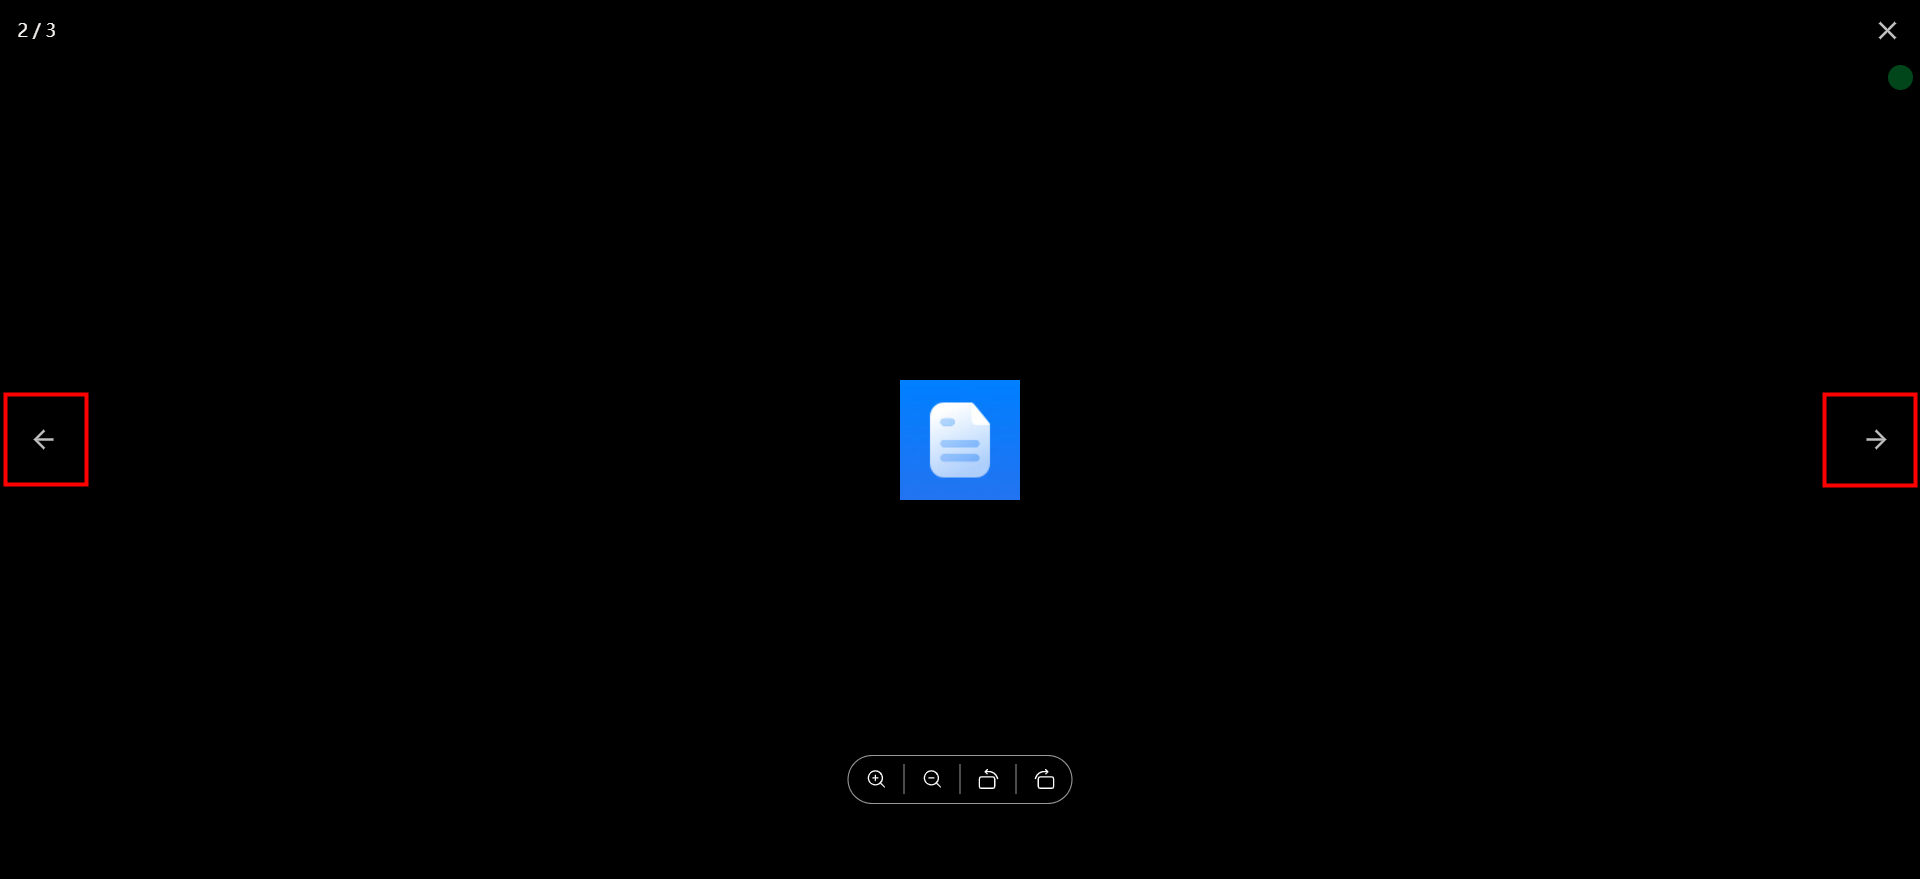
If multiple images exist, click the image to switch to the previous or next one.
Implementation steps
Create a normal form page
Create a common form page. For more information, seeCommon form.

Drag the following components into the canvas area.
- Image Upload: Named image Upload
Create report page
Create report page. For more information, seeCreate a report.

Drag the following components into the canvas area.
- Basic table
Configure reports page
Select a dataset and configure the table columns.
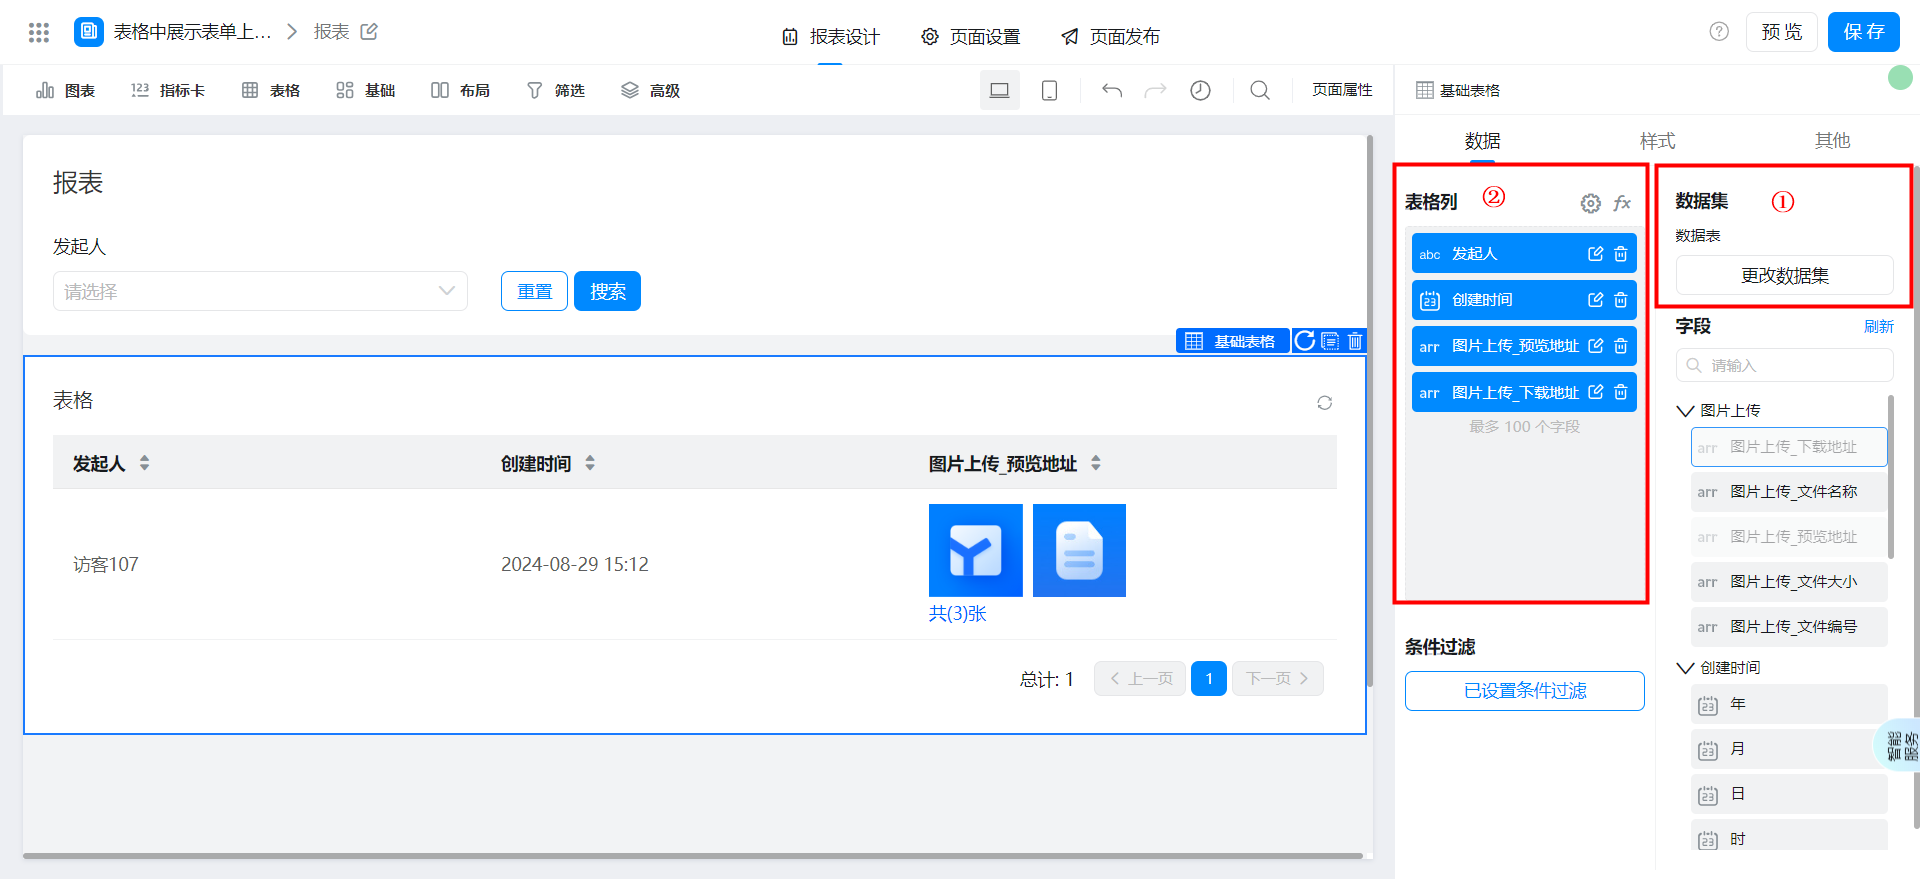
Image upload_download addressSet column hiding.

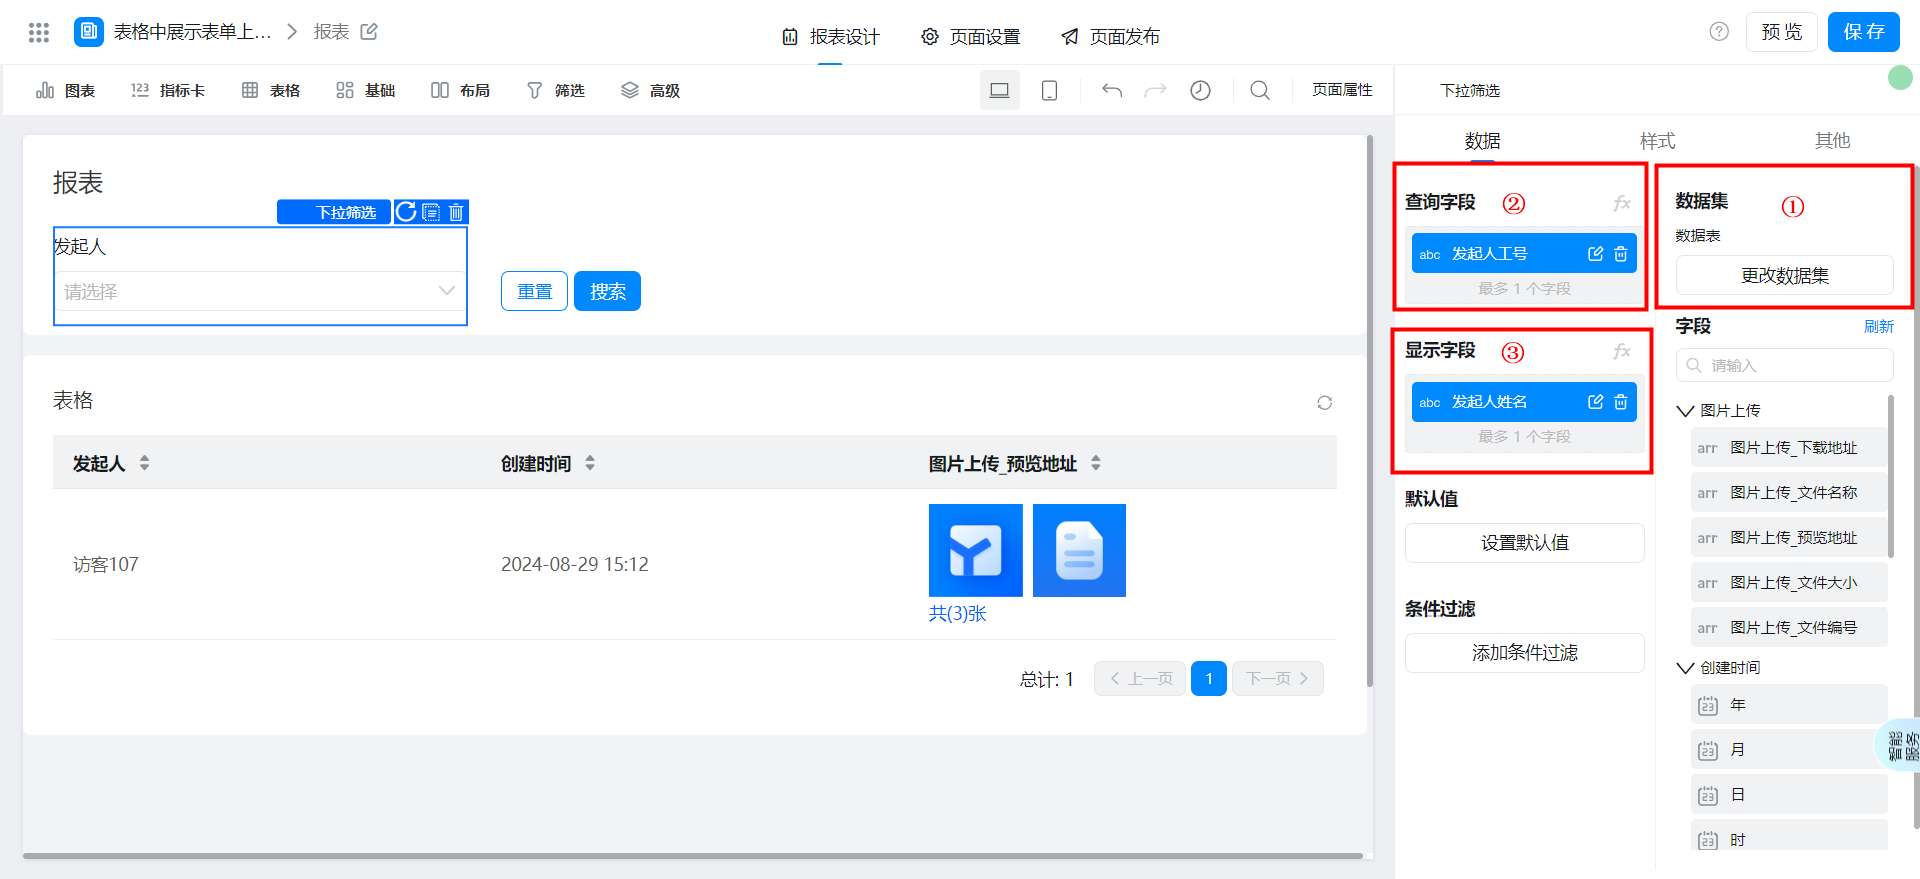
Select a dataset and configure filter criteria.
Actions when the configuration page is loaded
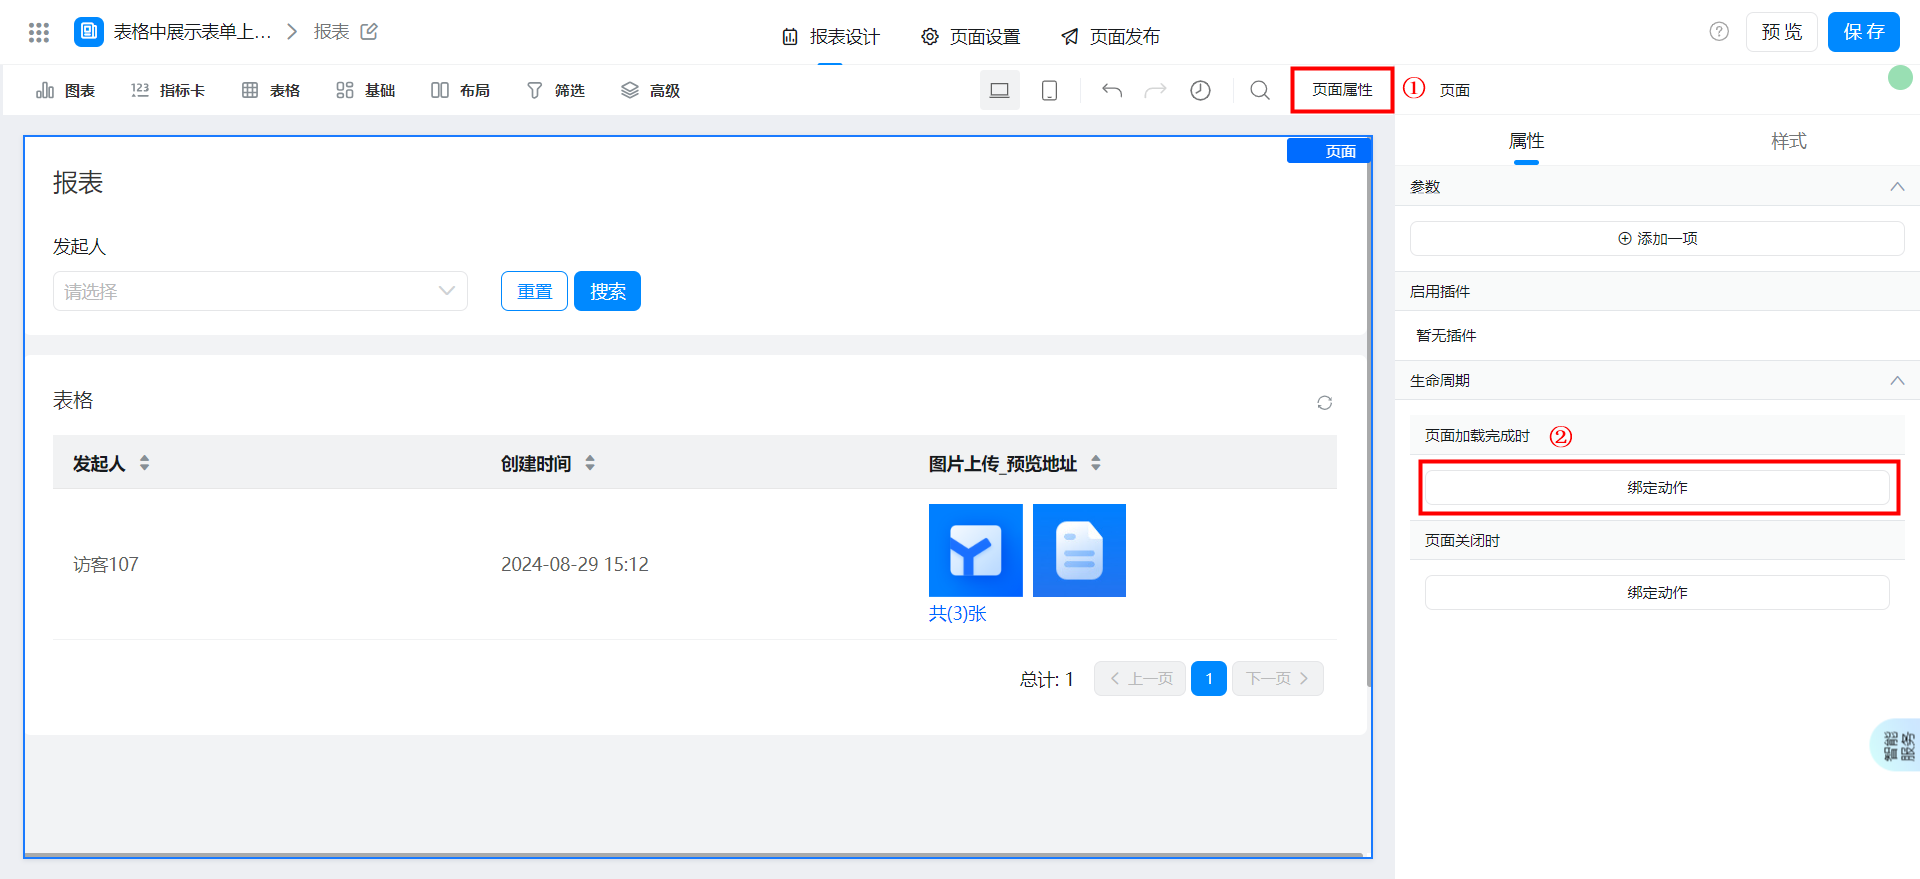
Add the following code and click OK.
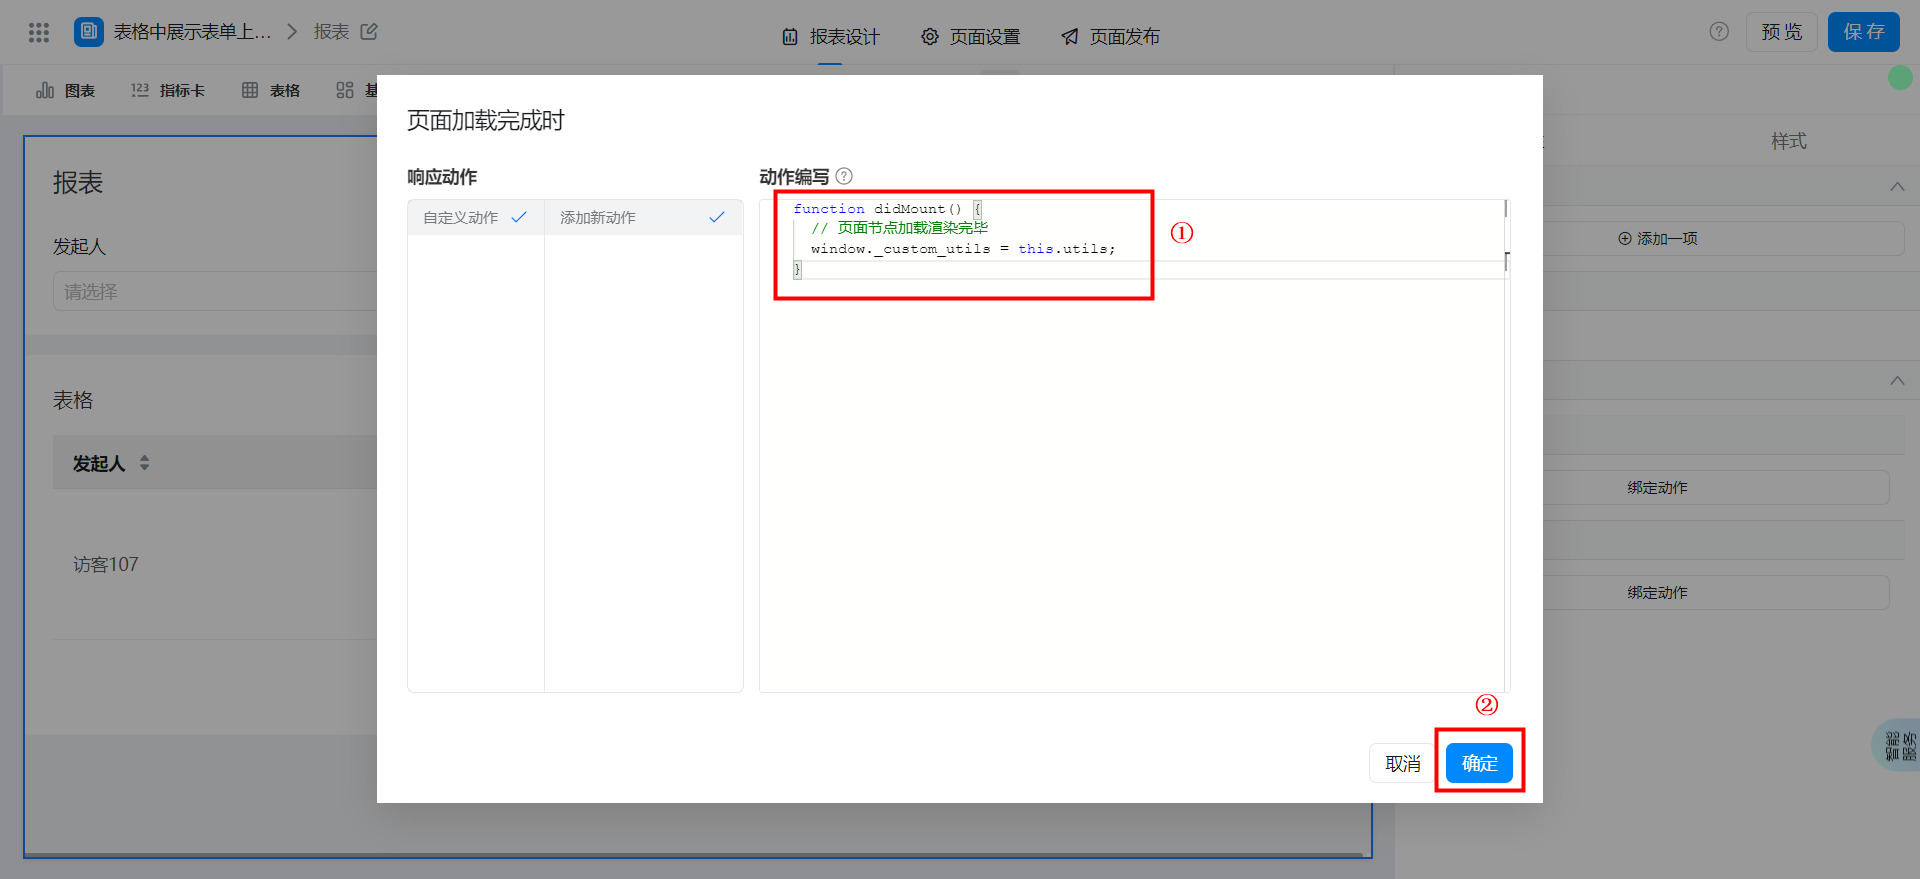
function didMount() {
  // 页面节点加载渲染完毕
  window._custom_utils = this.utils;
}
Configure image preview link jump
The configuration steps are as follows. Here, our parameter name isimageUrls, note that the parameter value here is selectedImage upload_download address.
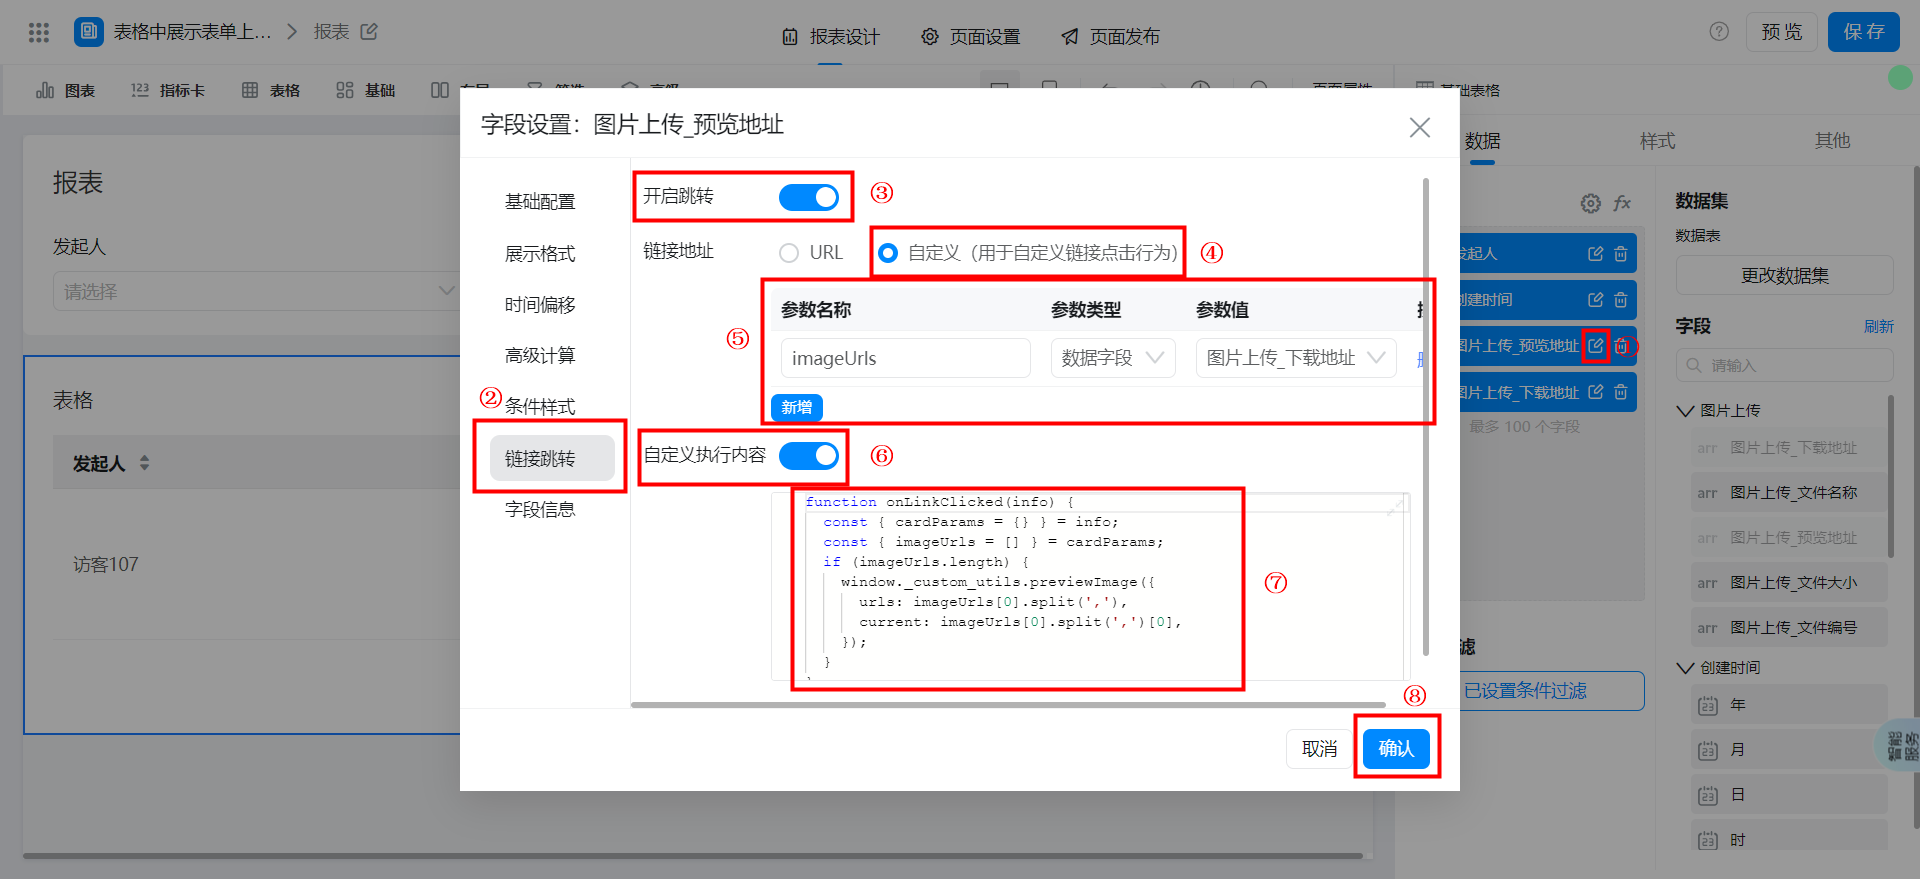
Configure the following code to customize the execution content.
function onLinkClicked(info) {
  const { cardParams = {} } = info;
  const { imageUrls = [] } = cardParams;
  if (imageUrls.length) {
    window._custom_utils.previewImage({
      urls: imageUrls[0].split(','),
      current: imageUrls[0].split(',')[0],
    });
  }
}
Save page
