Custom attachment Upload address in the form
This case comes from Feng Peng, a three-party developer 」
1. Usage scenarios
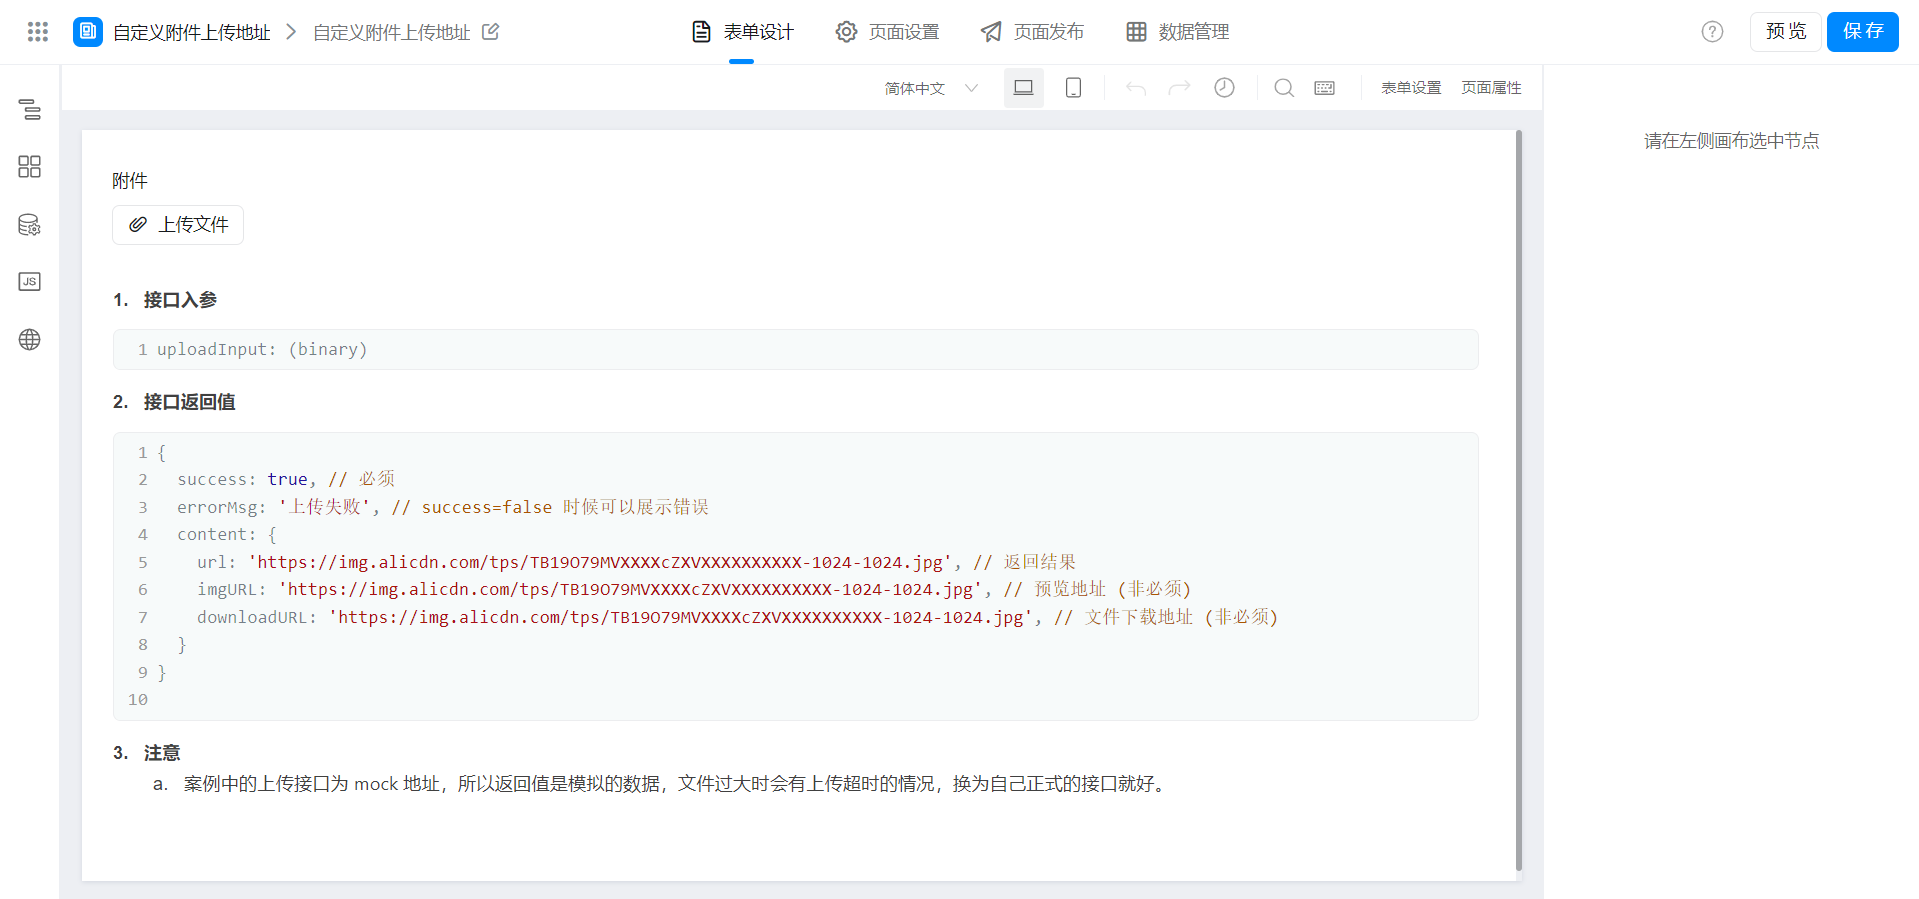
This example describes how to customize the attachment Upload address on the YIDA form page.
2. Implement functions
2.1 Create form page

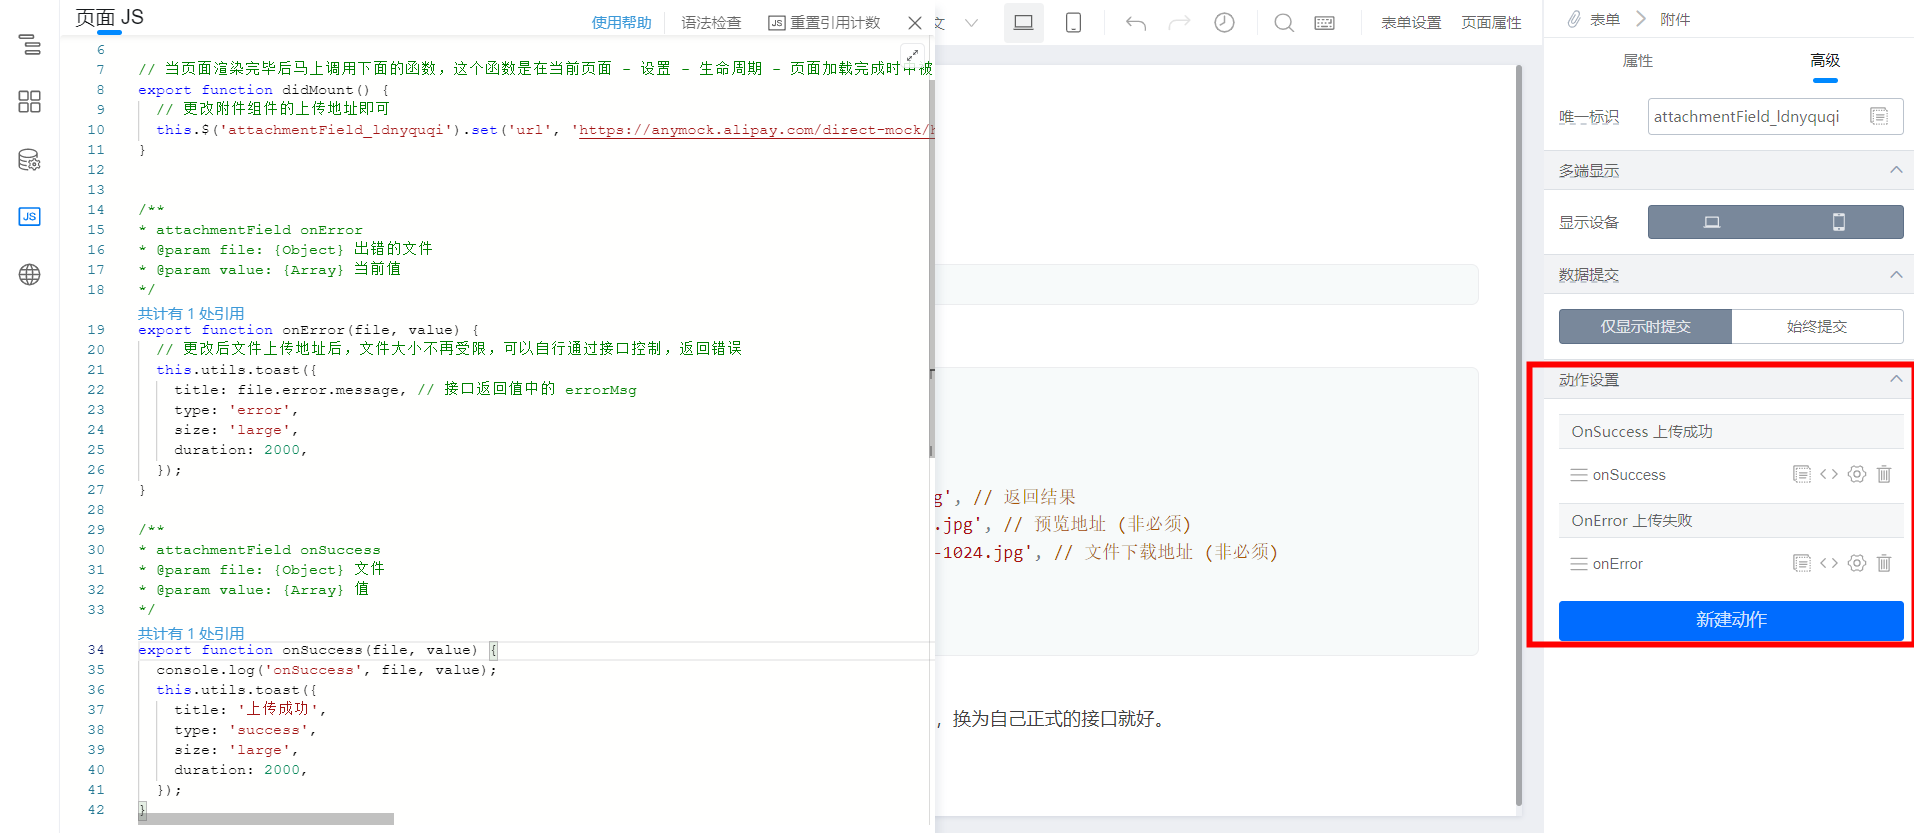
2.3 copy the following code to Page JS
Note that the following unique identifier is modified.
The main purpose is to modify the upload address of the attachment. This address can be the upload address of your own server. This allows you to upload the attachment to your own server without using the default Upload address of YIDA, the file size is unlimited.
Note that the return value of the interface must be as required.
// 当页面渲染完毕后马上调用下面的函数,这个函数是在当前页面 - 设置 - 生命周期 - 页面加载完成时中被关联的。
export function didMount() {
  // 更改附件组件的上传地址即可
  this.$('attachmentField_ldnyquqi').set('url', 'https://anymock.alipay.com/direct-mock/http/xxxxxxxxxxxxxxx/upload.json');
}


/**
* attachmentField onError
* @param file: {Object} 出错的文件
* @param value: {Array} 当前值
*/
export function onError(file, value) {
  // 更改后文件上传地址后,文件大小不再受限,可以自行通过接口控制,返回错误
  this.utils.toast({
    title: file.error.message, // 接口返回值中的 errorMsg
    type: 'error',
    size: 'large',
    duration: 2000,
  });
}

/**
* attachmentField onSuccess
* @param file: {Object} 文件
* @param value: {Array} 值
*/
export function onSuccess(file, value) {
  console.log('onSuccess', file, value);
  this.utils.toast({
    title: '上传成功',
    type: 'success',
    size: 'large',
    duration: 2000,
  });
}
2.4 component binding events

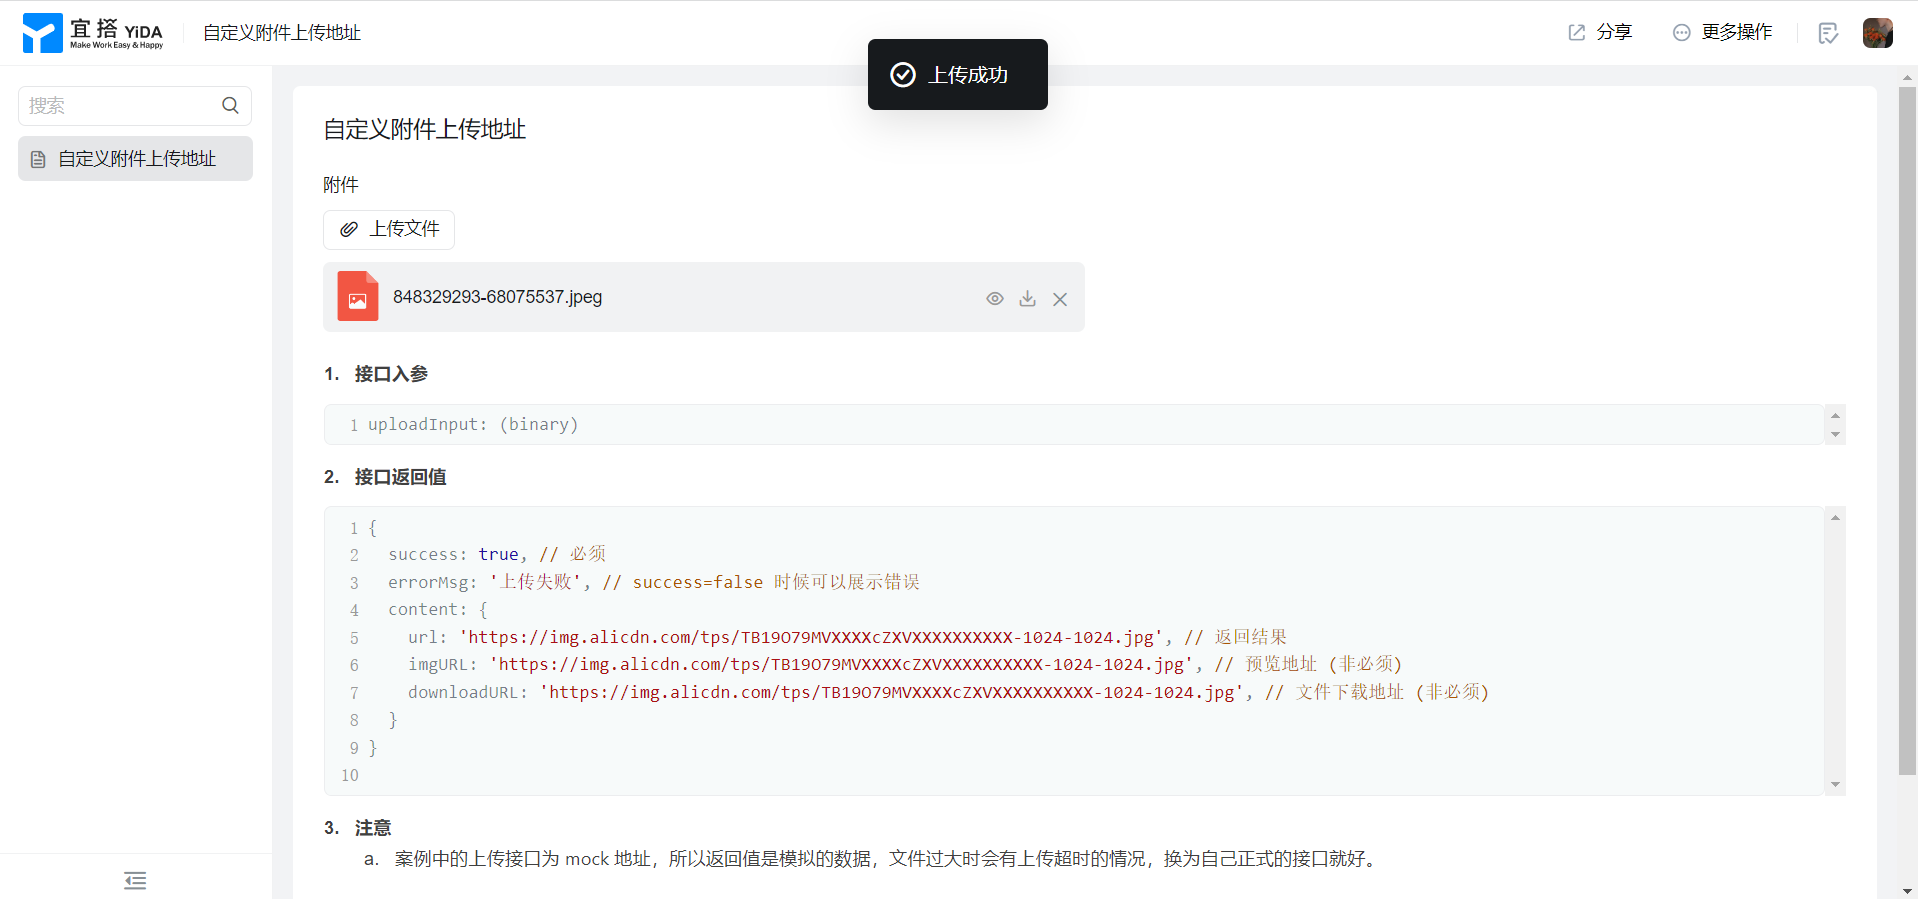
3. Achieve results

4. Try it online
This doc is generated using machine translation. Any discrepancies or differences created in the translation are not binding and have no legal effect for compliance or enforcement purposes.
Is this document helpful?

