HTTP connector
Function | Free Edition | Light edition | Professional Edition | Exclusive Edition |
HTTP connector | 1 | 1 | Unlimited quantity | Unlimited quantity |
If the DingTalk official connector cannot meet your needs, but you need to connect to DingTalk applications, self-built systems, or third-party application systems, you can customize the connector through the YIDA connector factory.
Step 1: Create a connector
- Log on as an administratorYIDA Workbench.
- Click in the upper-right cornerPlatform ManagementButton to go to the platform management page.

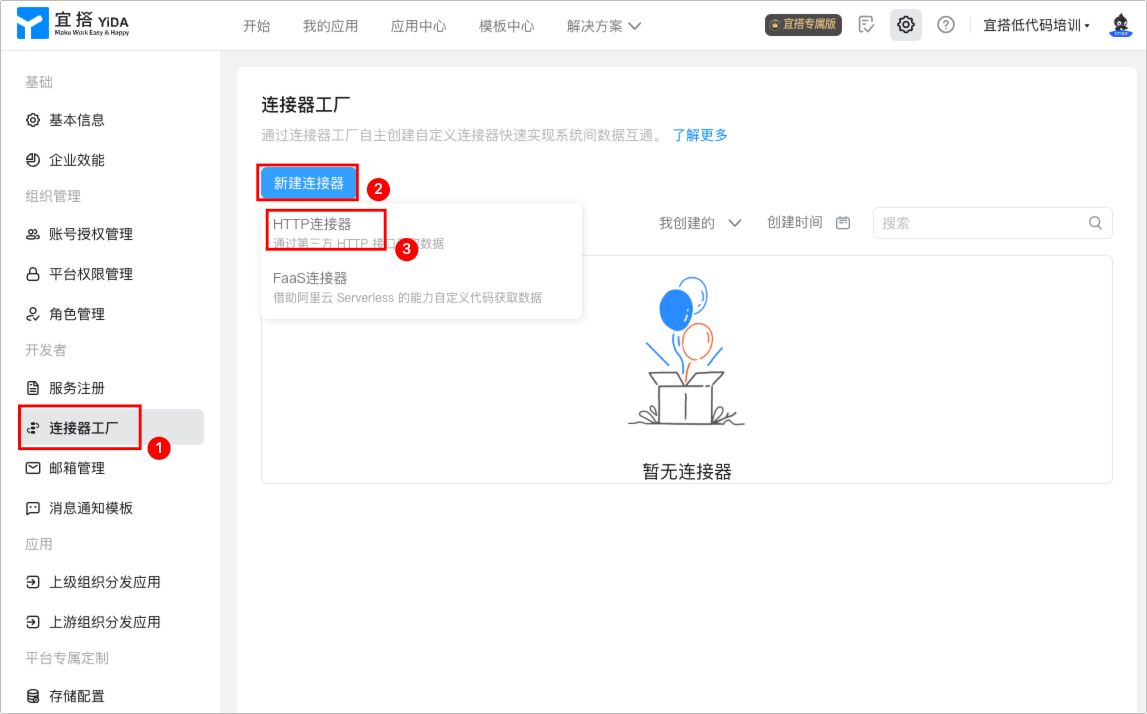
- Click the left-side menu bar.Connector factory, and then clickCreate a connector, select HTTP connector.
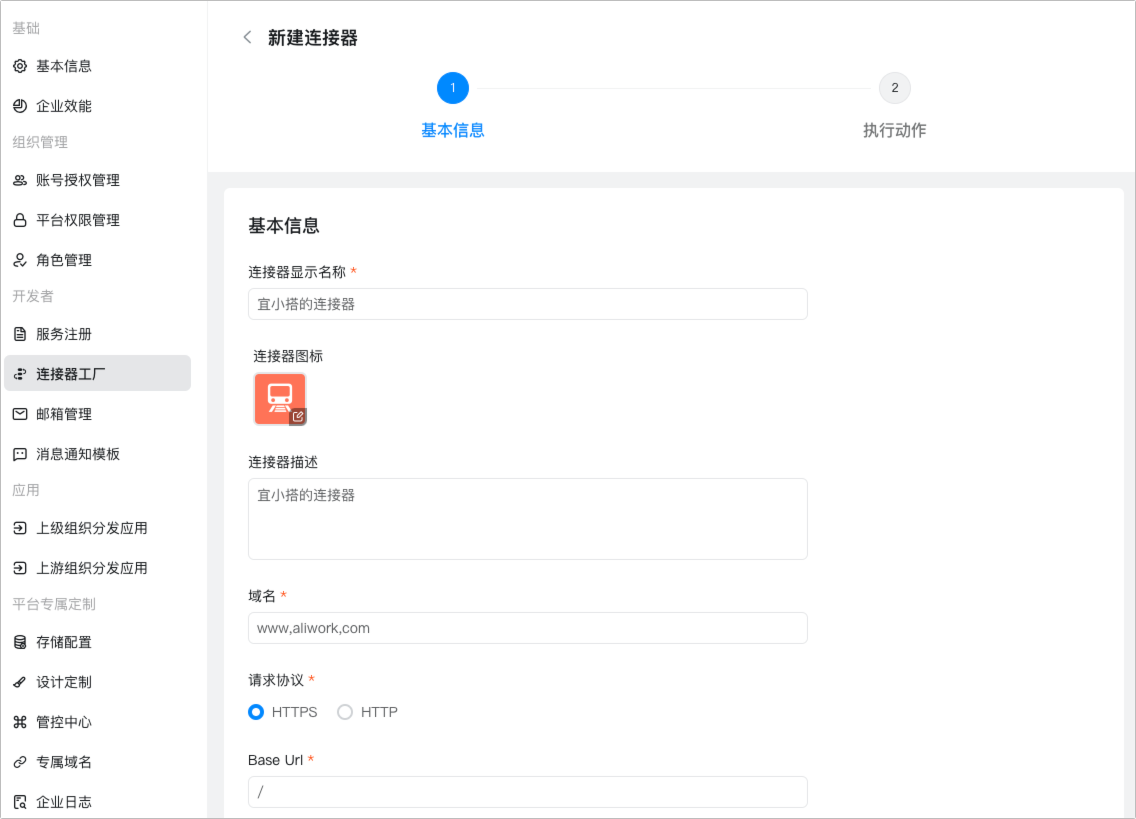
- Refer to the following information to configure the basic information of the connector, and clickNext Step.
- Connector display name:The name of the custom connector.
- Icon Image address:The icon displayed by the connector. If you do not specify it, the default icon will be displayed.
- Connector description:Basic description of connector
- Domain name:The host address of the request does not need to contain the http:// or https:// protocol header, and does not need the end of the // protocol.
- Request Protocol:Protocol Type
- Base URL:You can configure the basic prefix URL in the request address. If not, you can fill in "/" directly.
- ConfigureAuthentication Type.
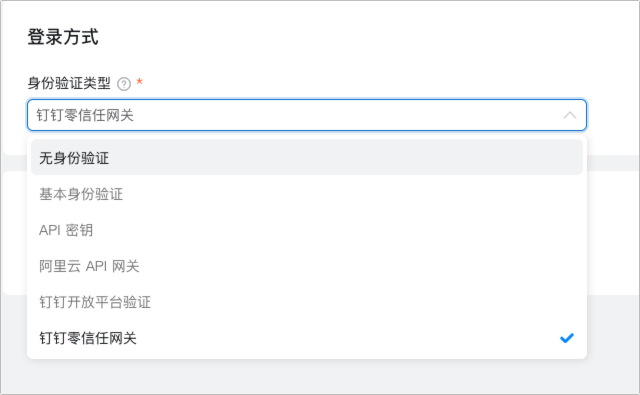
Authentication Type | Description |
No authentication | No authentication is an interface that is called directly without any authentication information. It is usually used to access some public interfaces. |
Basic authentication | BasicHTTPAuthorizationThe request Header contains the credentials used by the server to verify the identity of the user agent. Encryption format: You only need to configure the prompt label of the account password to prompt the user to know what to fill in the registration authentication information.
|
API key | That isAPIKeyAuthentication method, the APIKeyIt is valid for a long time (please keep it properly). Visitors create a secret key in the system to be accessed. Developers can directly call public APIs that support such authentication through this credential.
|
Alibaba Cloud API Gateway | When you add an authentication template after the connector is created, enter App Code and call the corresponding Alibaba Cloud API. For more information, see,Use authentication App Code to call APIs.  |
DingTalk open platform verification | After creating the connector, add an authentication template. After the authentication template is added, YIDA automatically generates authentication parameters through authentication. For more information, seeDingTalk application development process. |
DingTalk zero trust Gateway | For more information about how to use the DingTalk zero-trust gateway, seeDingTalk open platform-zero trust network authentication. |
Step 2: Create an execution action
On the execute action page, clickAdd execution action, and then configure it according to the following information.
Name | Description |
Basic information | Configure the basic information of the current action.
|
Interface request | Configure which interface to request when the current execution action is triggered.
|
Interface return | It is used to configure the expected return result after the API is called successfully. JSON can be used for parsing. |

Step 3: Configure authentication
All custom connectors need to create corresponding request authentication schemes, even 「No authenticationYou also need to create.
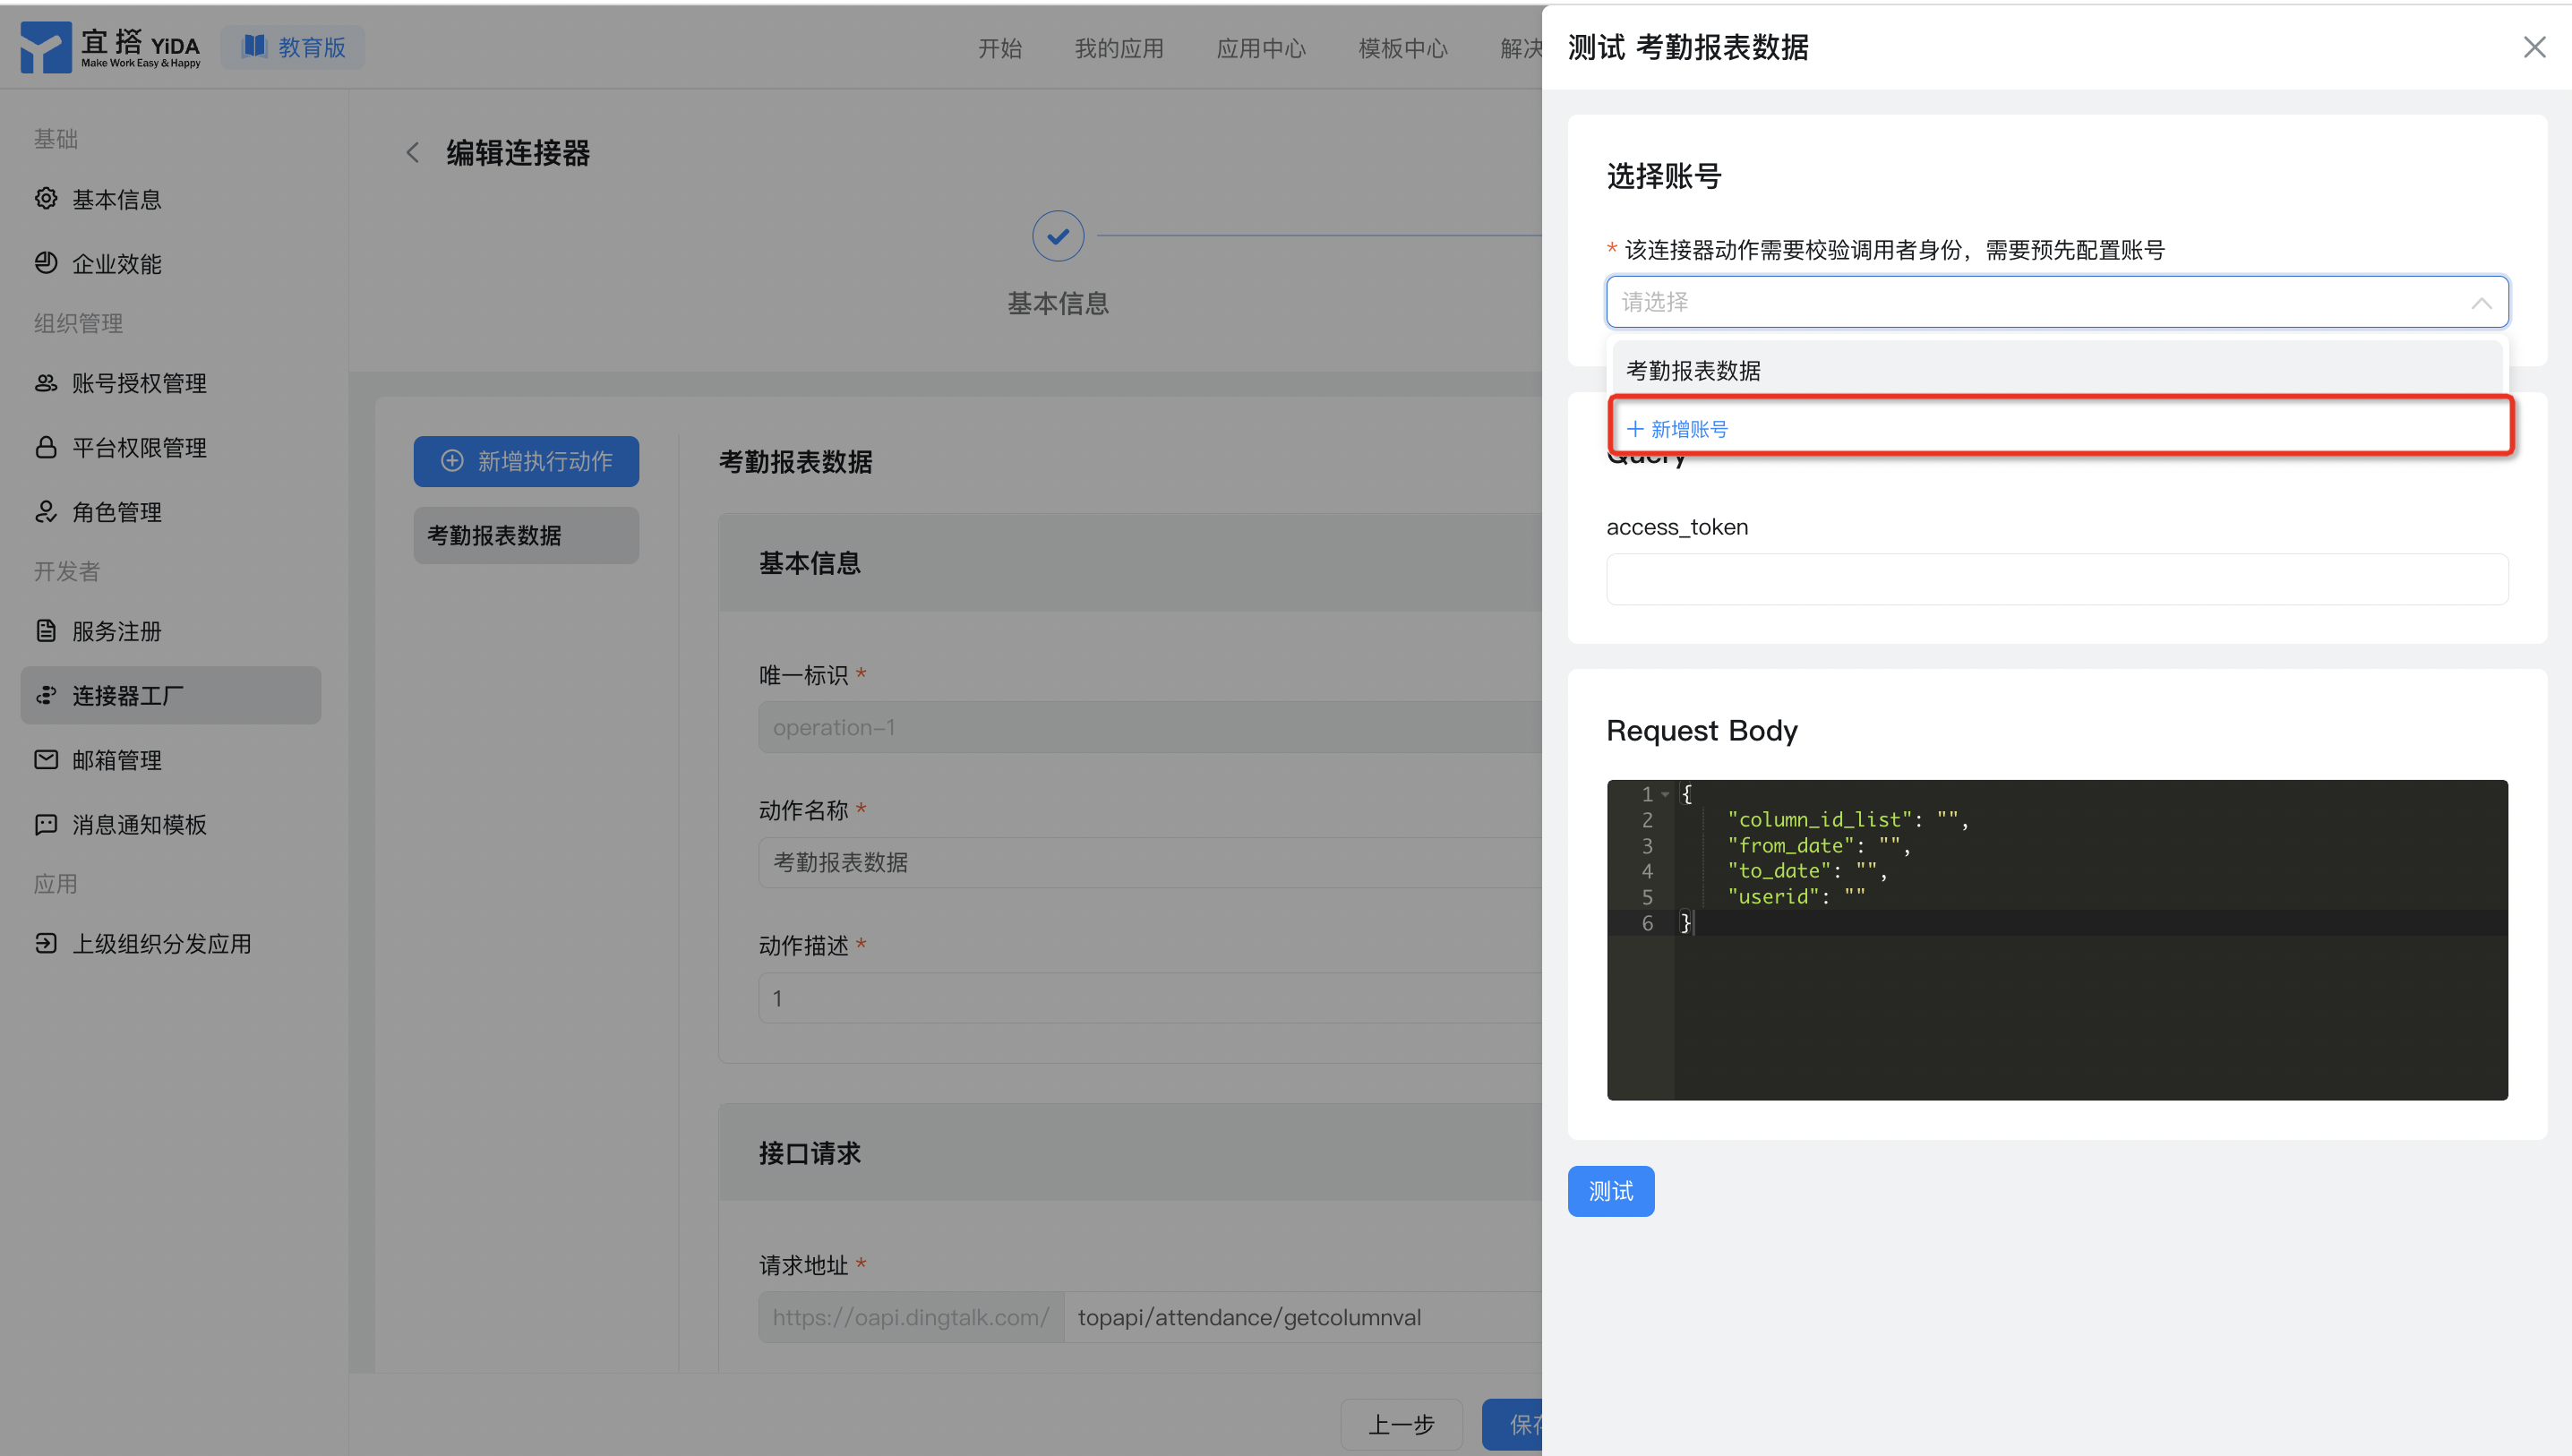
- Create an account
If you click test on the configured Connector, an authentication account will be selected. In this case, you can also add an authentication account.
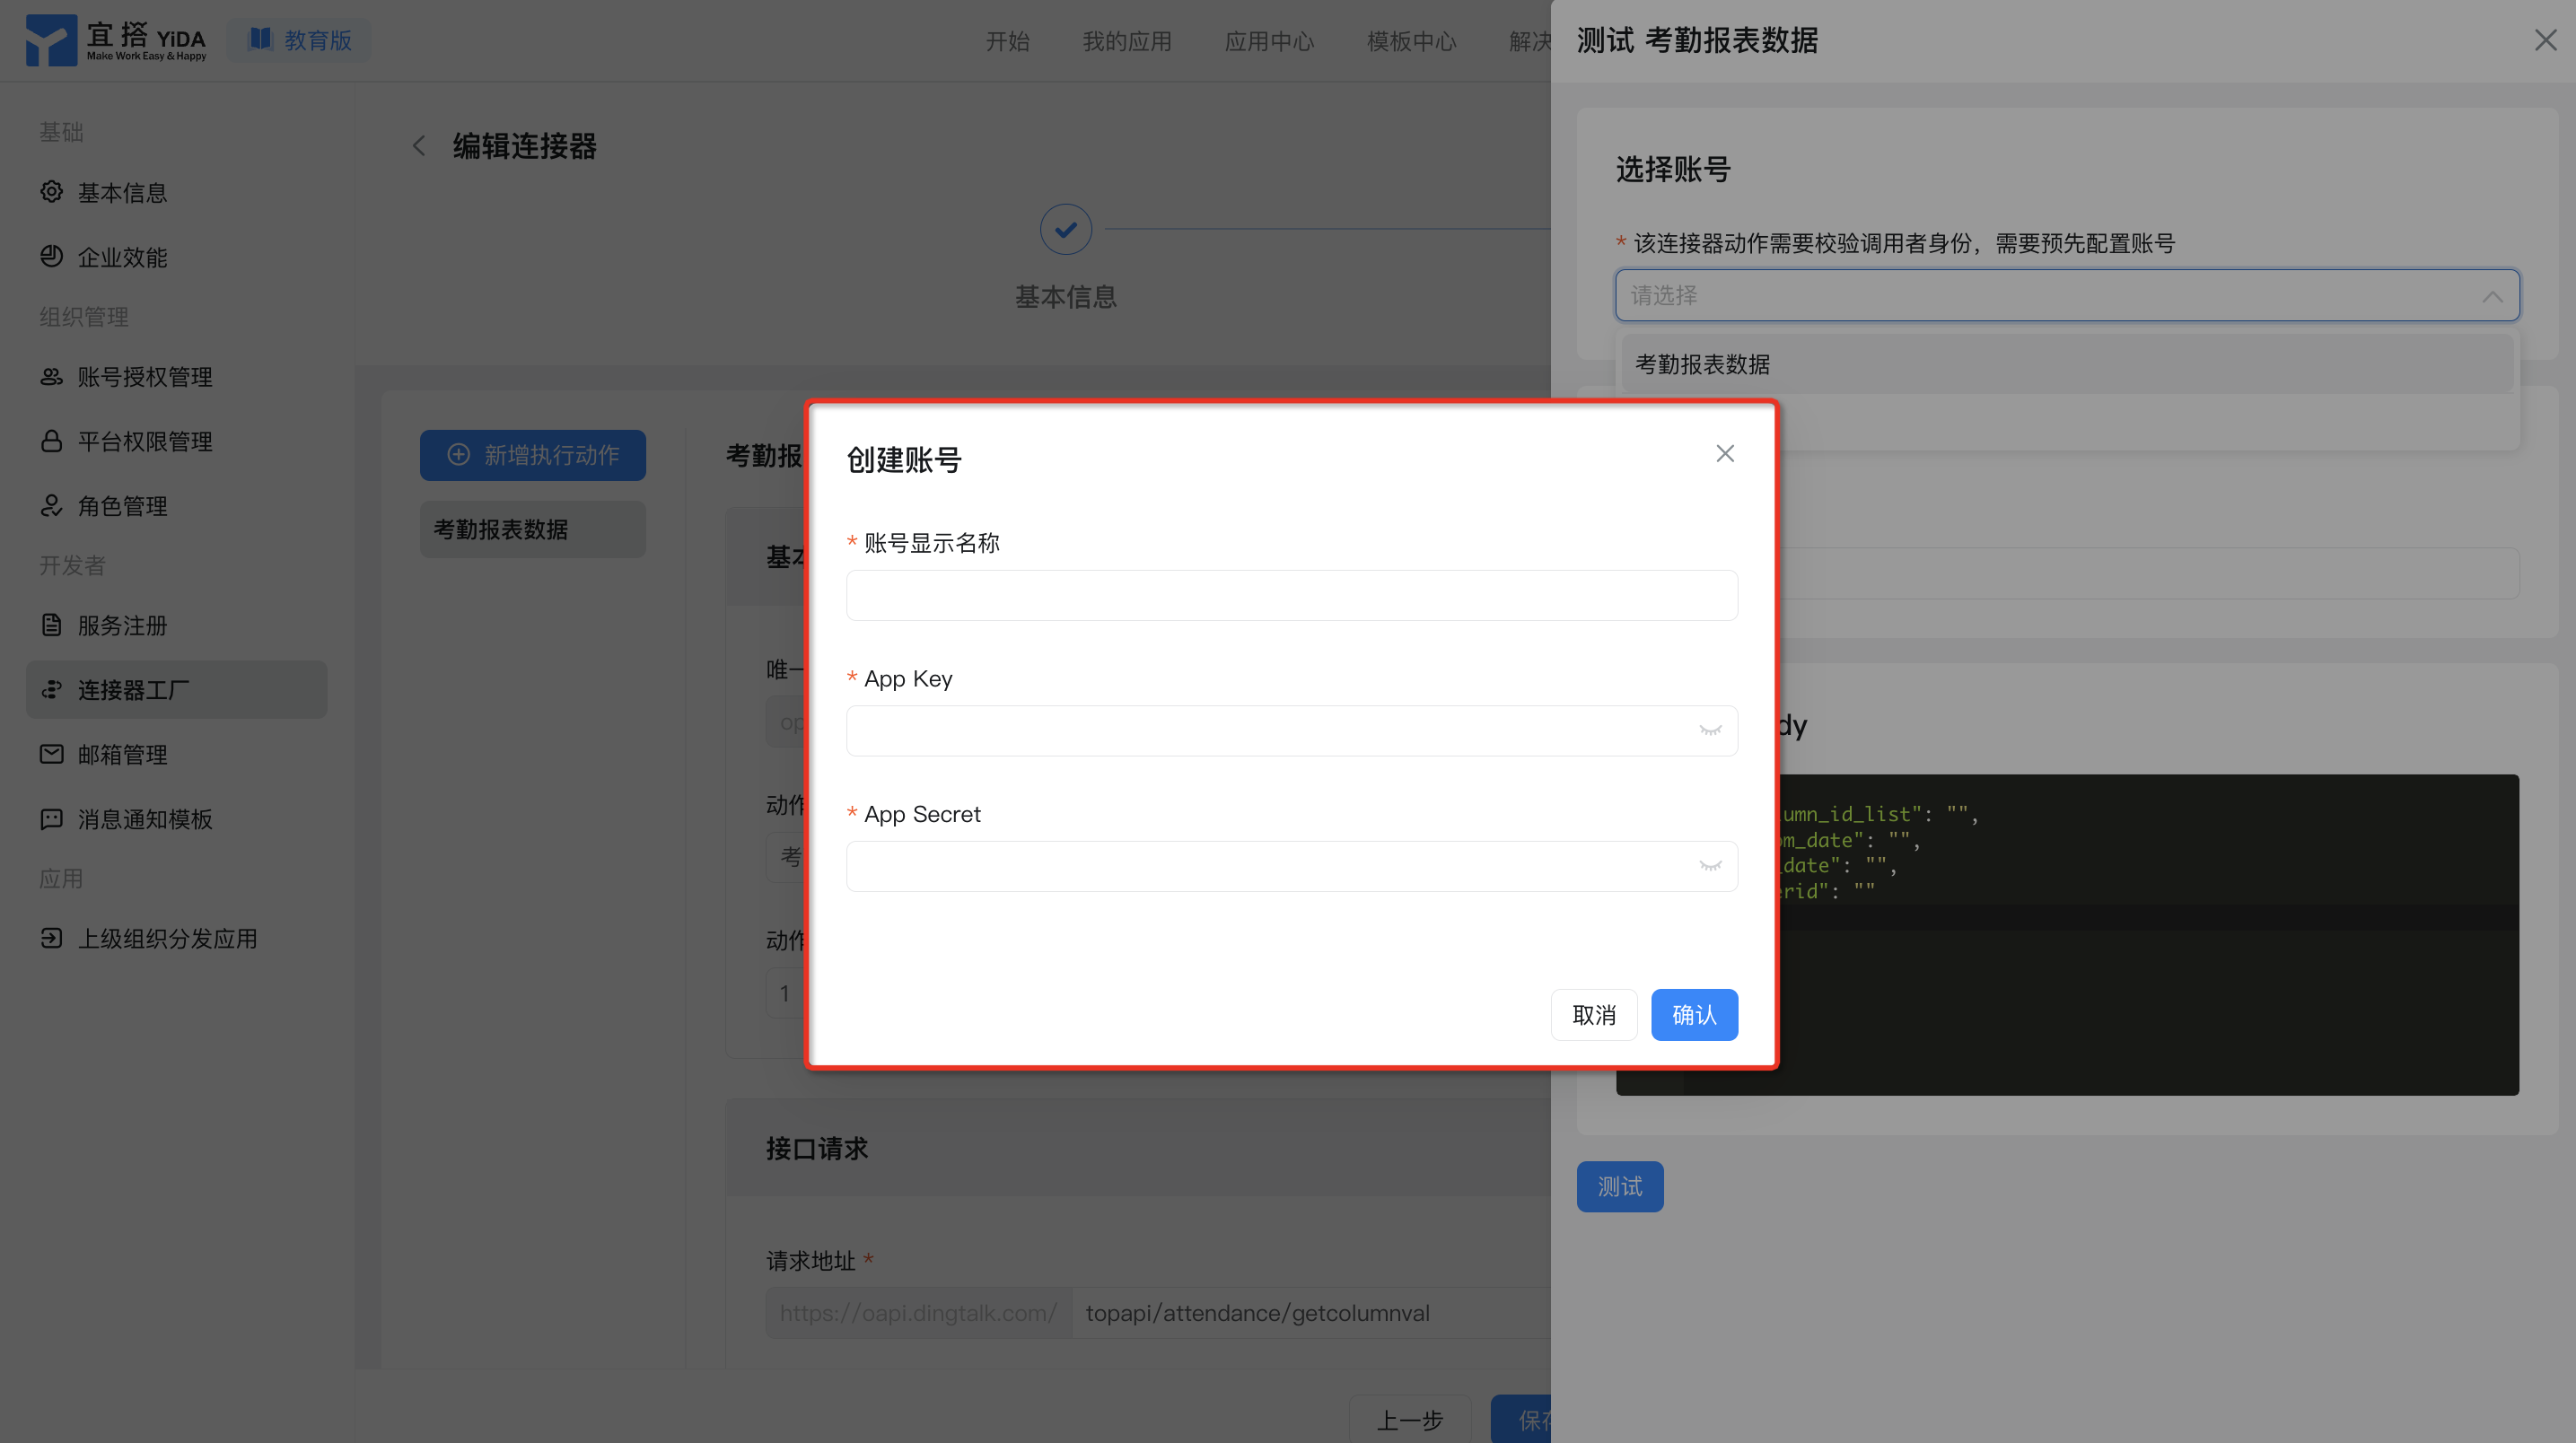
- InputAccount display name,App Key,App SecretWait for information, and thenClickConfirm.
Step 4: Test the connector
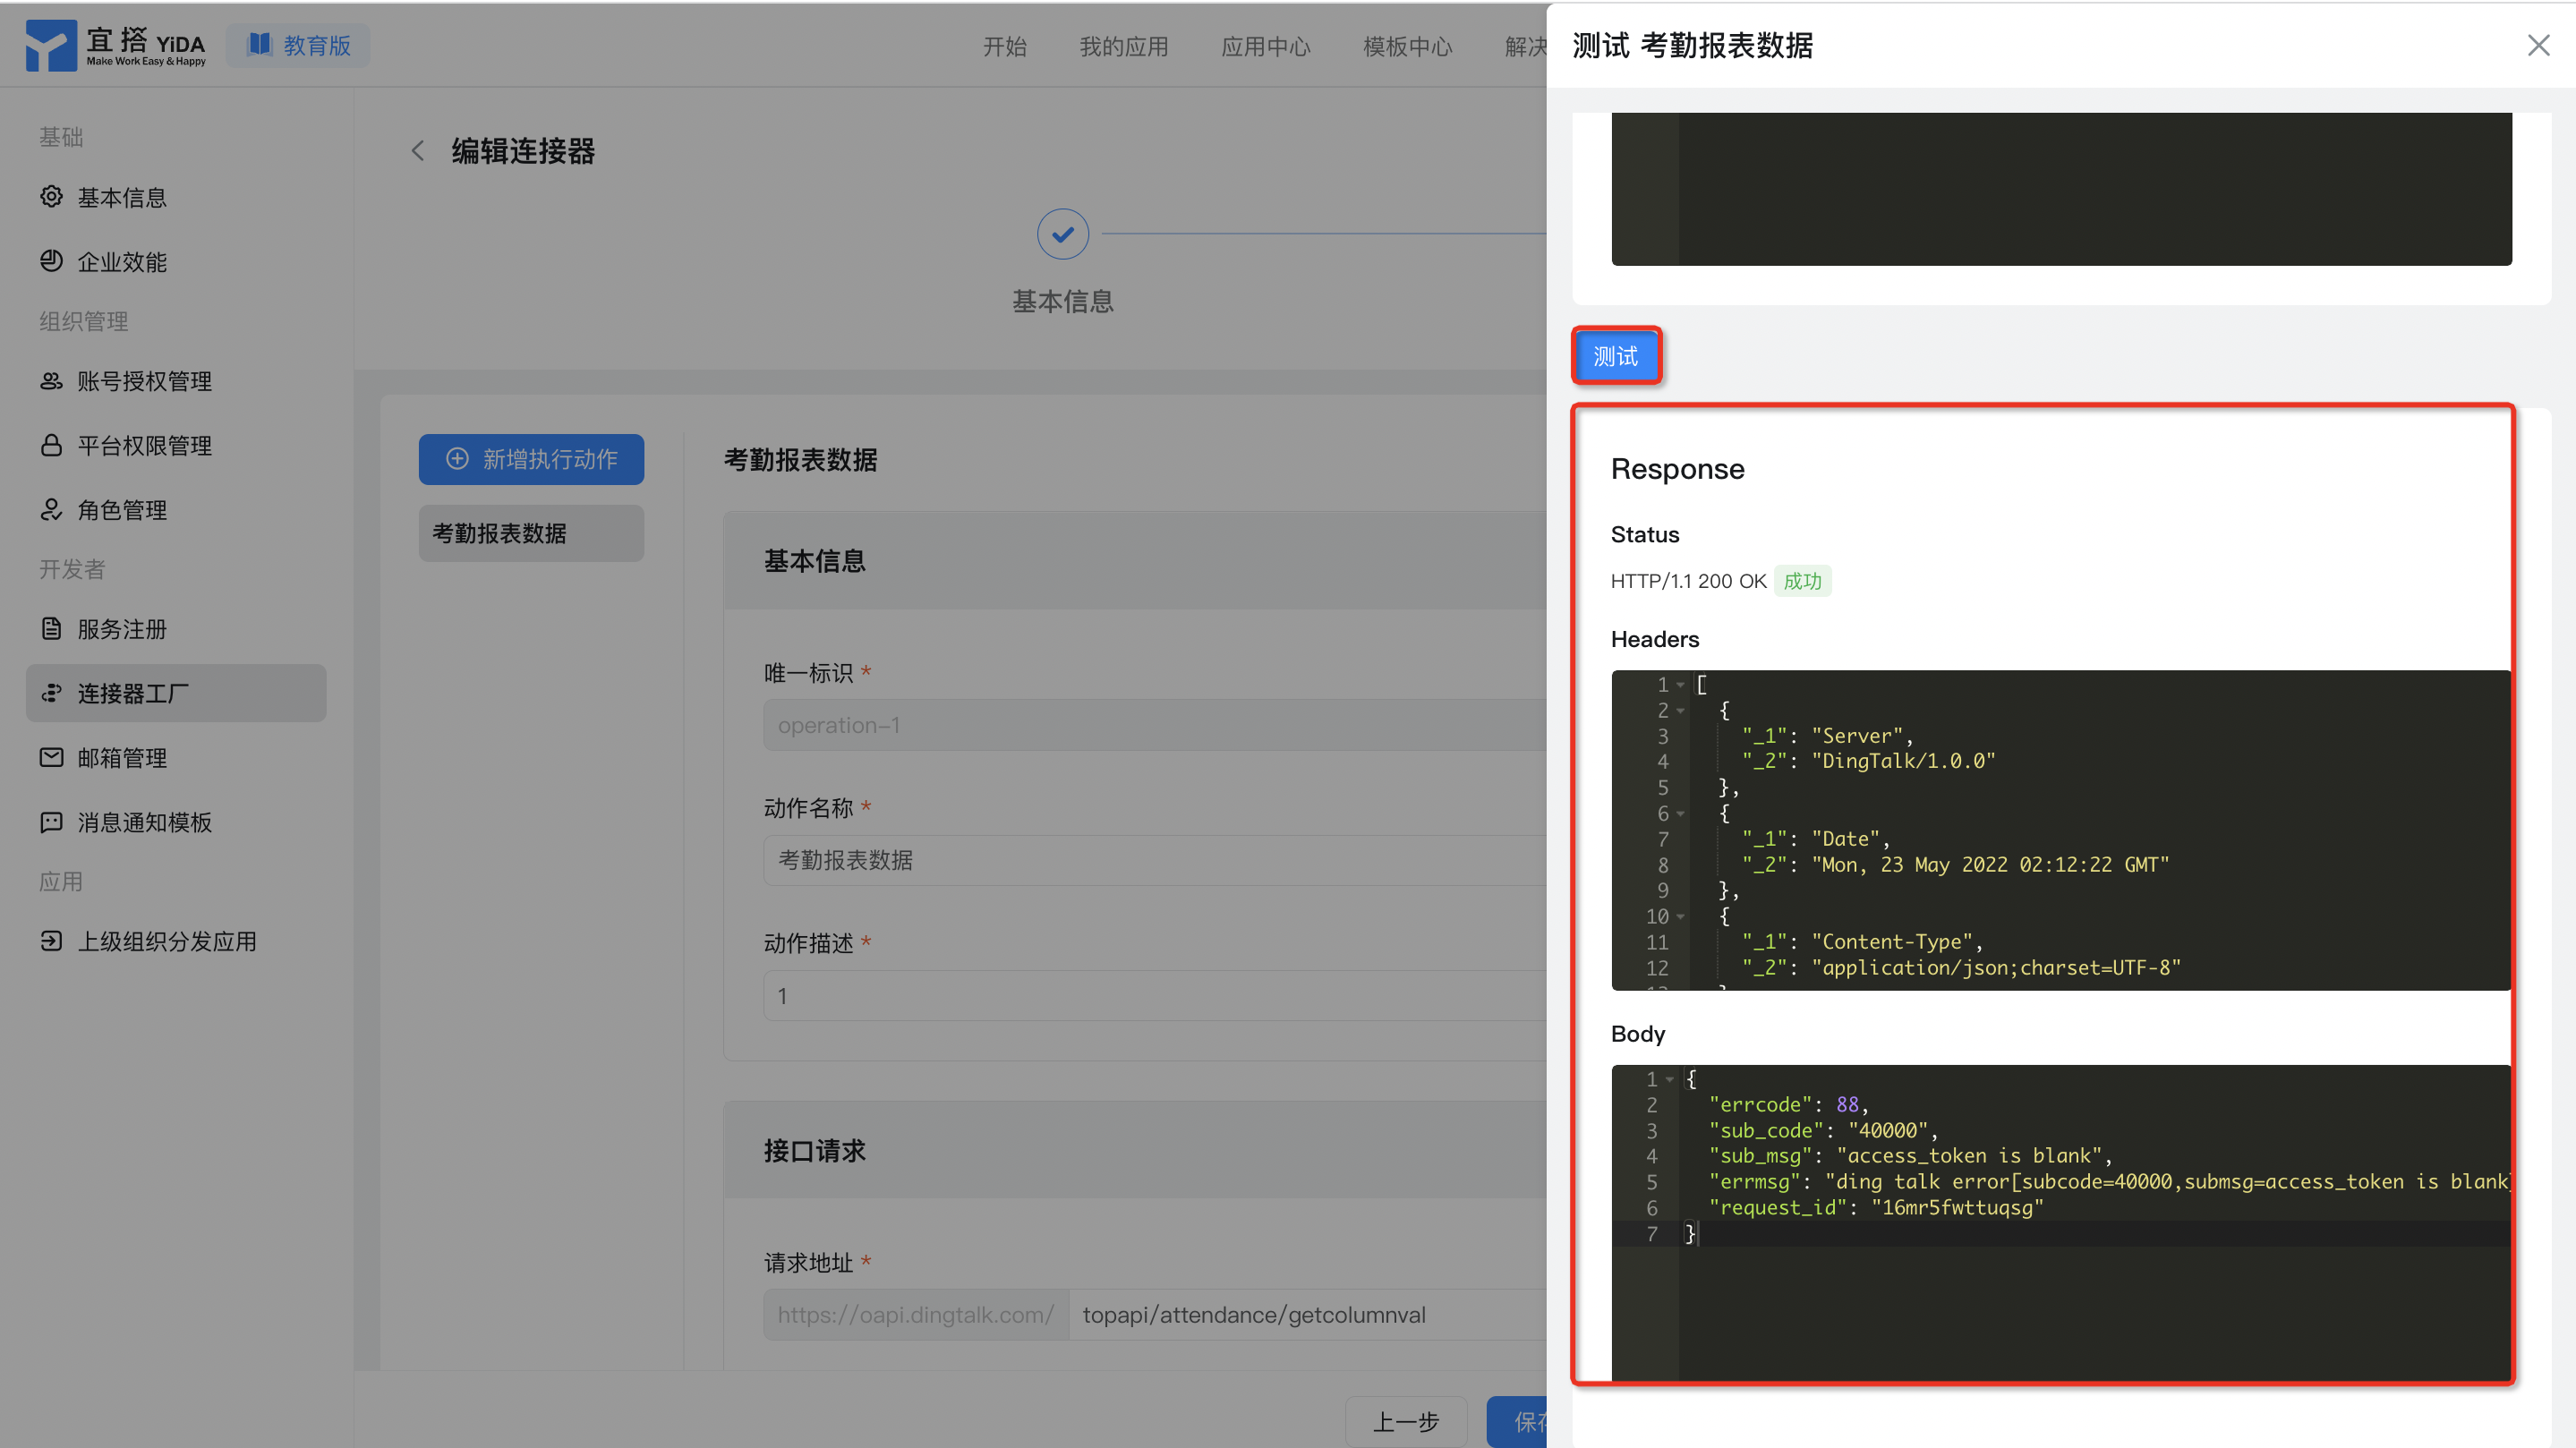
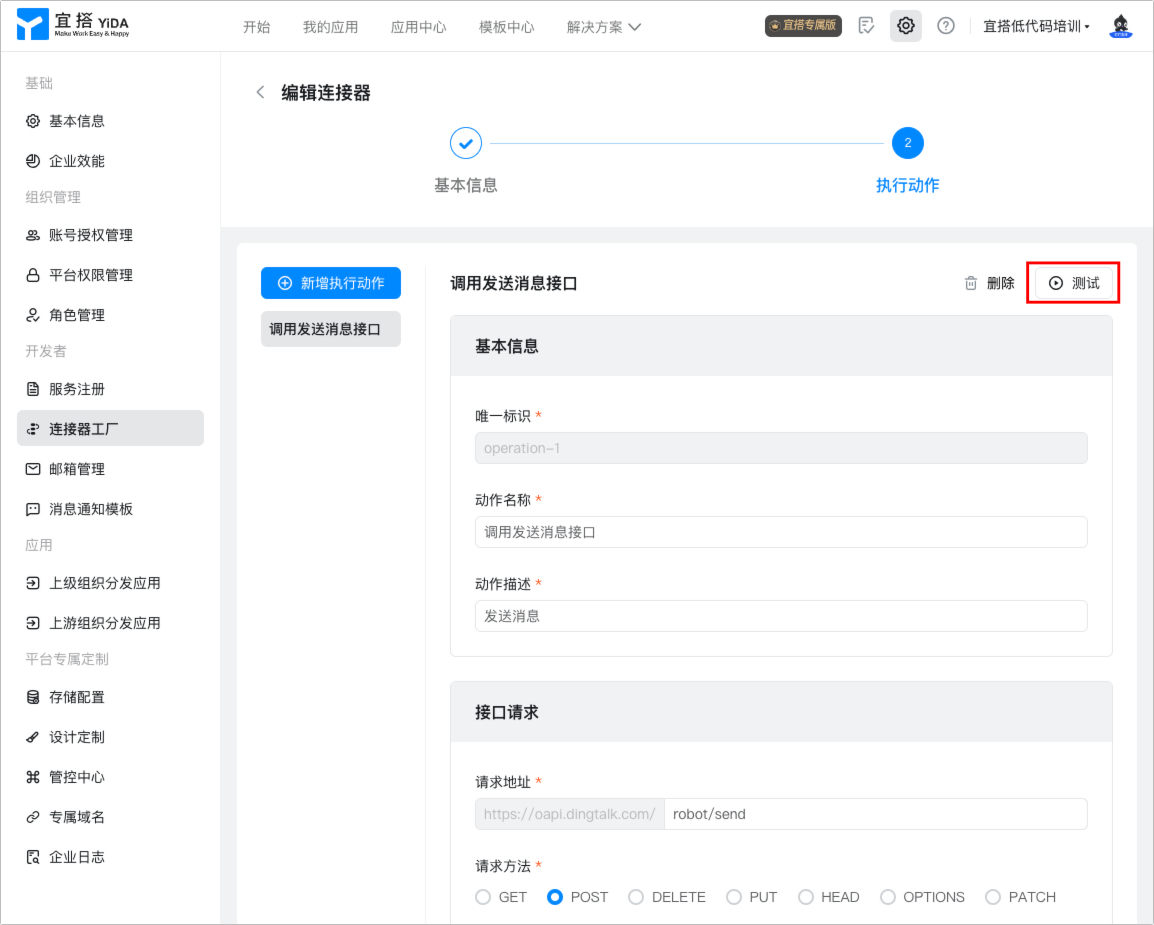
- On the connector details page, clickTestButton.
- Select the authentication used to configure the test parameters.
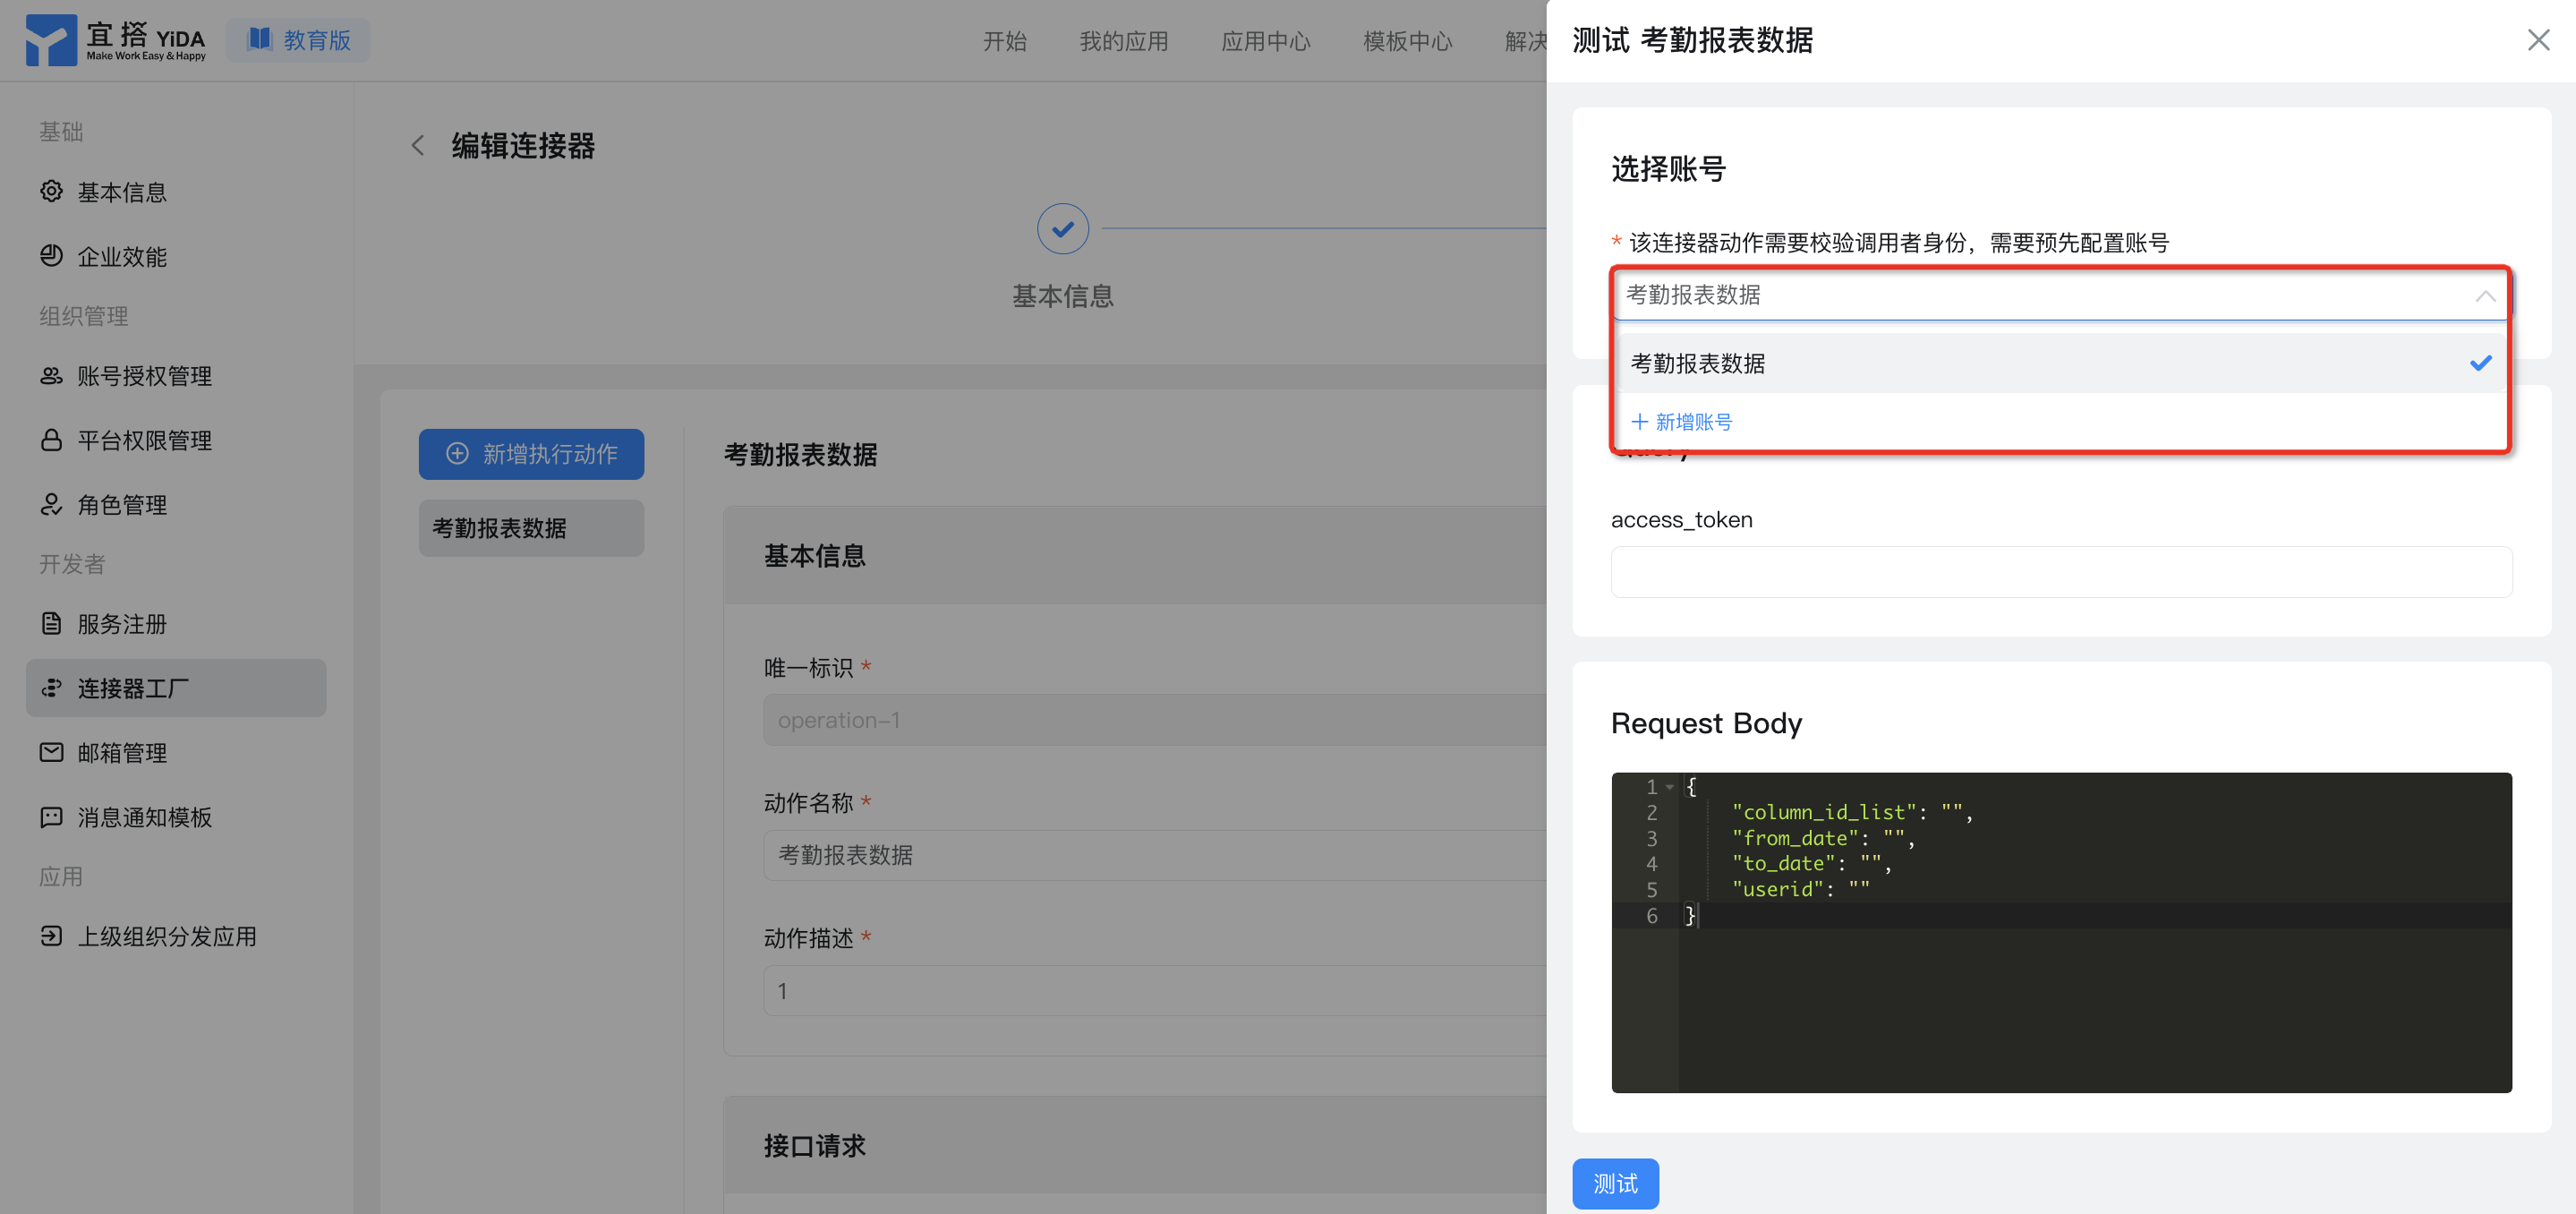
- ClickTest, the expected result is that the configuration is successful.
