自定义页面实现树形数据展示及数据异步加载
1. 使用场景
在一些 ERP 系统中,我们需要展示产品的 BOM 清单,但是不知道怎么去设计表单及数据处理,借助此案例,我们探讨下如何实现该需求。
2. 实现功能
2.1. 在树形控件中使用
2.1.1. 创建表单页面用于存储节点数据

2.1.2. 创建自定义页面
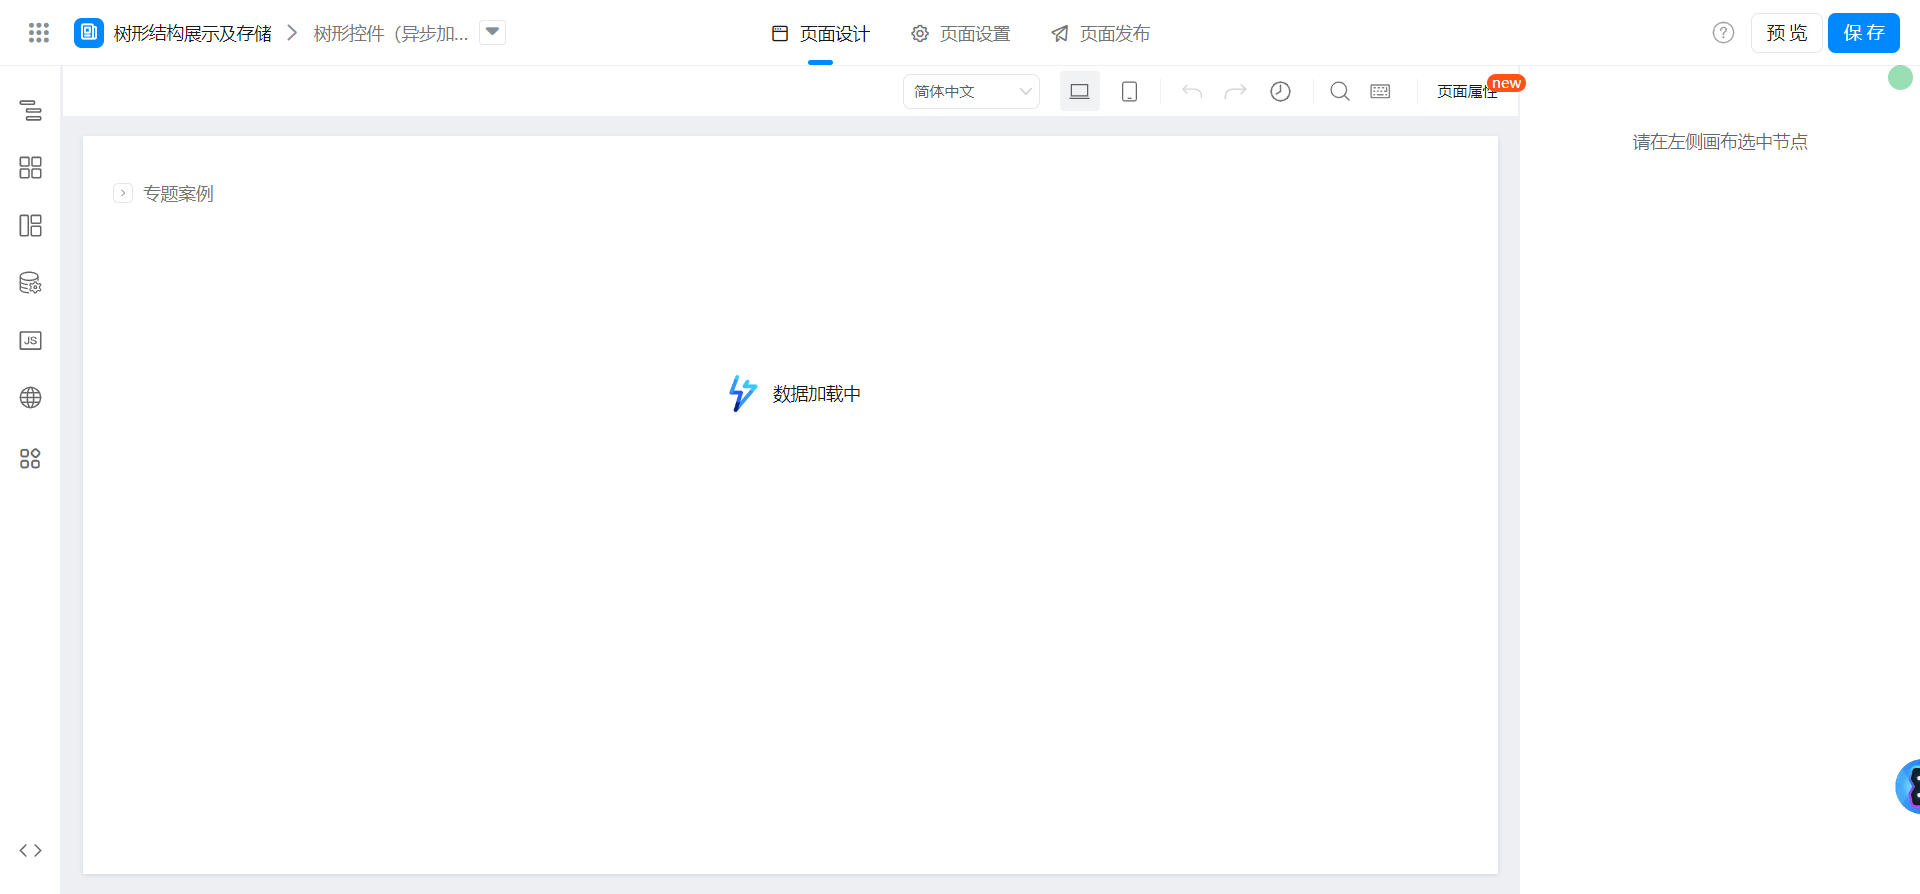
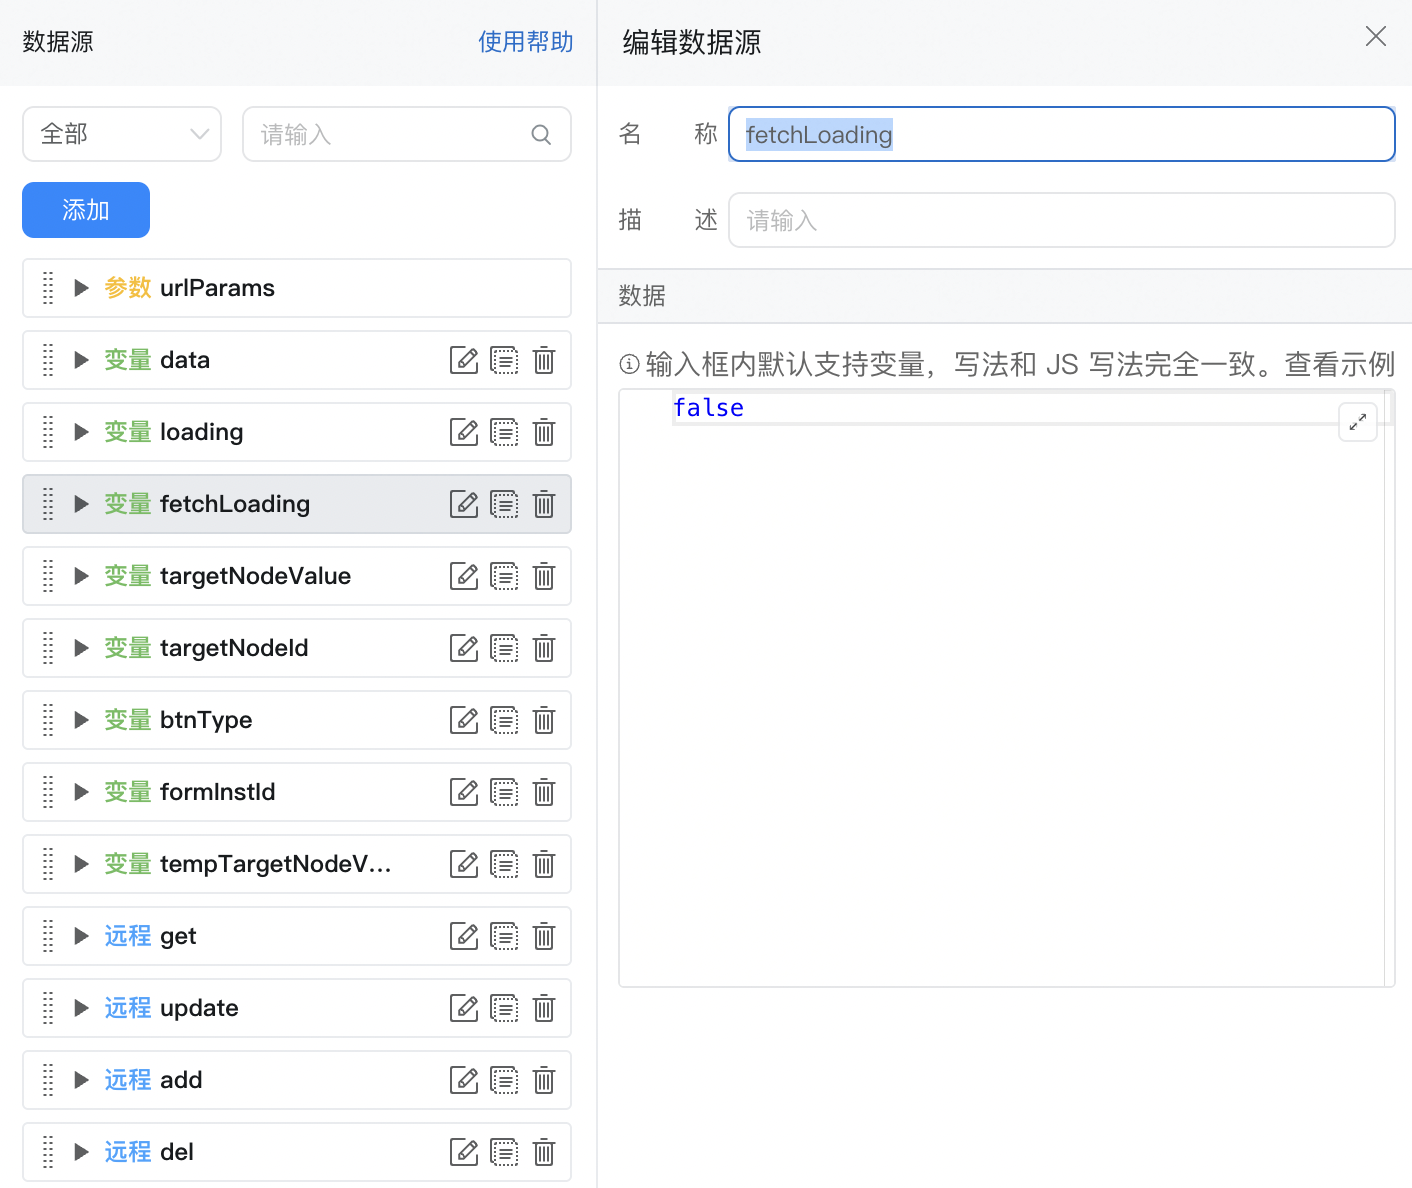
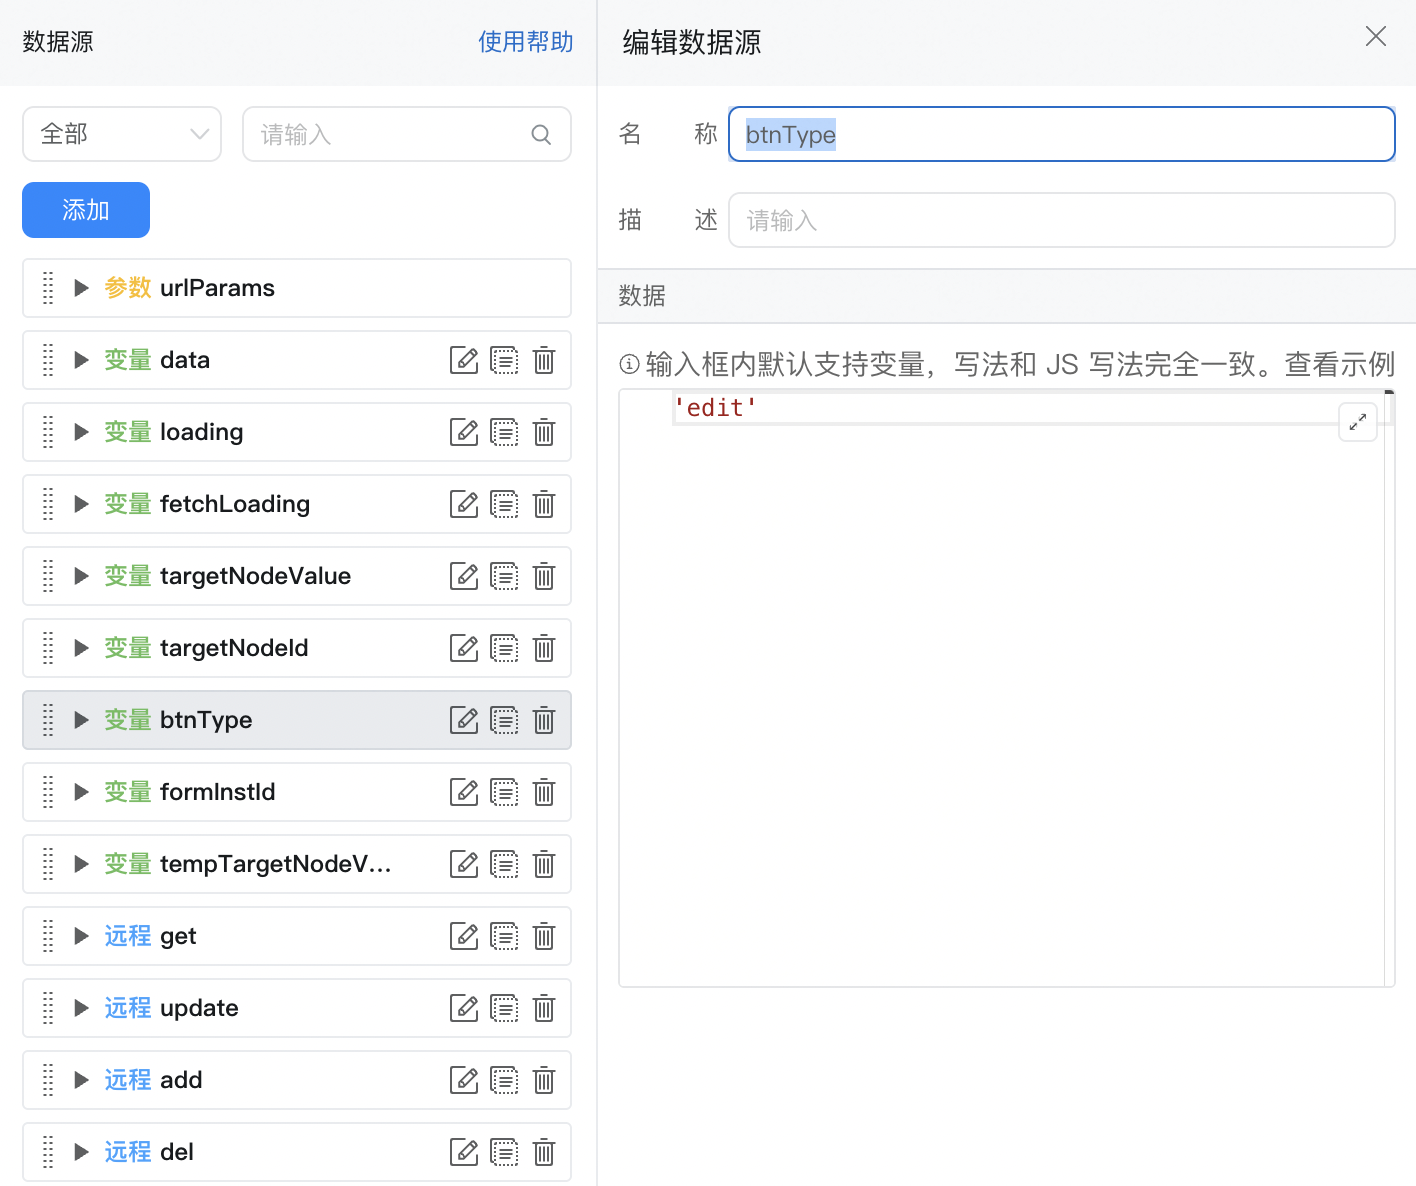
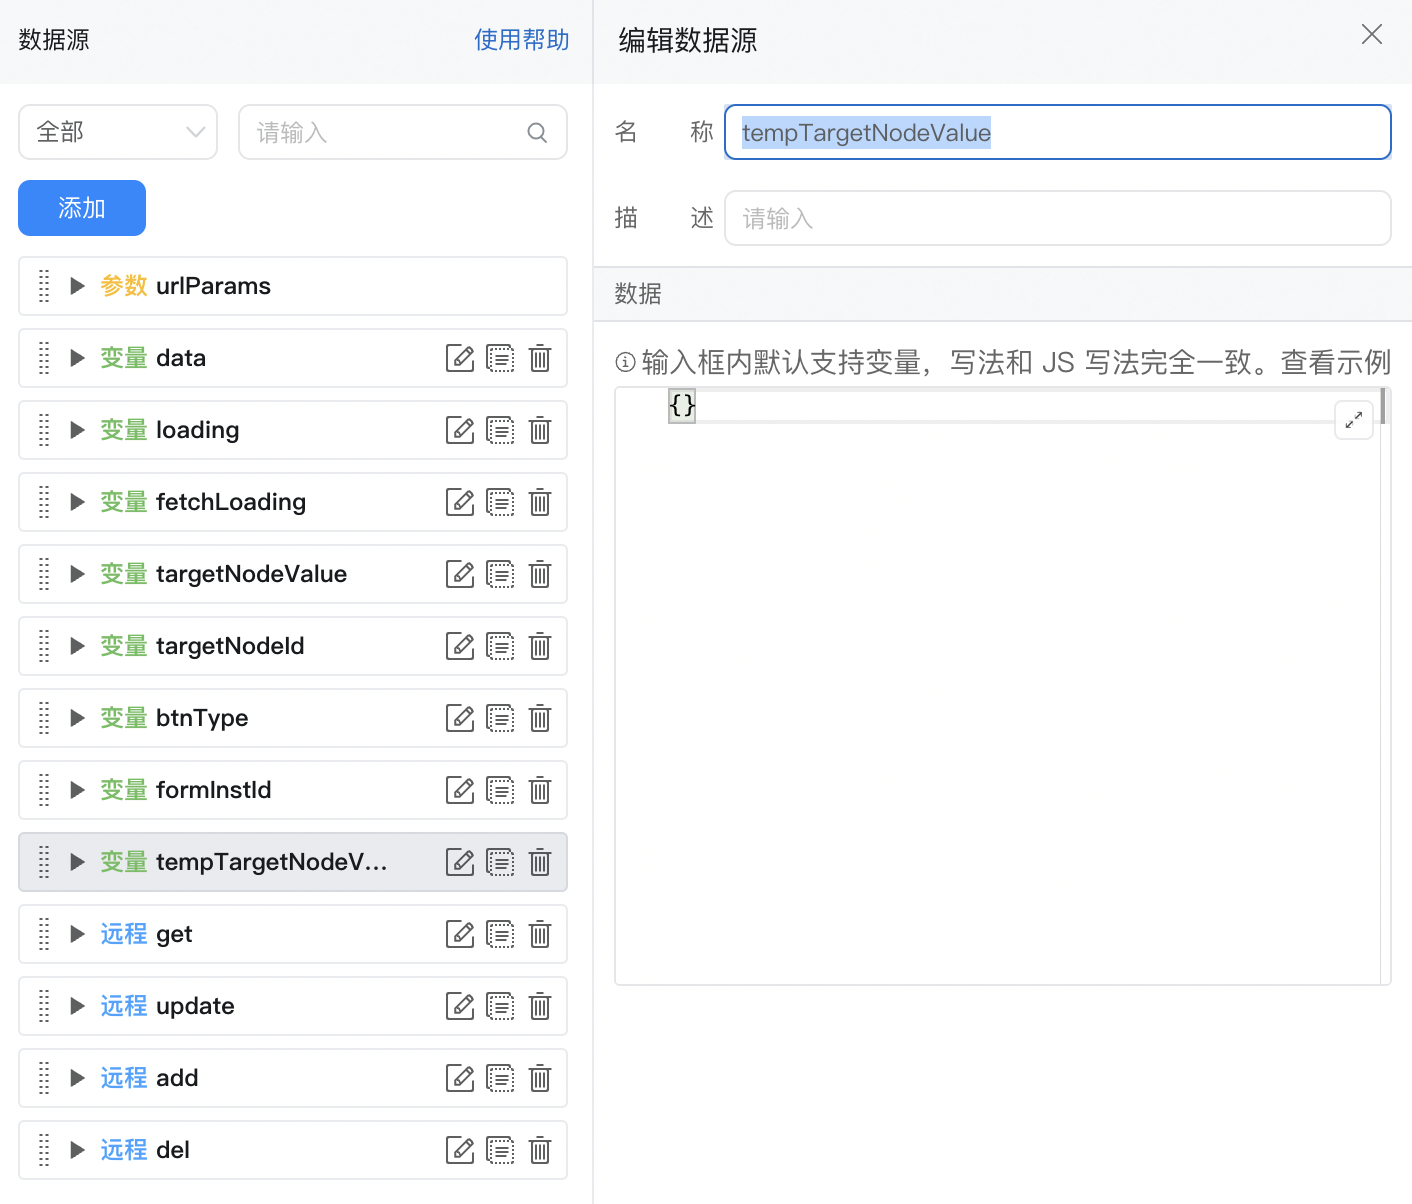
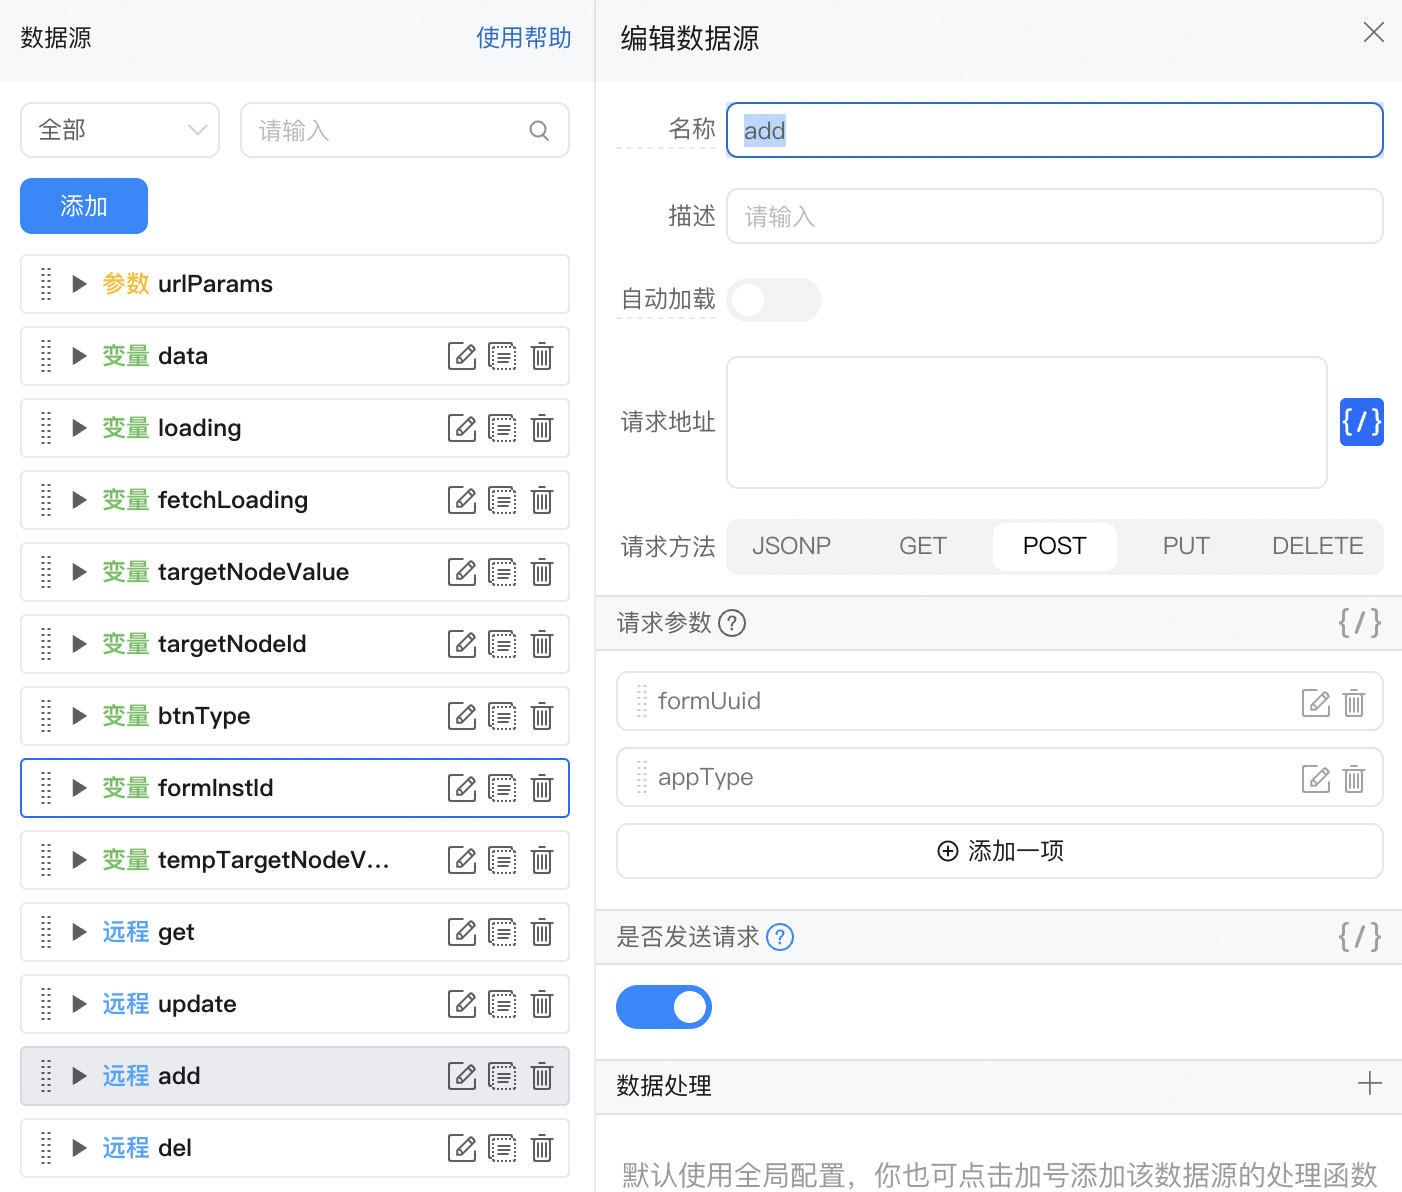
2.1.3. 配置数据源及变量


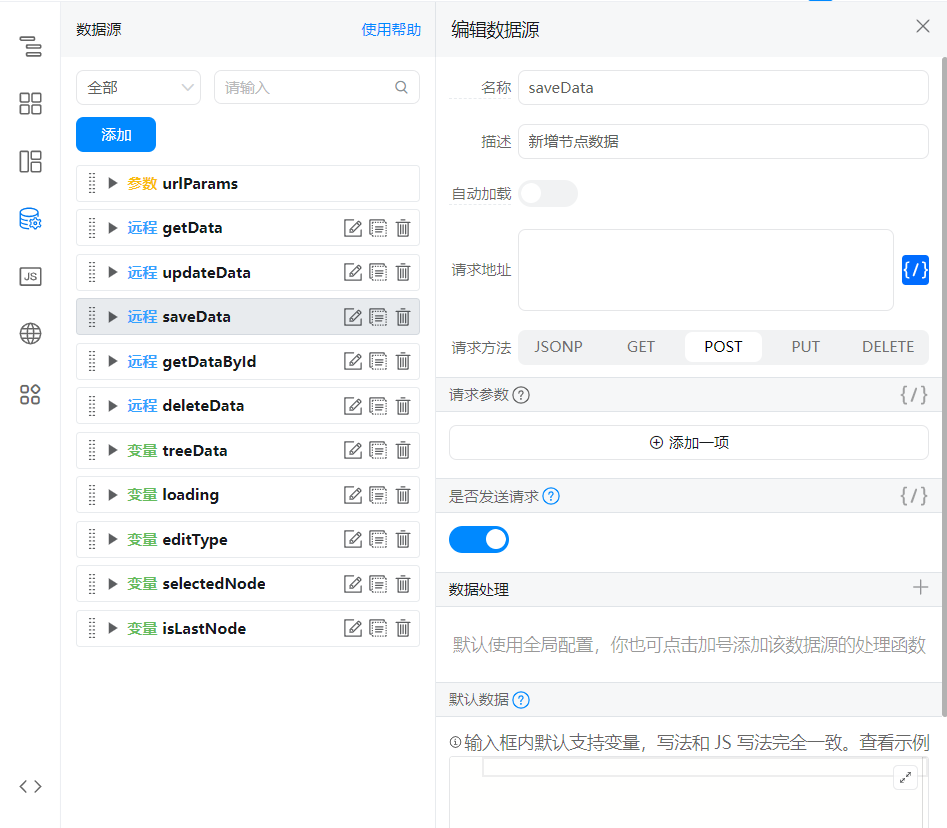
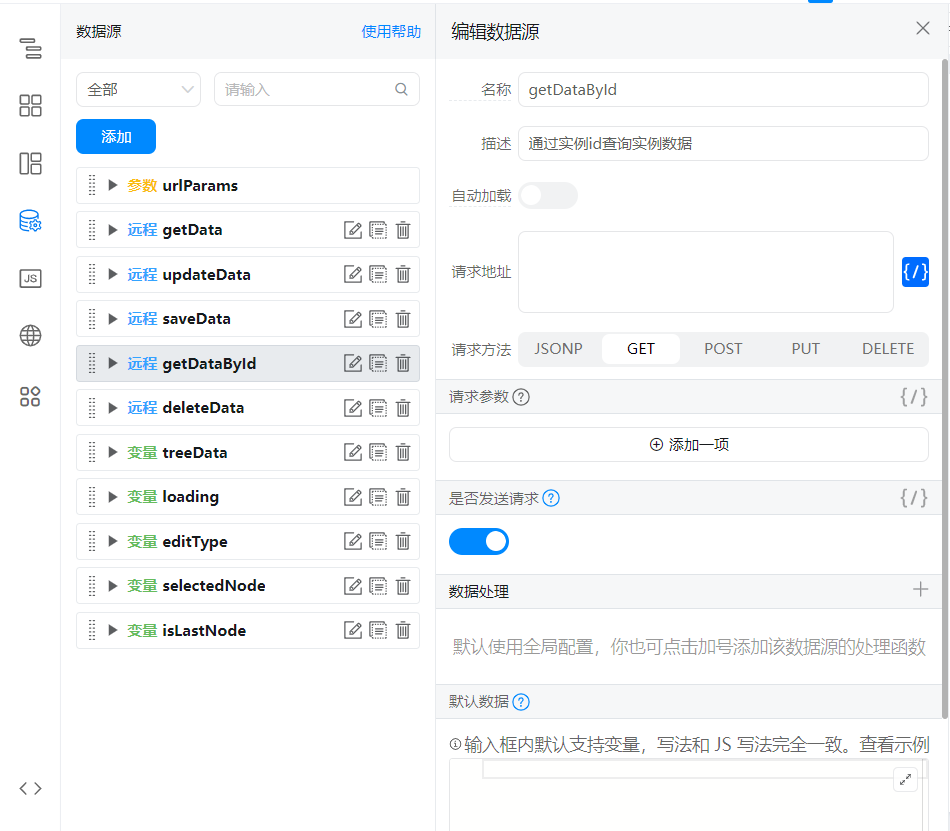
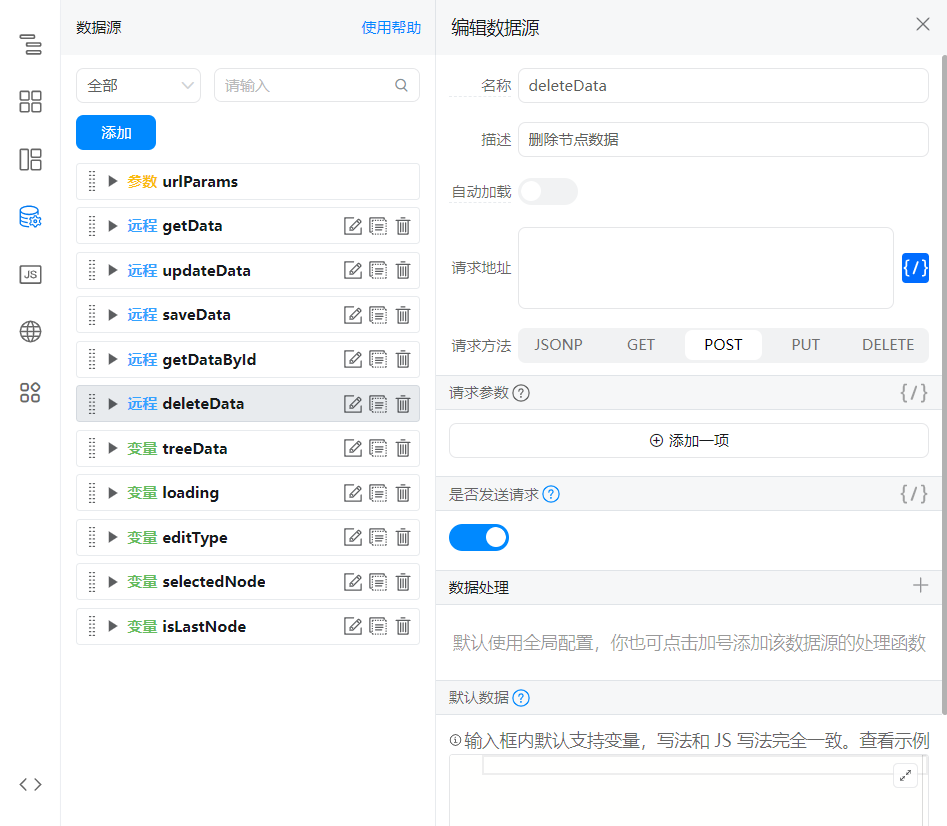
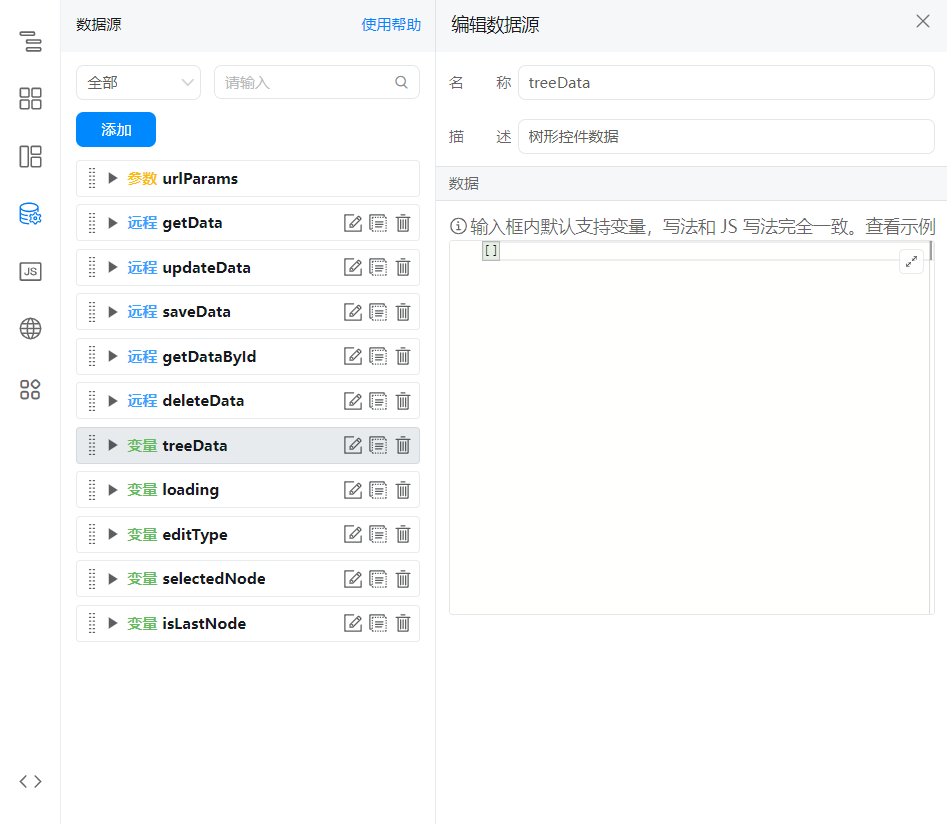
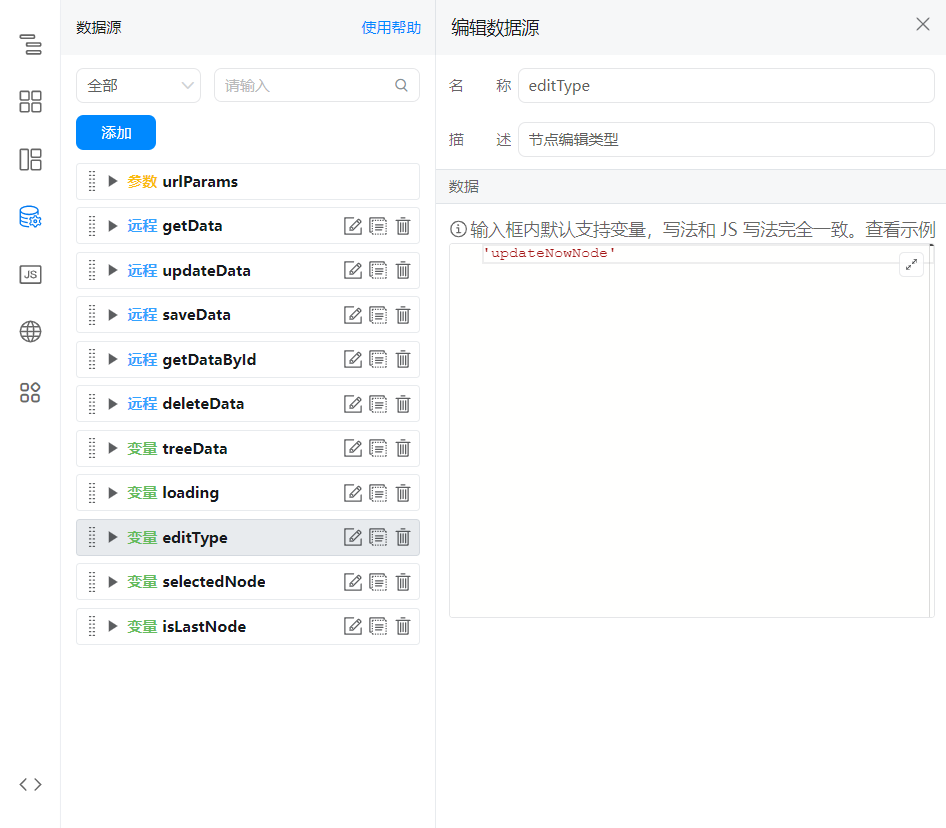
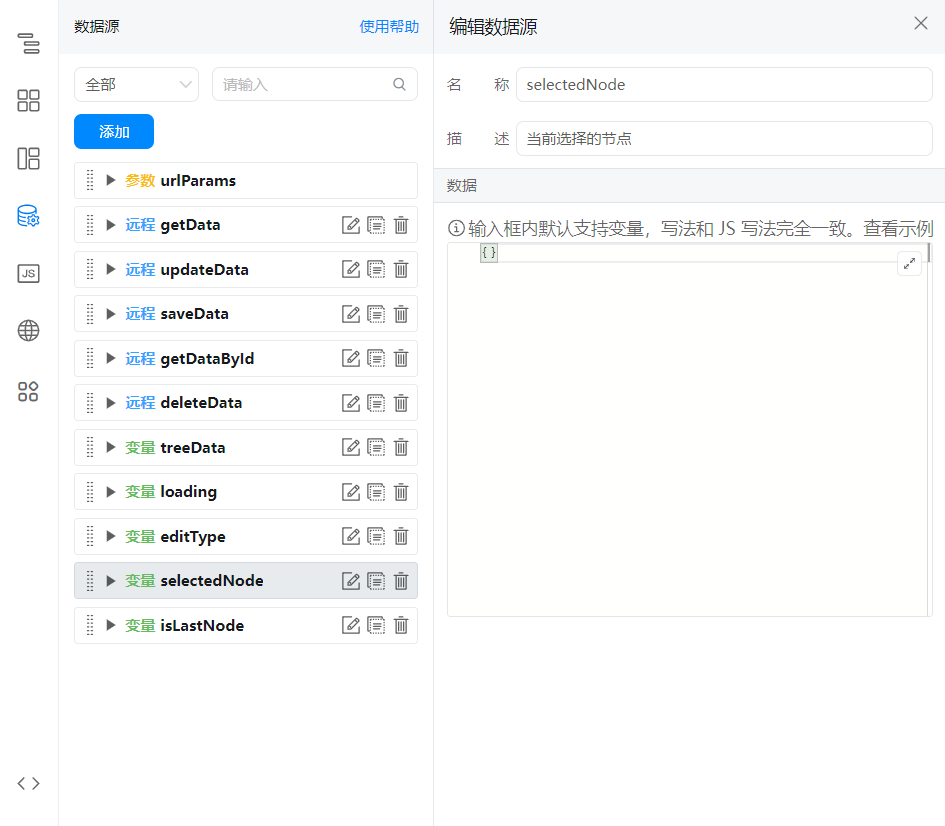

2.1.4. 获取节点数据并渲染树形控件
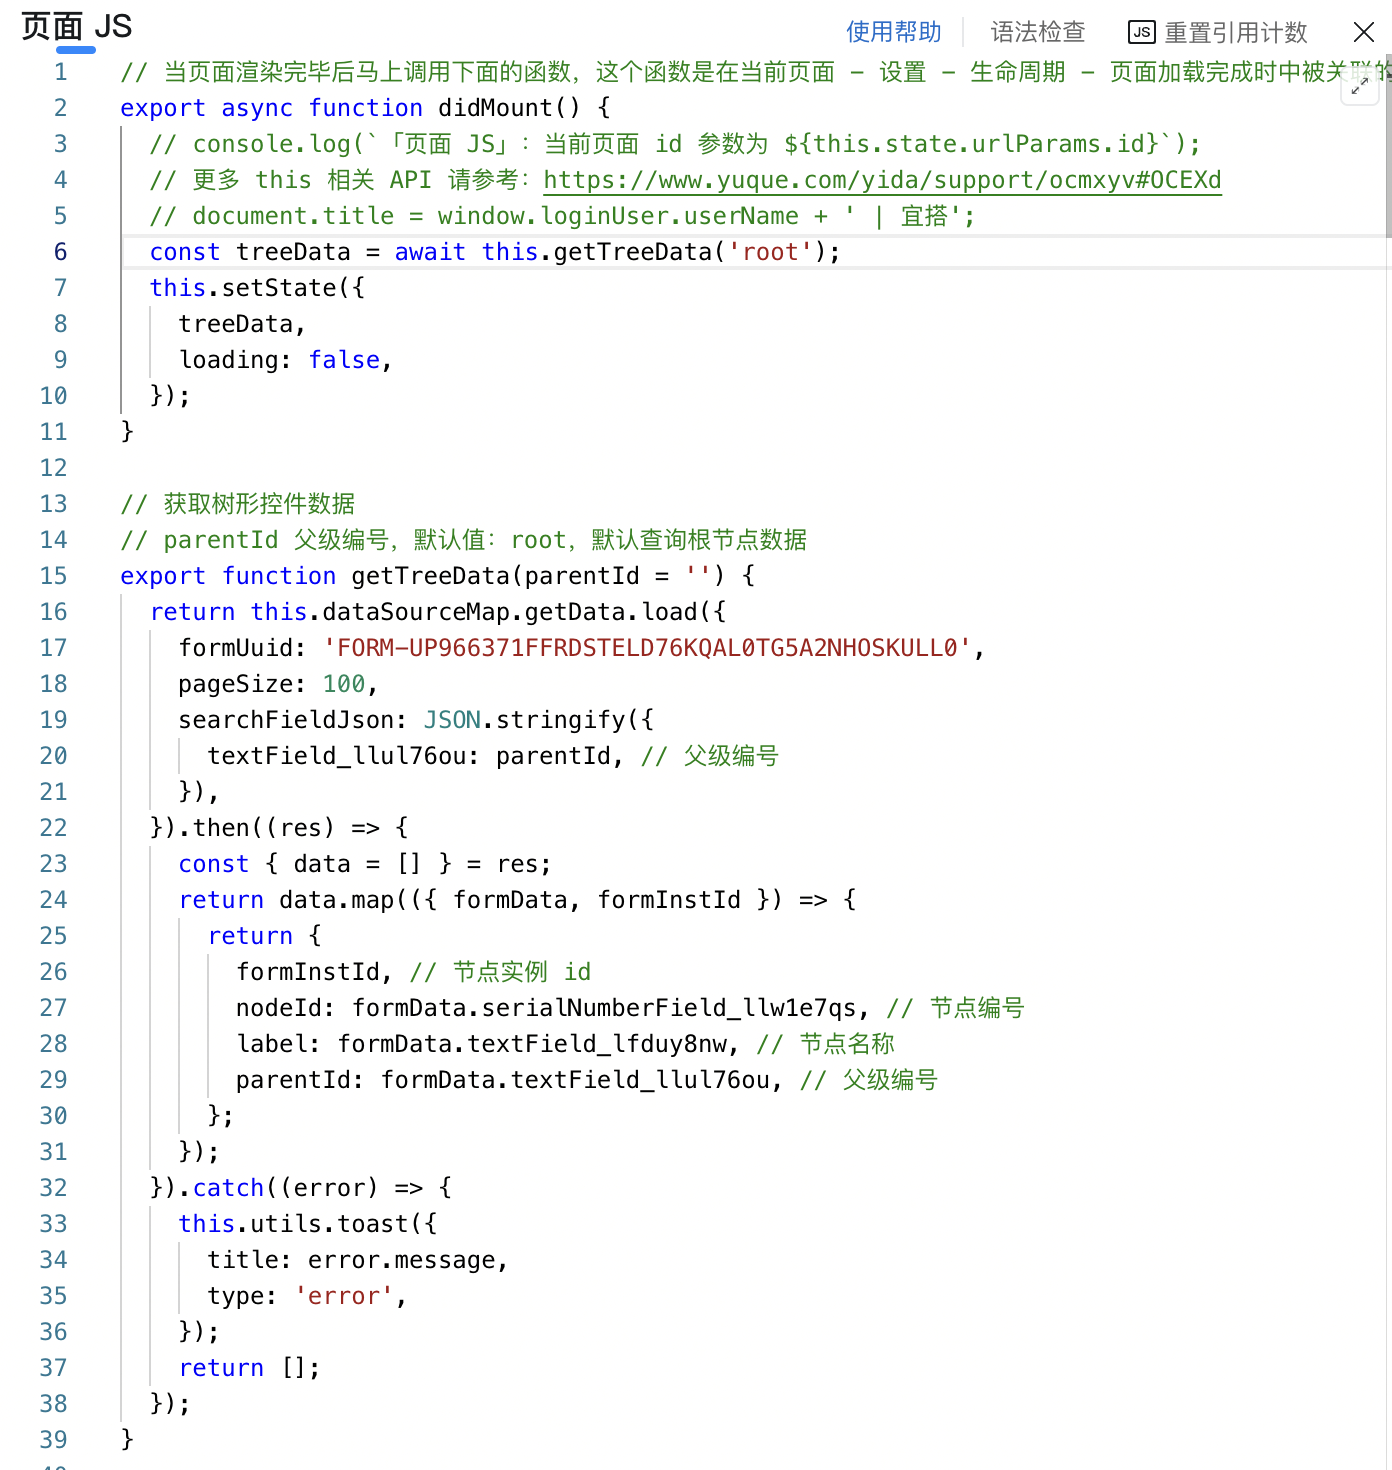
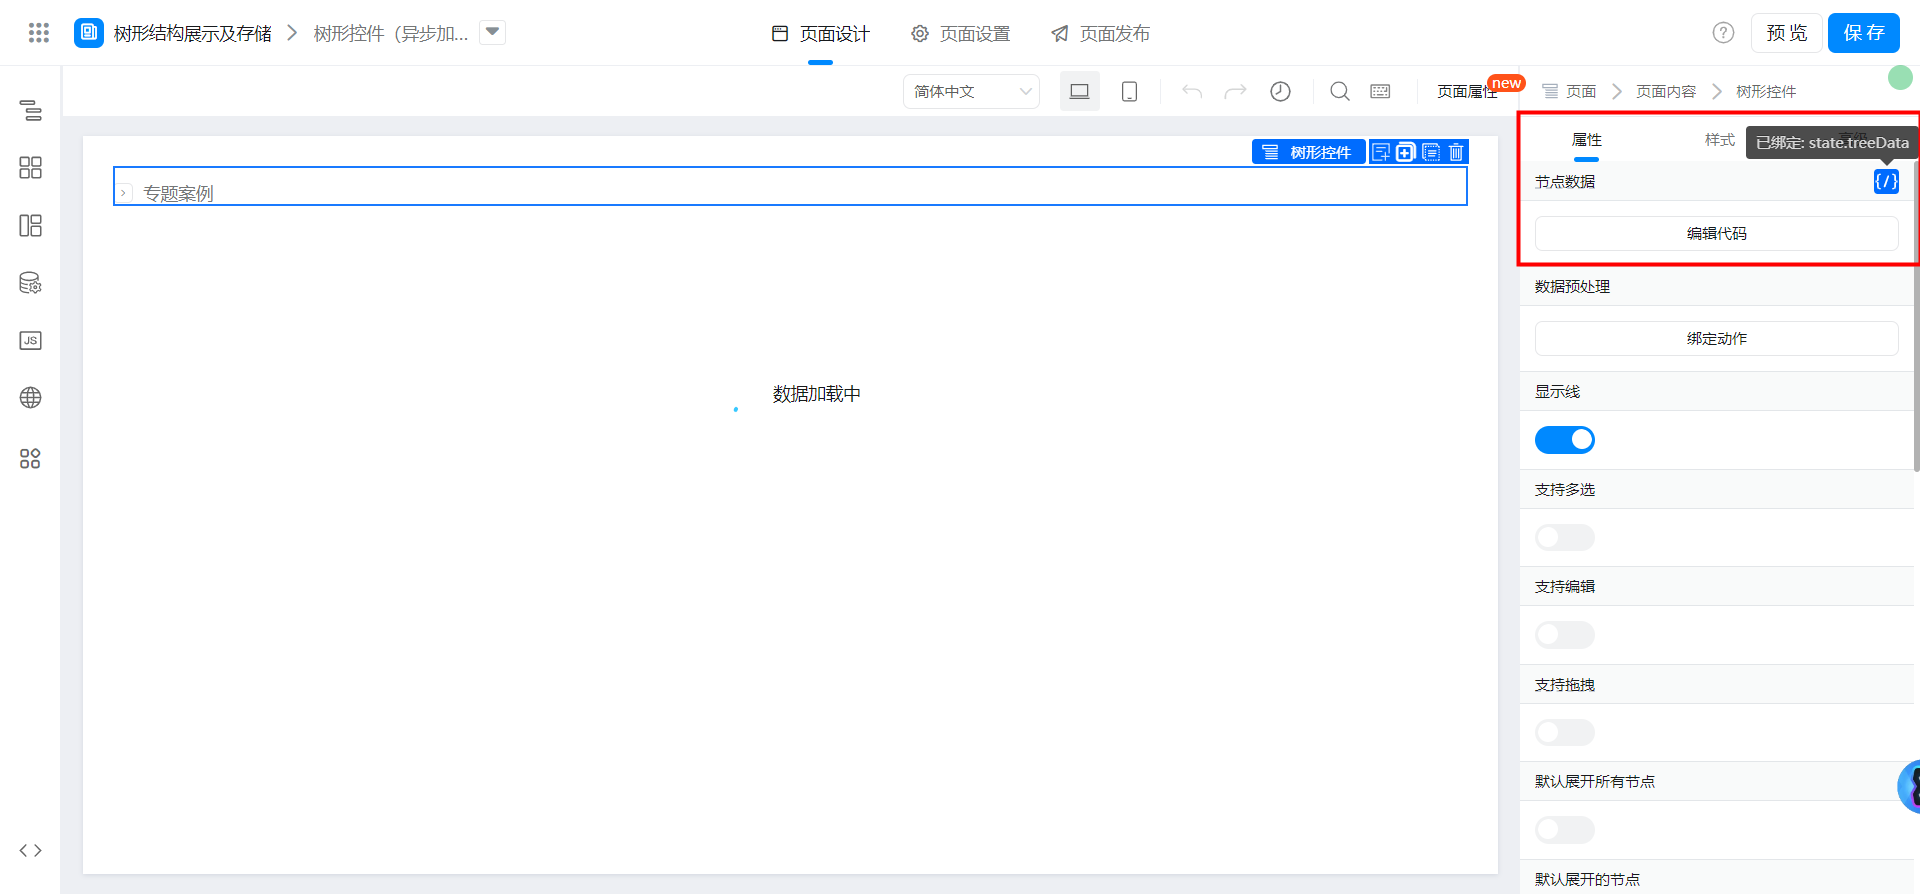
export async function didMount() {
  // console.log(`「页面 JS」:当前页面 id 参数为 ${this.state.urlParams.id}`);
  // 更多 this 相关 API 请参考:https://www.yuque.com/yida/support/ocmxyv#OCEXd
  // document.title = window.loginUser.userName + ' | 宜搭';
  const treeData = await this.getTreeData('root');
  this.setState({
    treeData,
    loading: false,
  });
}

// 获取树形控件数据
// parentId 父级编号,默认值:root,默认查询根节点数据
export function getTreeData(parentId = '') {
  return this.dataSourceMap.getData.load({
    formUuid: 'FORM-UP966371FFRDSTELD76KQAL0TG5A2NHOSKULL0',
    pageSize: 100,
    searchFieldJson: JSON.stringify({
      textField_llul76ou: parentId, // 父级编号
    }),
  }).then((res) => {
    const { data = [] } = res;
    return data.map(({ formData, formInstId }) => {
      return {
        formInstId, // 节点实例 id
        nodeId: formData.serialNumberField_llw1e7qs, // 节点编号
        label: formData.textField_lfduy8nw, // 节点名称
        parentId: formData.textField_llul76ou, // 父级编号
      };
    });
  }).catch((error) => {
    this.utils.toast({
      title: error.message,
      type: 'error',
    });
    return [];
  });
}
2.1.5. 配置树形控件异步加载
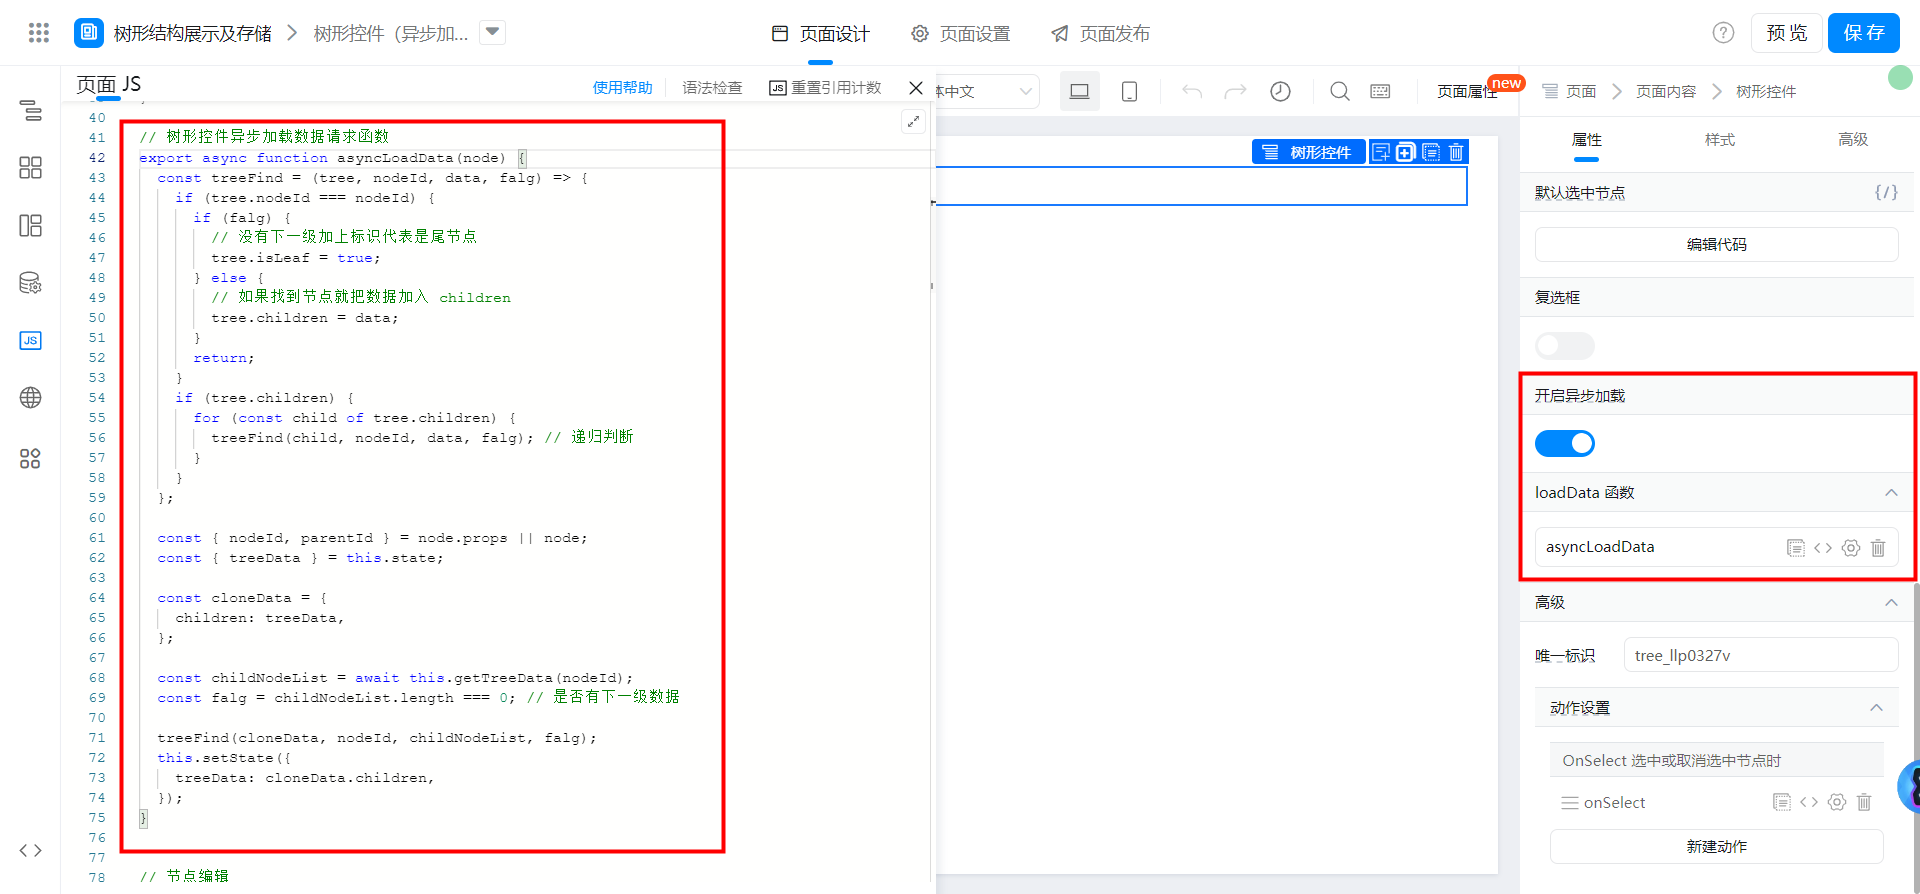
// 树形控件异步加载数据请求函数
export async function asyncLoadData(node) {
  const treeFind = (tree, nodeId, data, falg) => {
    if (tree.nodeId === nodeId) {
      if (falg) {
        // 没有下一级加上标识代表是尾节点
        tree.isLeaf = true;
      } else {
        // 如果找到节点就把数据加入 children
        tree.children = data;
      }
      return;
    }
    if (tree.children) {
      for (const child of tree.children) {
        treeFind(child, nodeId, data, falg); // 递归判断
      }
    }
  };

  const { nodeId, parentId } = node.props || node;
  const { treeData } = this.state;

  const cloneData = {
    children: treeData,
  };

  const childNodeList = await this.getTreeData(nodeId);
  const falg = childNodeList.length === 0; // 是否有下一级数据

  treeFind(cloneData, nodeId, childNodeList, falg);
  this.setState({
    treeData: cloneData.children,
  });
}
2.1.6. 配置节点数据操作函数
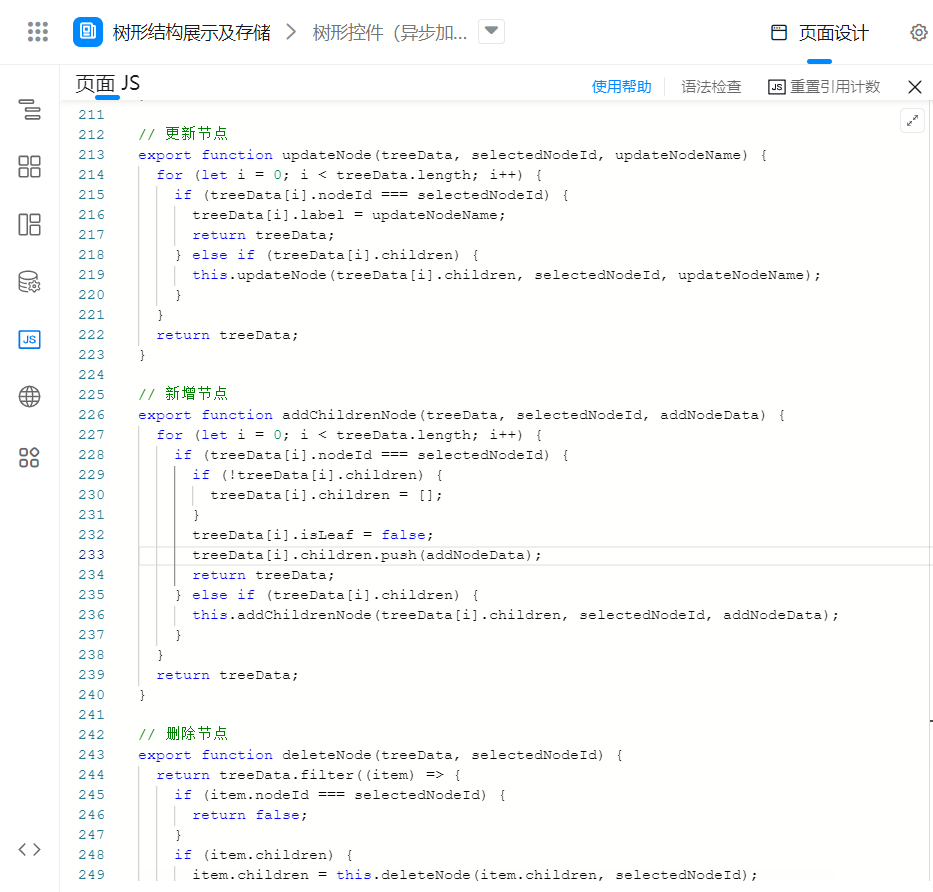
// 更新节点
export function updateNode(treeData, selectedNodeId, updateNodeName) {
  for (let i = 0; i < treeData.length; i++) {
    if (treeData[i].nodeId === selectedNodeId) {
      treeData[i].label = updateNodeName;
      return treeData;
    } else if (treeData[i].children) {
      this.updateNode(treeData[i].children, selectedNodeId, updateNodeName);
    }
  }
  return treeData;
}

// 新增节点
export function addChildrenNode(treeData, selectedNodeId, addNodeData) {
  for (let i = 0; i < treeData.length; i++) {
    if (treeData[i].nodeId === selectedNodeId) {
      if (!treeData[i].children) {
        treeData[i].children = [];
      }
      treeData[i].isLeaf = false;
      treeData[i].children.push(addNodeData);
      return treeData;
    } else if (treeData[i].children) {
      this.addChildrenNode(treeData[i].children, selectedNodeId, addNodeData);
    }
  }
  return treeData;
}

// 删除节点
export function deleteNode(treeData, selectedNodeId) {
  return treeData.filter((item) => {
    if (item.nodeId === selectedNodeId) {
      return false;
    }
    if (item.children) {
      item.children = this.deleteNode(item.children, selectedNodeId);
    }
    return true;
  });
}
2.1.7. 配置节点操作
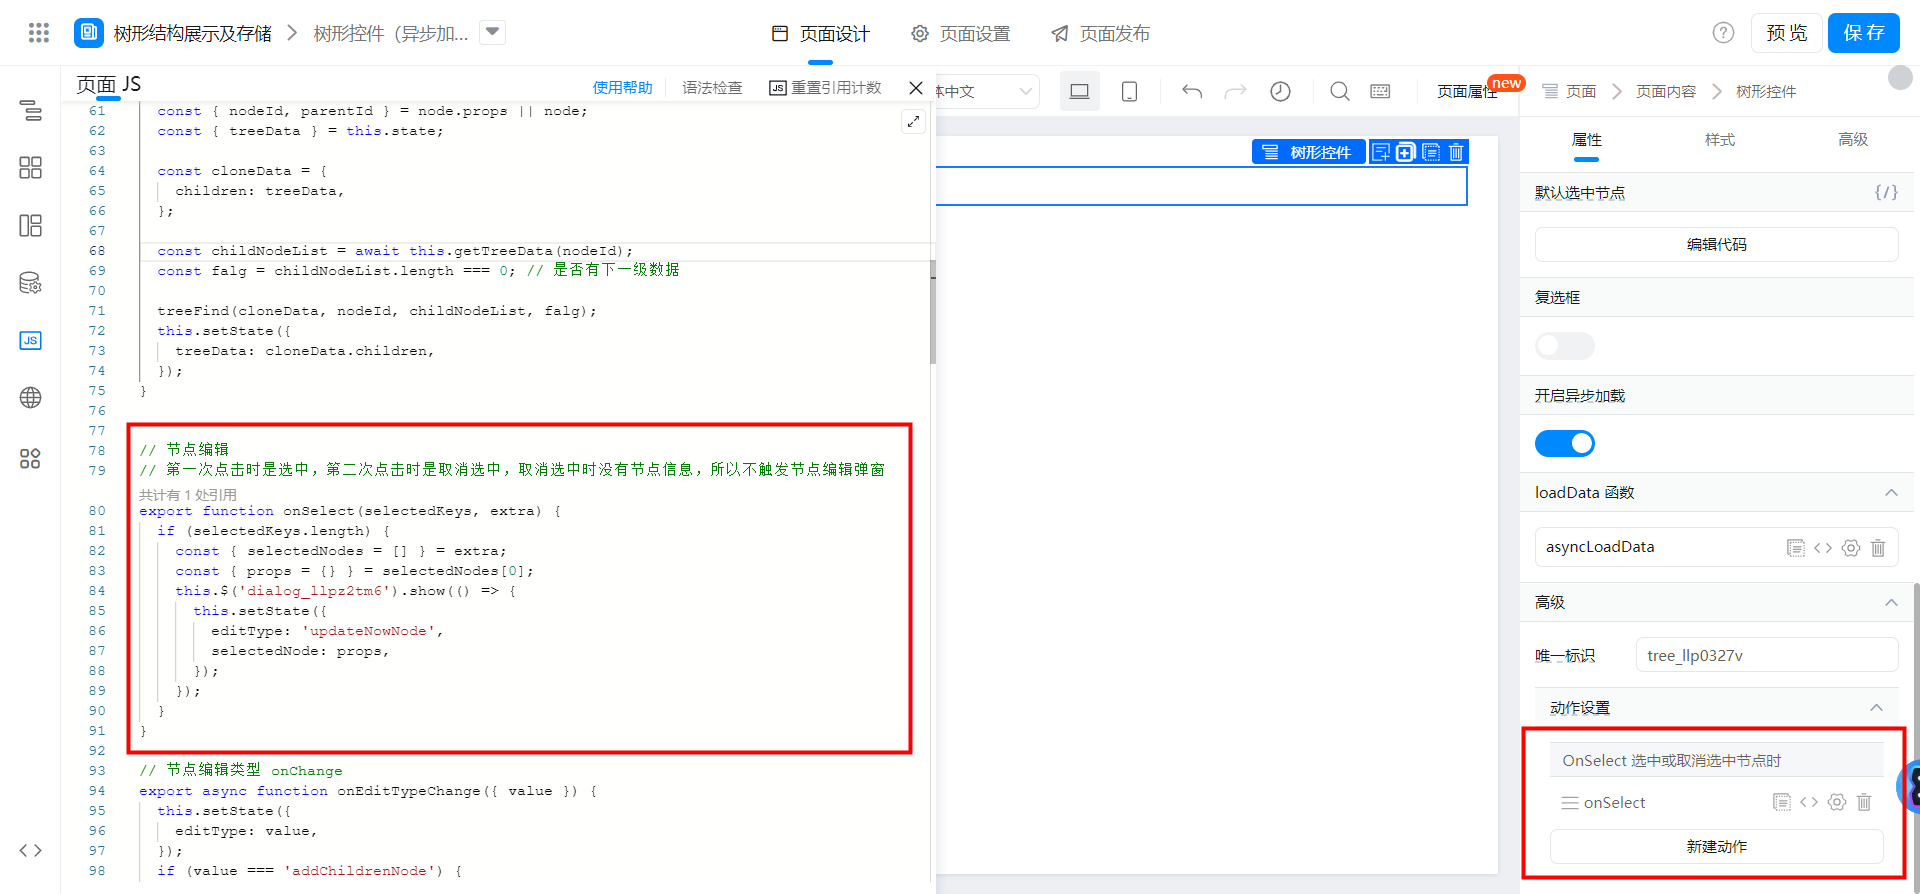
// 节点编辑
// 第一次点击时是选中,第二次点击时是取消选中,取消选中时没有节点信息,所以不触发节点编辑弹窗
export function onSelect(selectedKeys, extra) {
  if (selectedKeys.length) {
    const { selectedNodes = [] } = extra;
    const { props = {} } = selectedNodes[0];
    this.$('dialog_llpz2tm6').show(() => {
      this.setState({
        editType: 'updateNowNode',
        selectedNode: props,
      });
    });
  }
}
2.1.8. 配置节点编辑对话框及操作回调函数

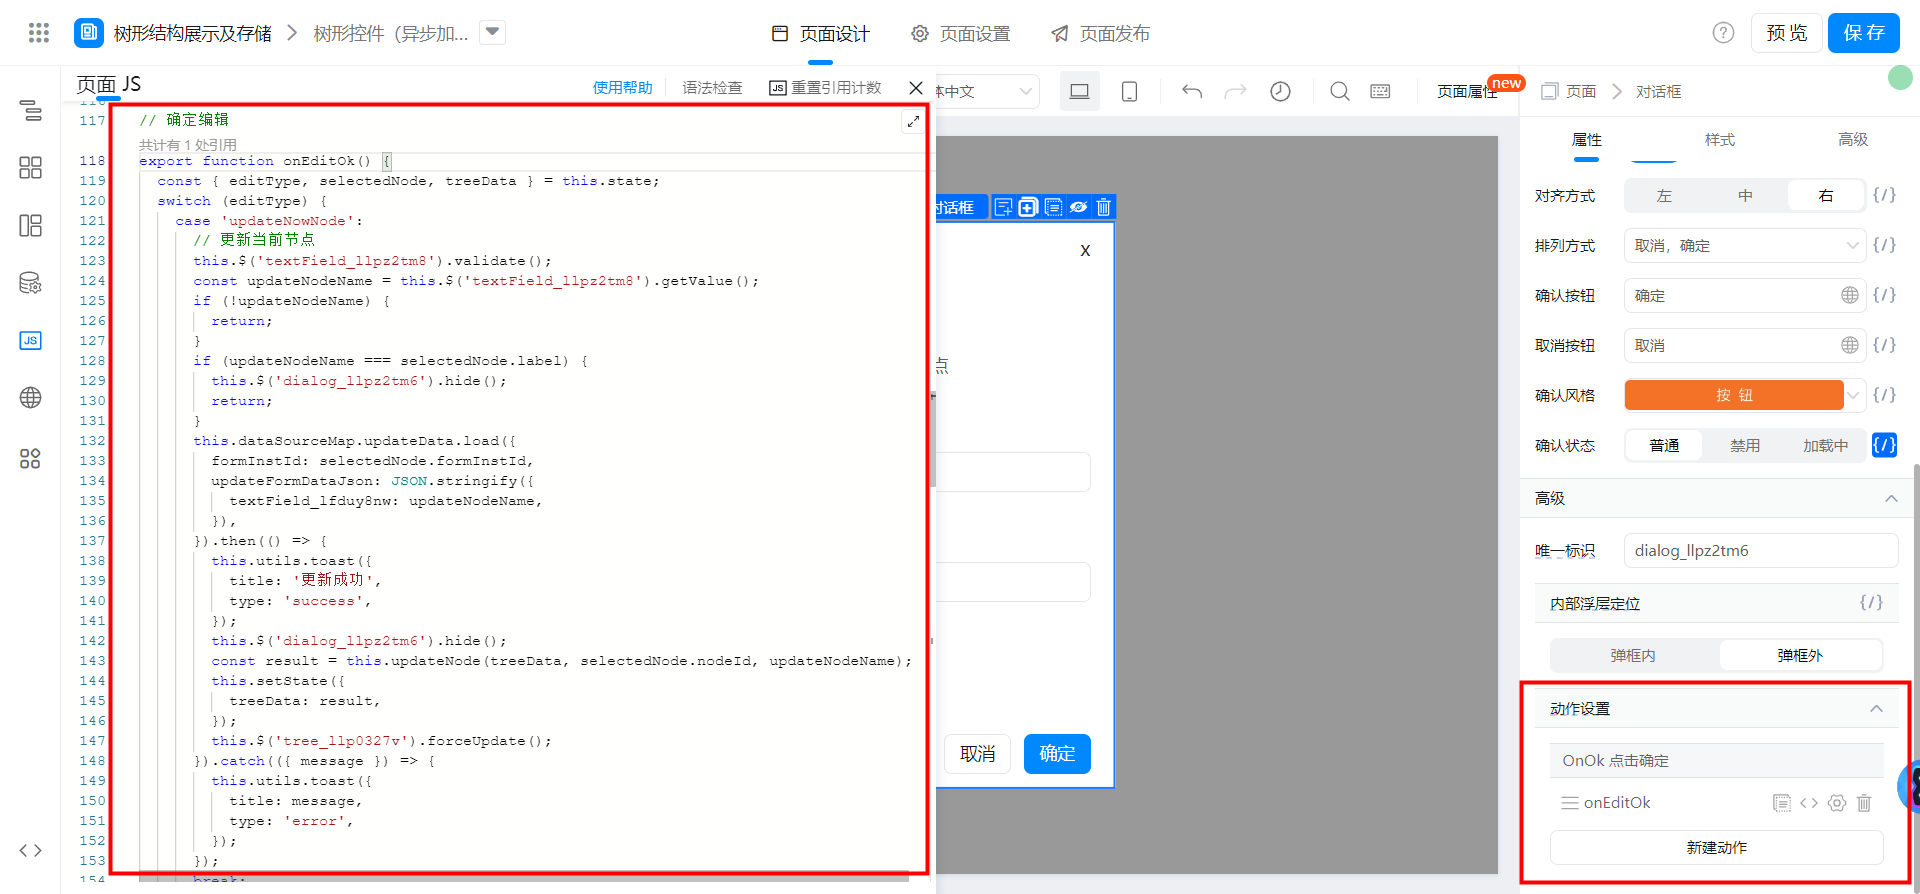
// 确定编辑
export function onEditOk() {
  const { editType, selectedNode, treeData } = this.state;
  switch (editType) {
    case 'updateNowNode':
      // 更新当前节点
      this.$('textField_llpz2tm8').validate();
      const updateNodeName = this.$('textField_llpz2tm8').getValue();
      if (!updateNodeName) {
        return;
      }
      if (updateNodeName === selectedNode.label) {
        this.$('dialog_llpz2tm6').hide();
        return;
      }
      this.dataSourceMap.updateData.load({
        formInstId: selectedNode.formInstId,
        updateFormDataJson: JSON.stringify({
          textField_lfduy8nw: updateNodeName,
        }),
      }).then(() => {
        this.utils.toast({
          title: '更新成功',
          type: 'success',
        });
        this.$('dialog_llpz2tm6').hide();
        const result = this.updateNode(treeData, selectedNode.nodeId, updateNodeName);
        this.setState({
          treeData: result,
        });
        this.$('tree_llp0327v').forceUpdate();
      }).catch(({ message }) => {
        this.utils.toast({
          title: message,
          type: 'error',
        });
      });
      break;
    case 'addChildrenNode':
      // 新增子节点
      this.$('textField_llpz2tmg').validate();
      const addNodeName = this.$('textField_llpz2tmg').getValue();
      if (!addNodeName) {
        return;
      }
      this.dataSourceMap.saveData.load({
        formUuid: 'FORM-UP966371FFRDSTELD76KQAL0TG5A2NHOSKULL0',
        appType: window.pageConfig.appType || window.g_config.appKey,
        formDataJson: JSON.stringify({
          textField_lfduy8nw: addNodeName, // 节点名称
          textField_llul76ou: selectedNode.nodeId, // 父级编号
        }),
      }).then((res) => {
        this.dataSourceMap.getDataById.load({
          formInstId: res,
        }).then((newNode) => {
          const { formData = {} } = newNode;
          this.utils.toast({
            title: '新增成功',
            type: 'success',
          });
          this.$('dialog_llpz2tm6').hide();
          const result = this.addChildrenNode(treeData, selectedNode.nodeId, {
            formInstId: res, // 实例 id
            label: formData.textField_lfduy8nw, // 节点名称
            nodeId: formData.serialNumberField_llw1e7qs, // 节点编号
            parentId: formData.textField_llul76ou, // 父级编号
          });
          this.setState({
            treeData: result,
          });
          this.$('tree_llp0327v').forceUpdate();
        });
      }).catch(({ message }) => {
        this.utils.toast({
          title: message,
          type: 'error',
        });
      });
      break;
    default:
      // 删除当前节点
      this.dataSourceMap.deleteData.load({
        formInstId: selectedNode.formInstId,
      }).then(() => {
        this.utils.toast({
          title: '删除成功',
          type: 'success',
        });
        this.$('dialog_llpz2tm6').hide();
        const result = this.deleteNode(treeData, selectedNode.nodeId);
        this.setState({
          treeData: result,
          selectedNode: {},
        });
        this.$('tree_llp0327v').forceUpdate();
      });
      break;
  }
}
2.2. 在表格中使用
2.2.1. 创建表单页面用于存储节点数据

2.2.2. 创建自定义页面
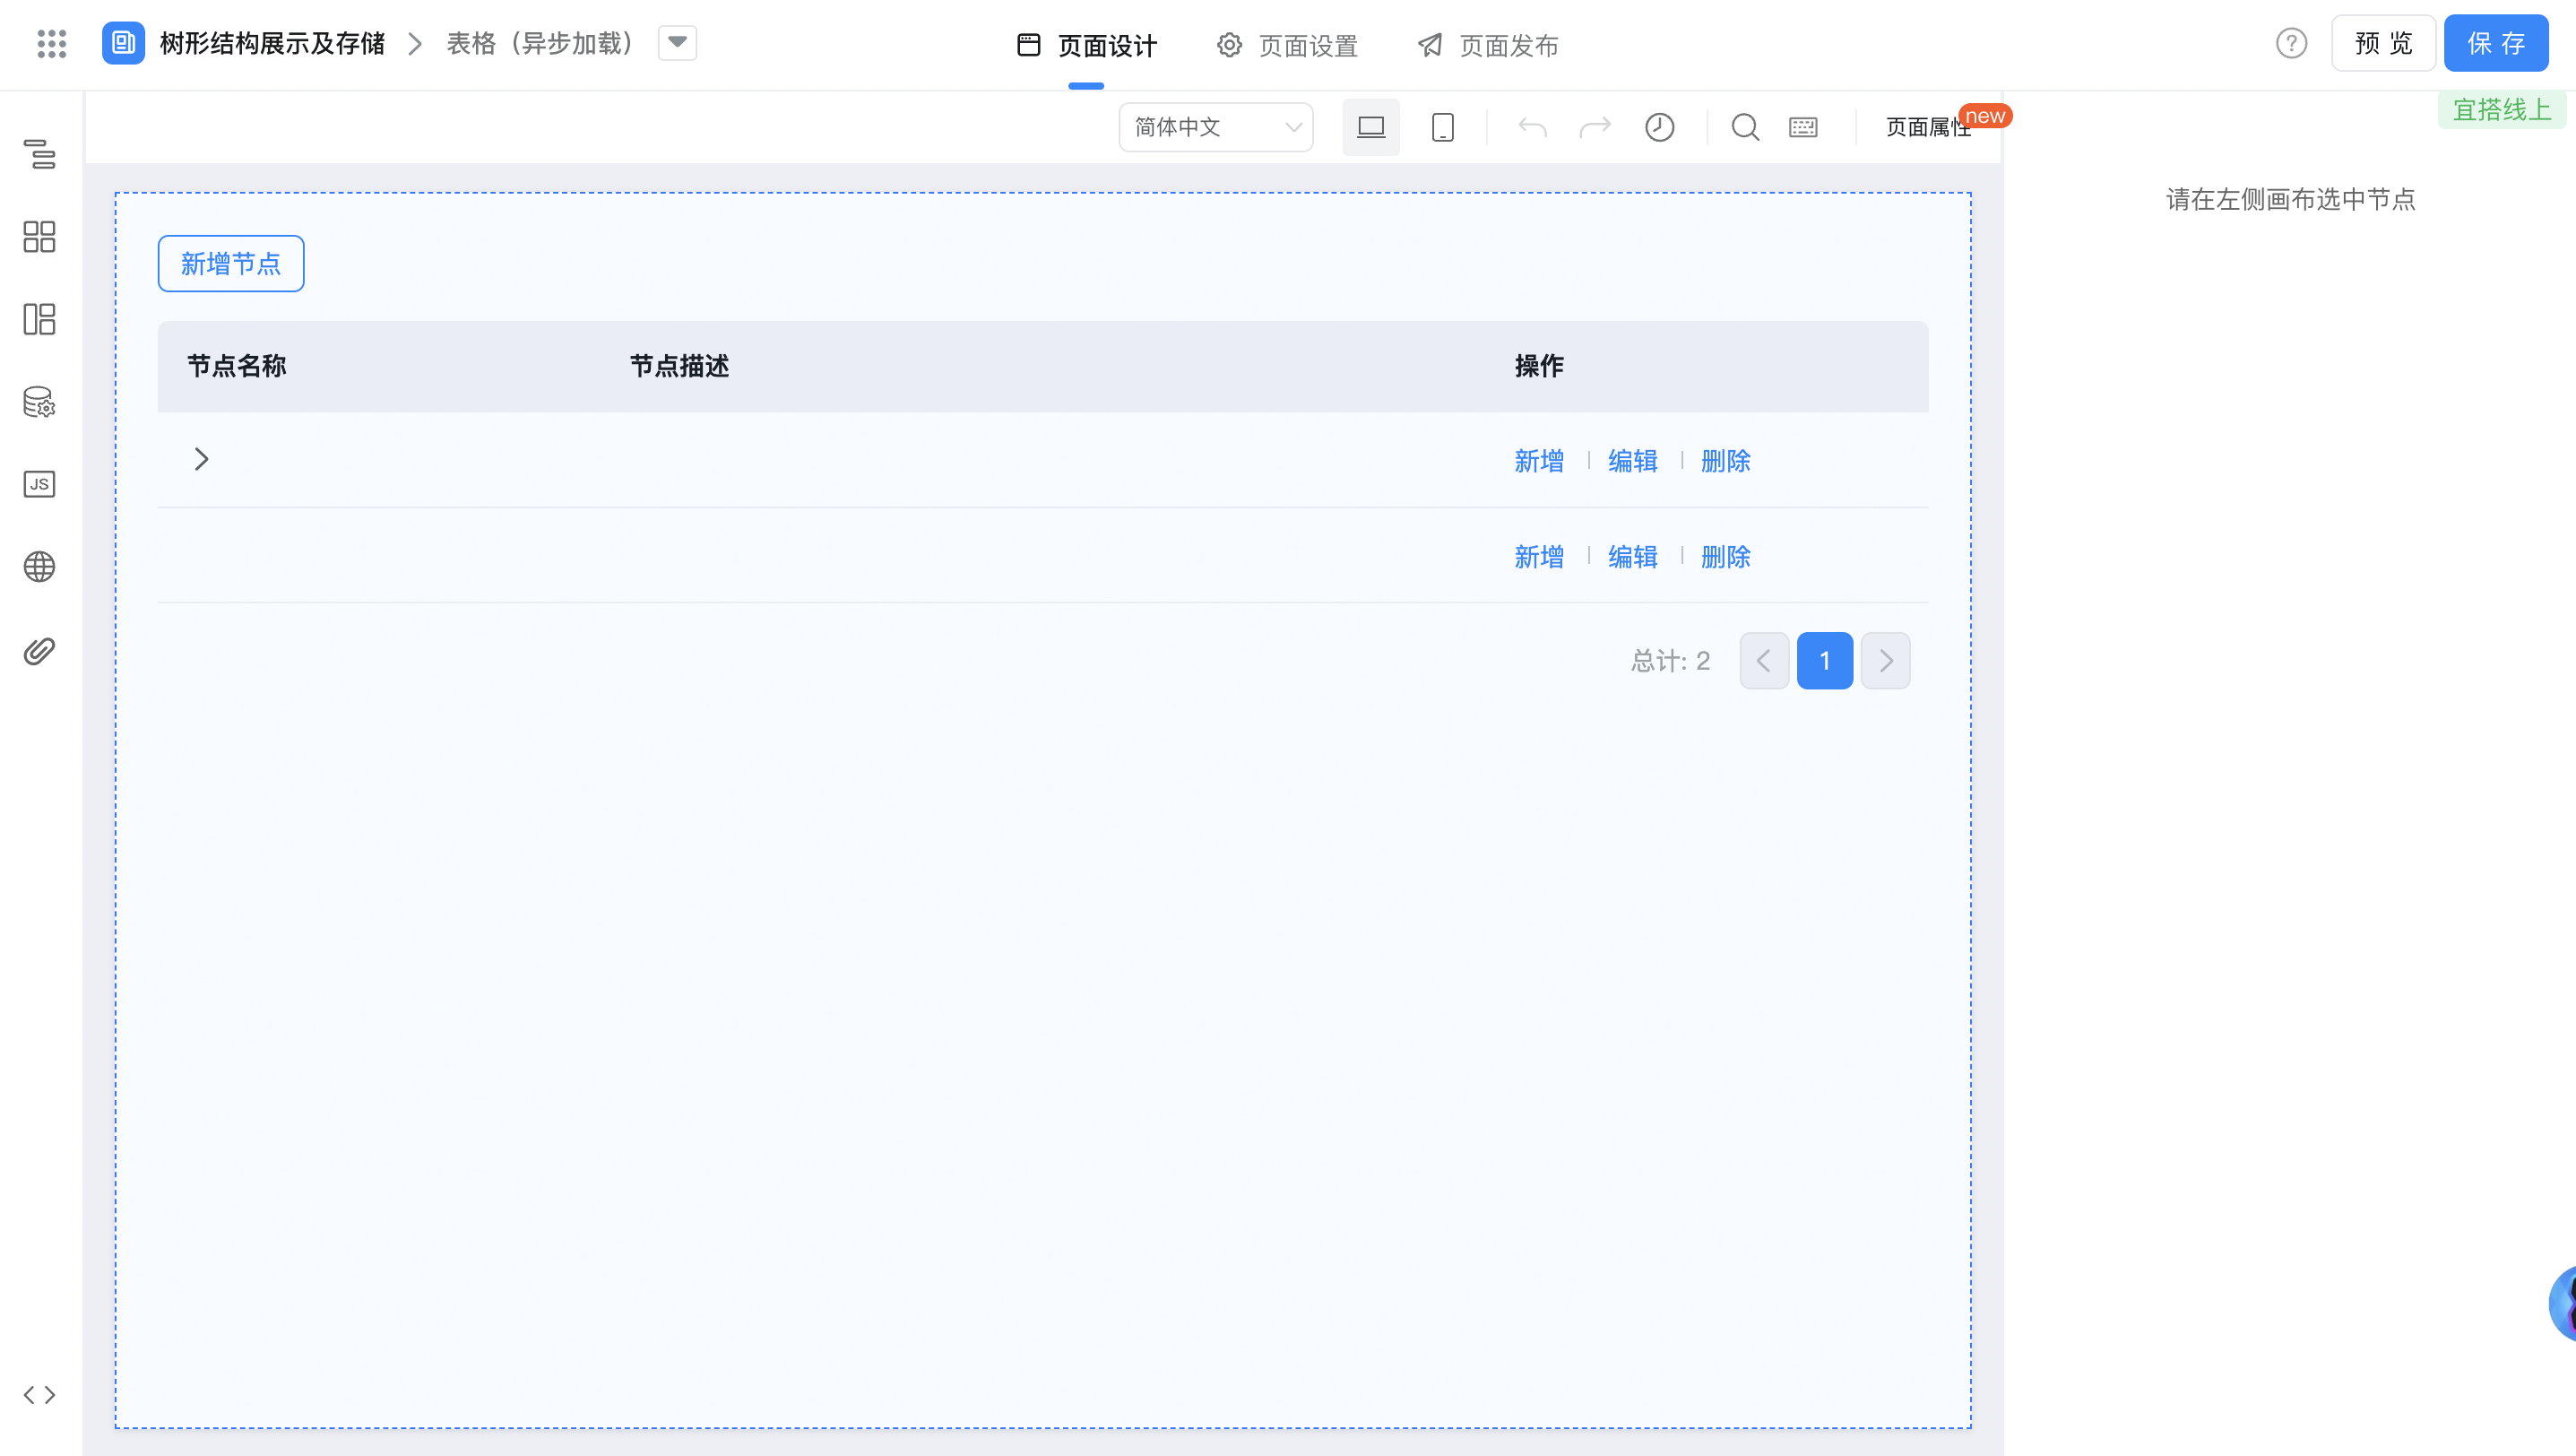
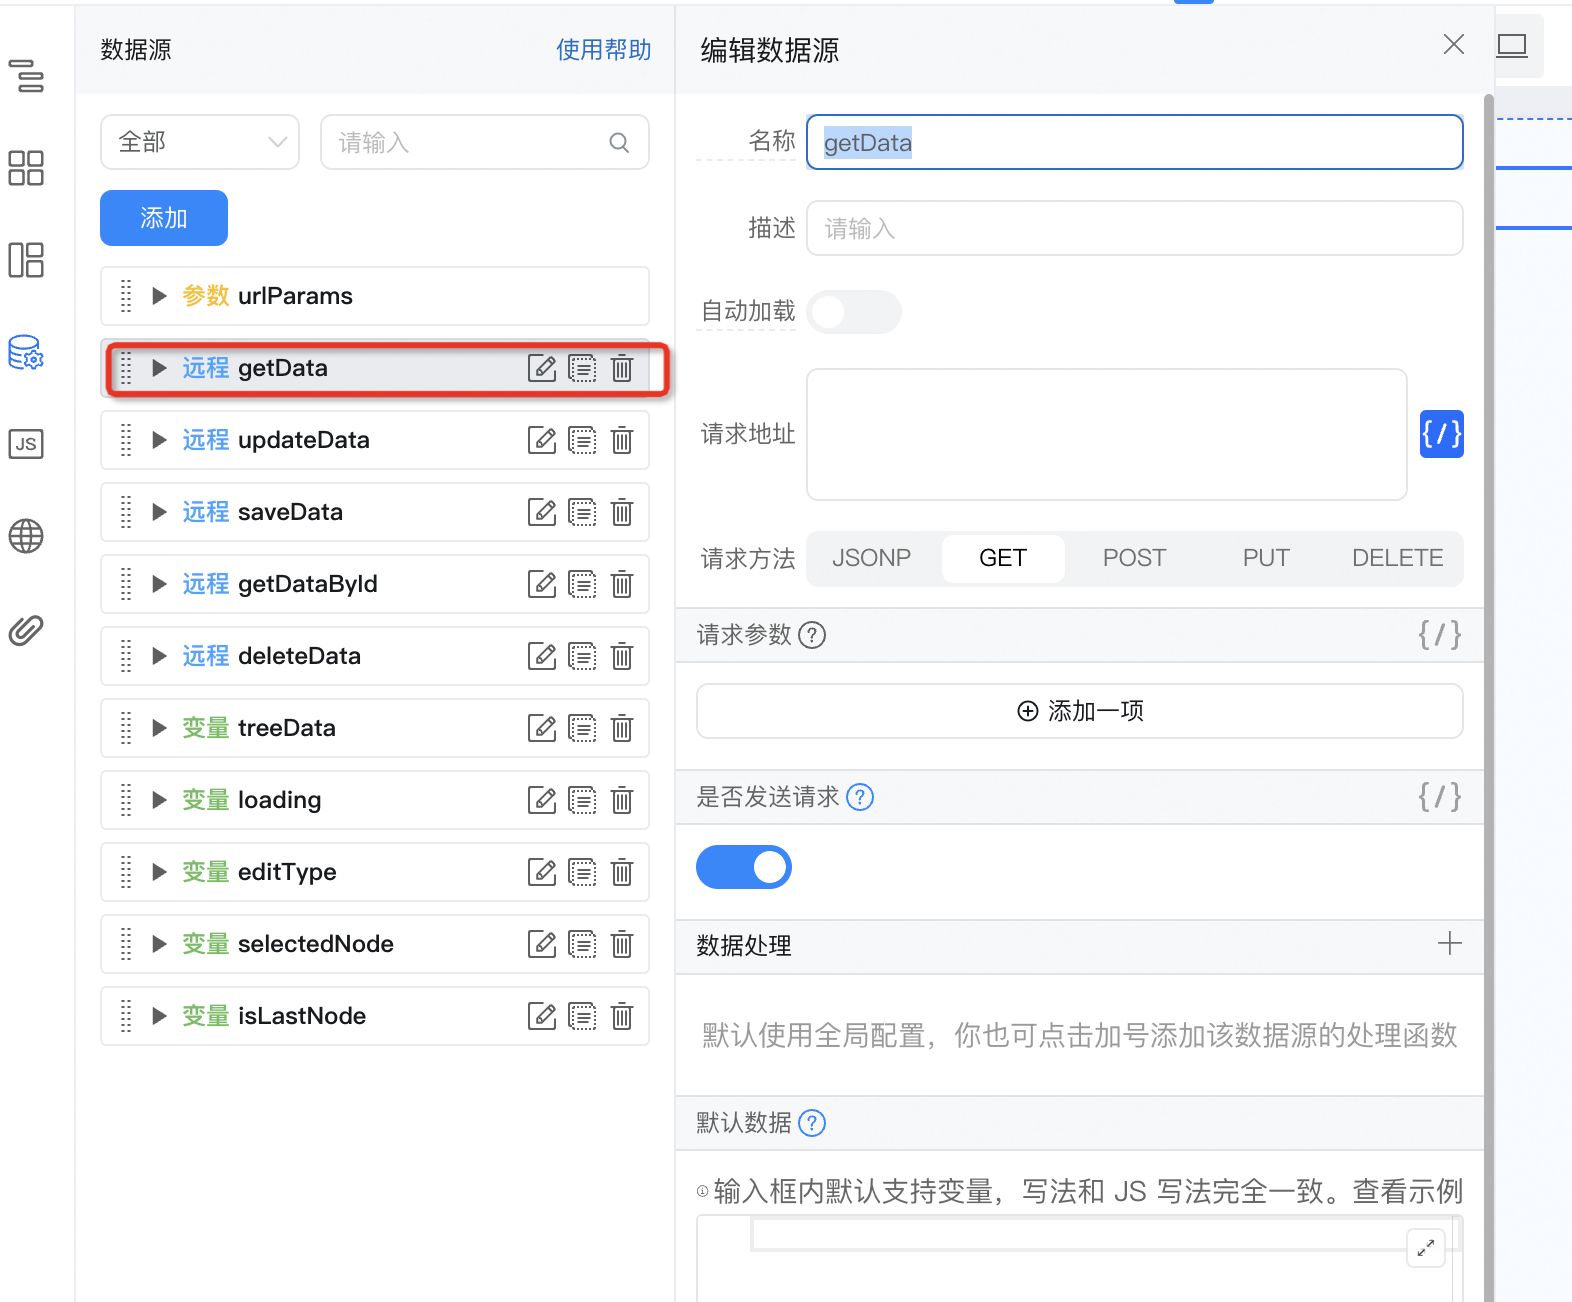
2.2.3. 配置数据源及变量


2.2.4. 获取节点数据并渲染表格


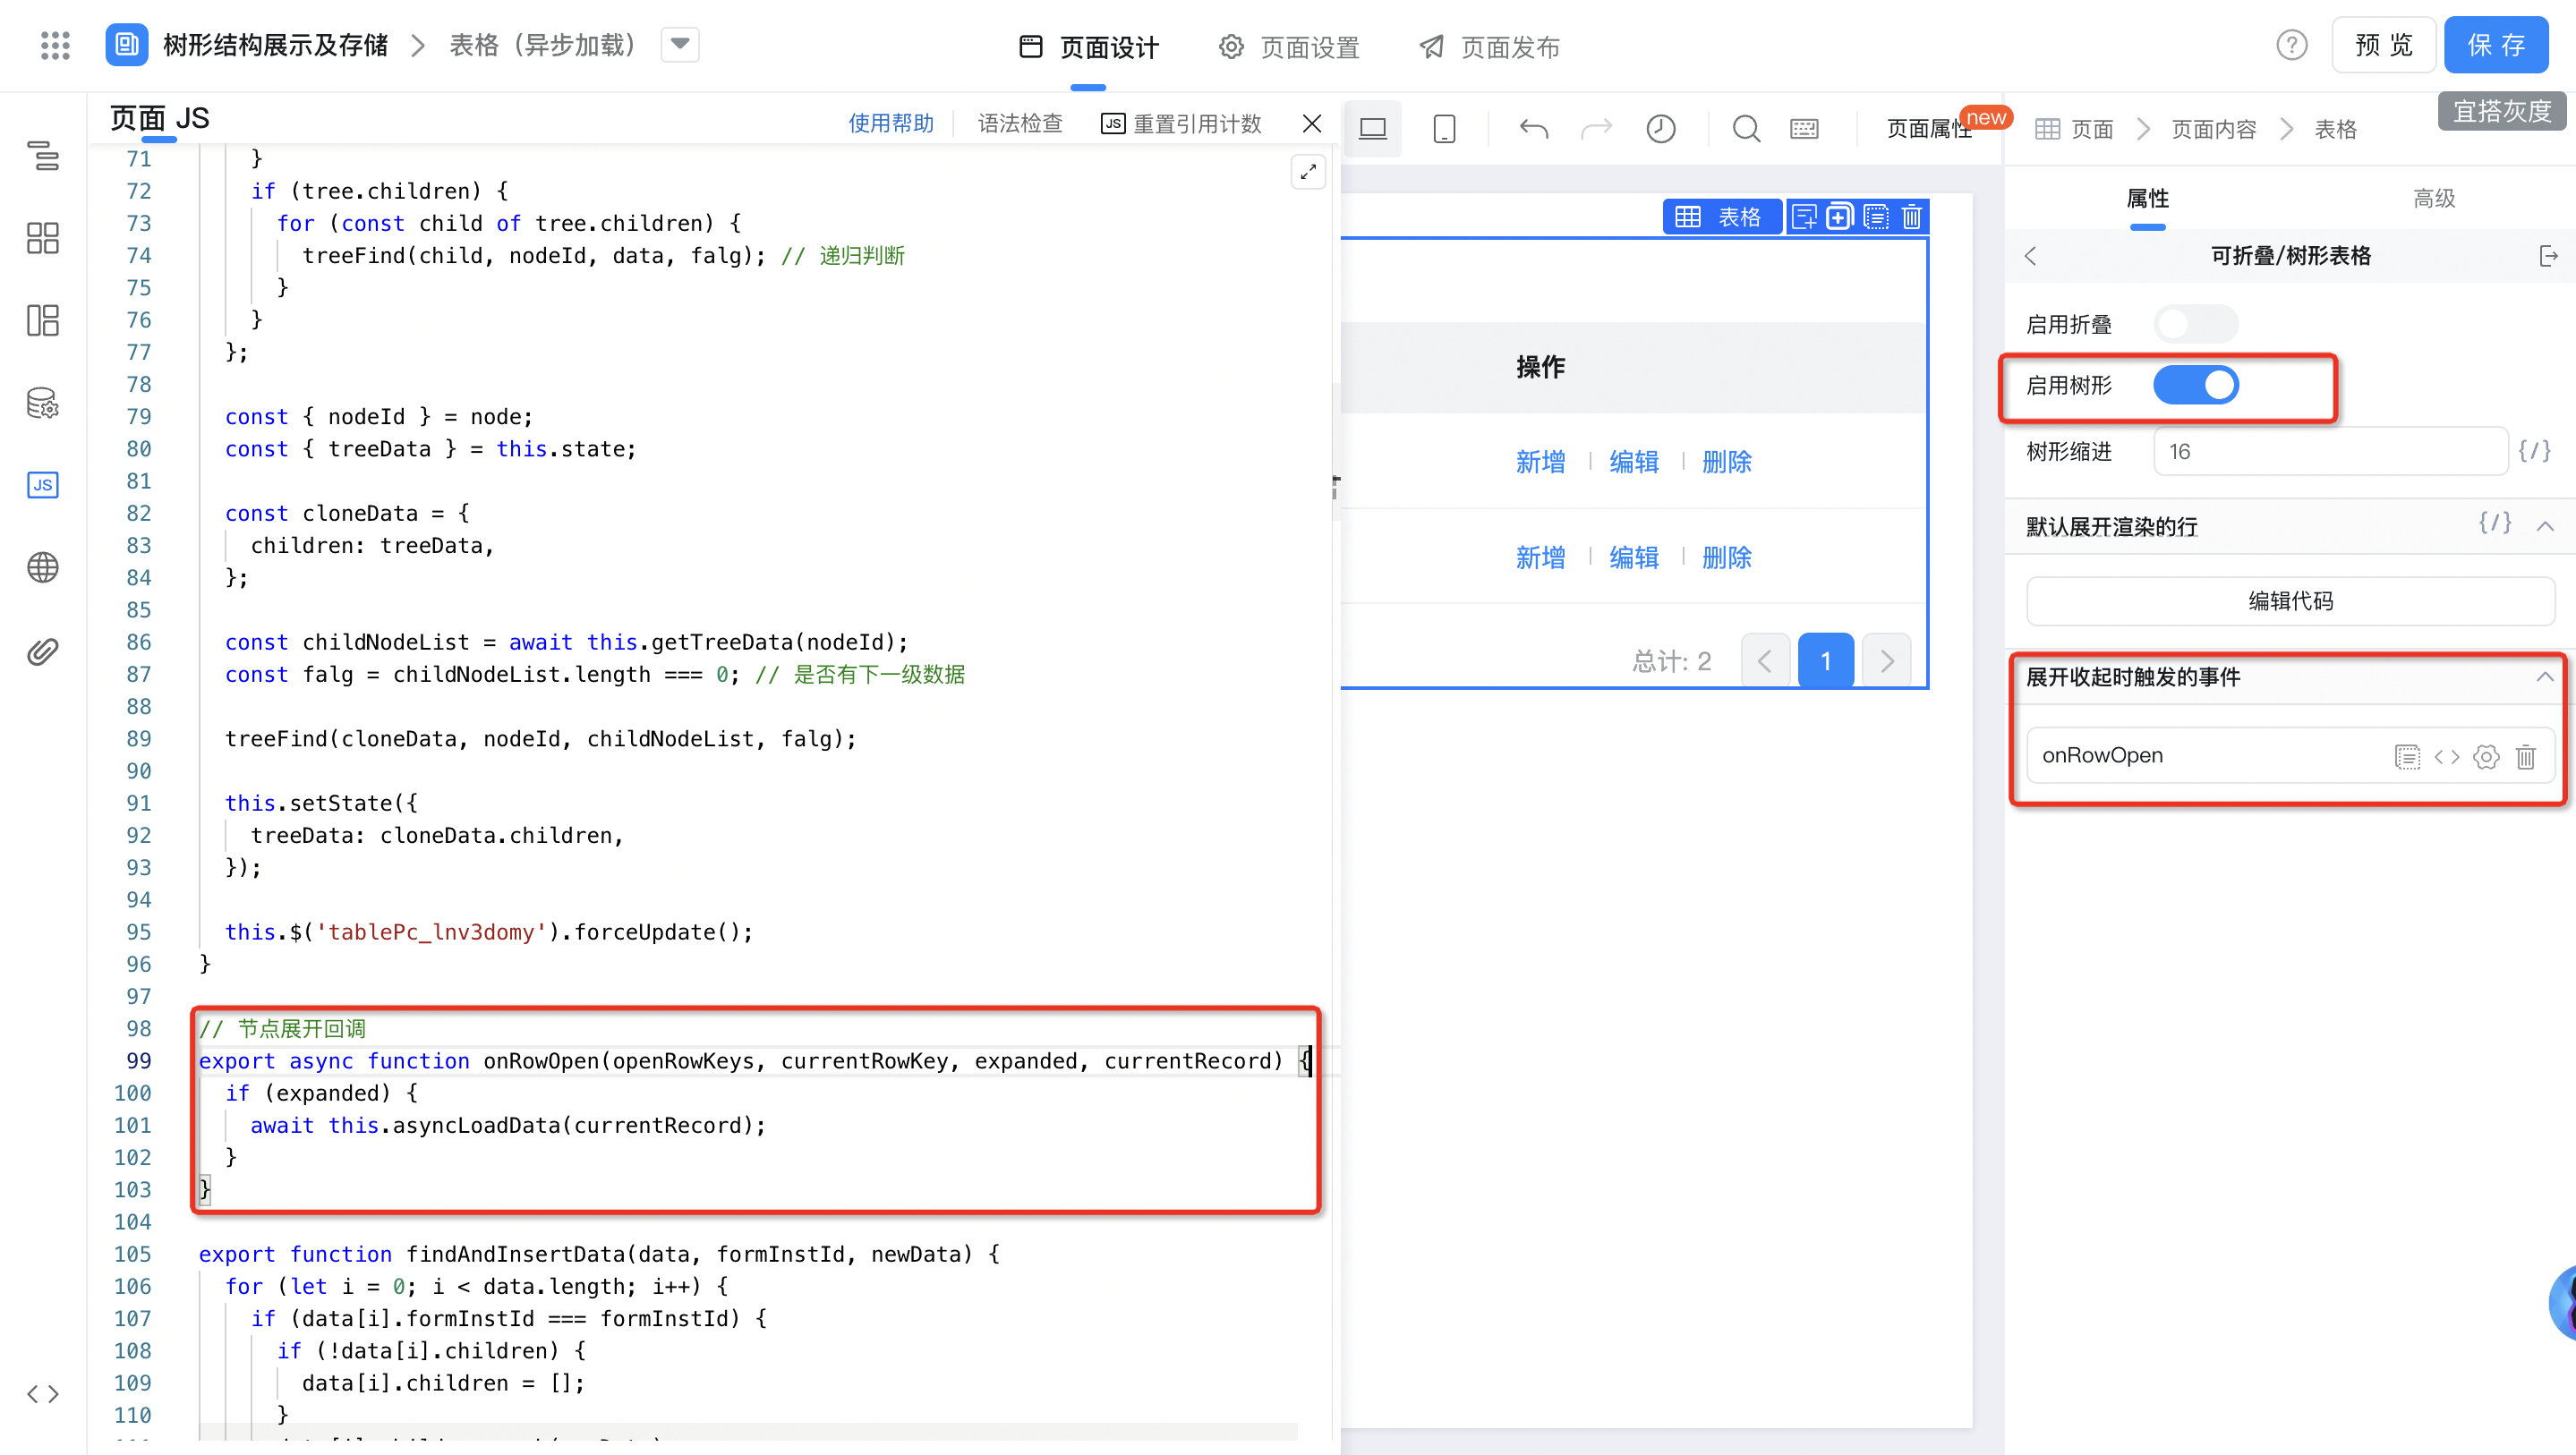
2.2.5. 配置开启树形表格及异步加载函数
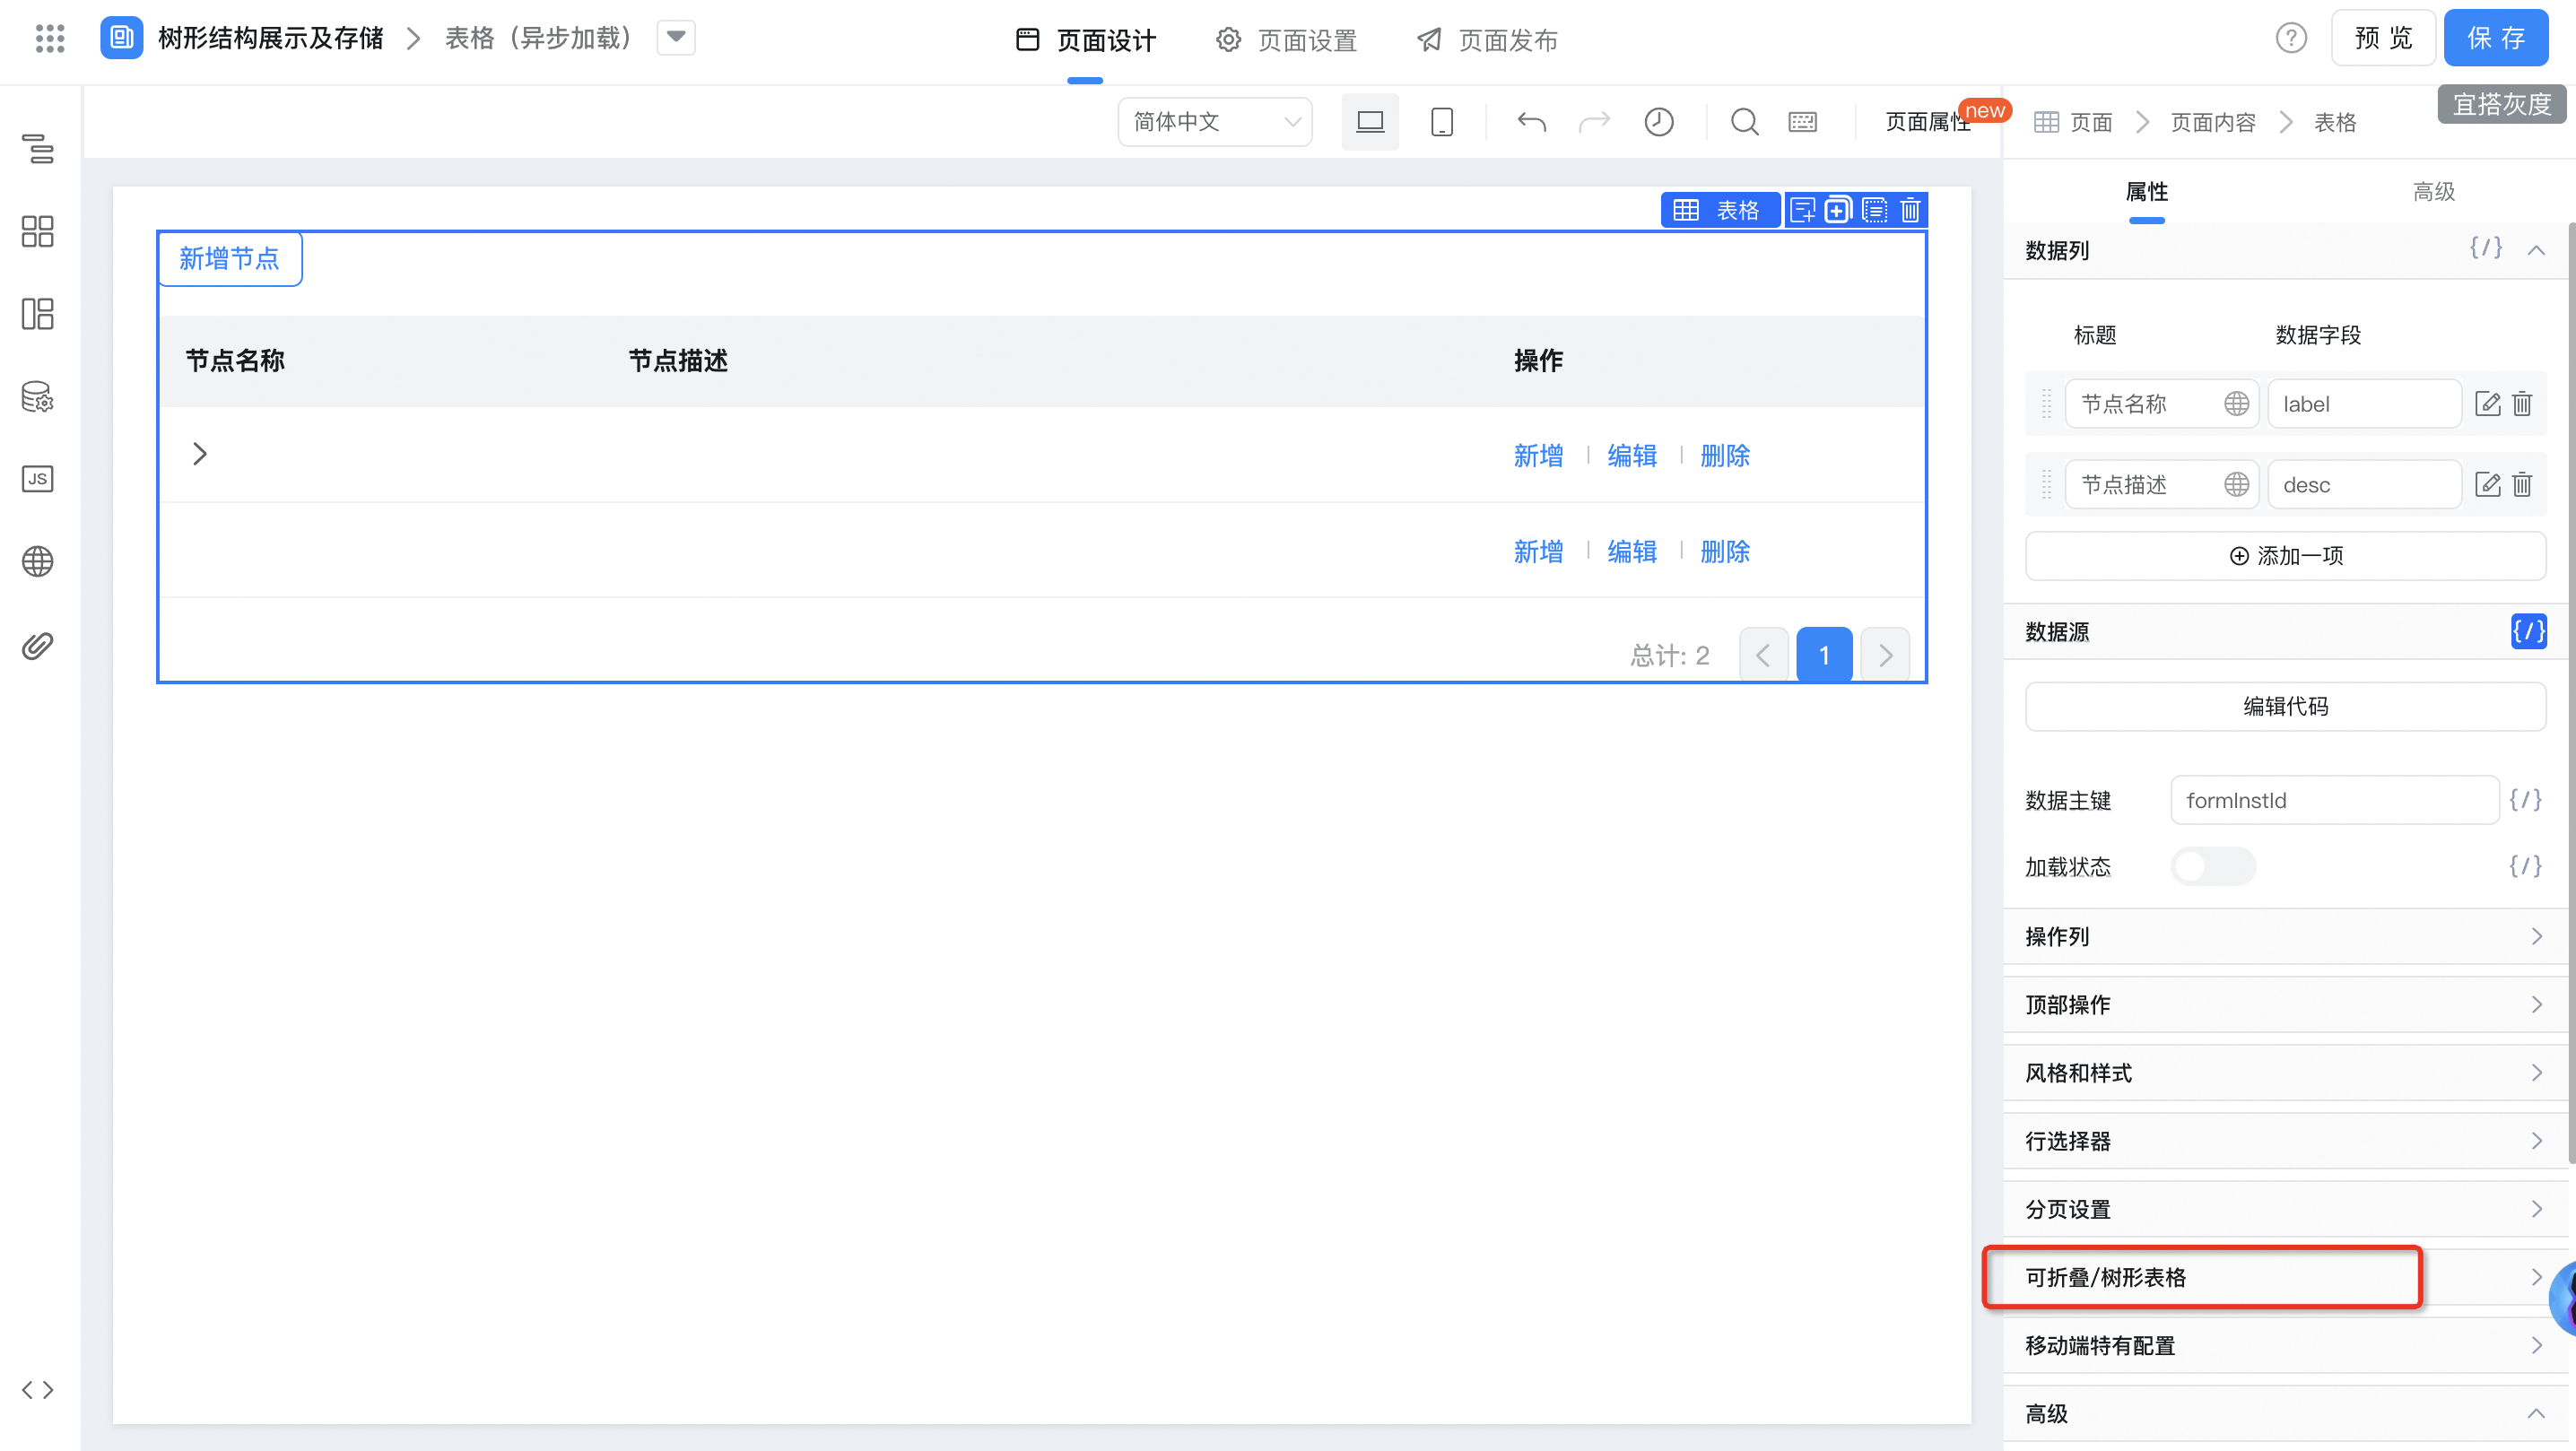

2.3. 在组织架构图中使用
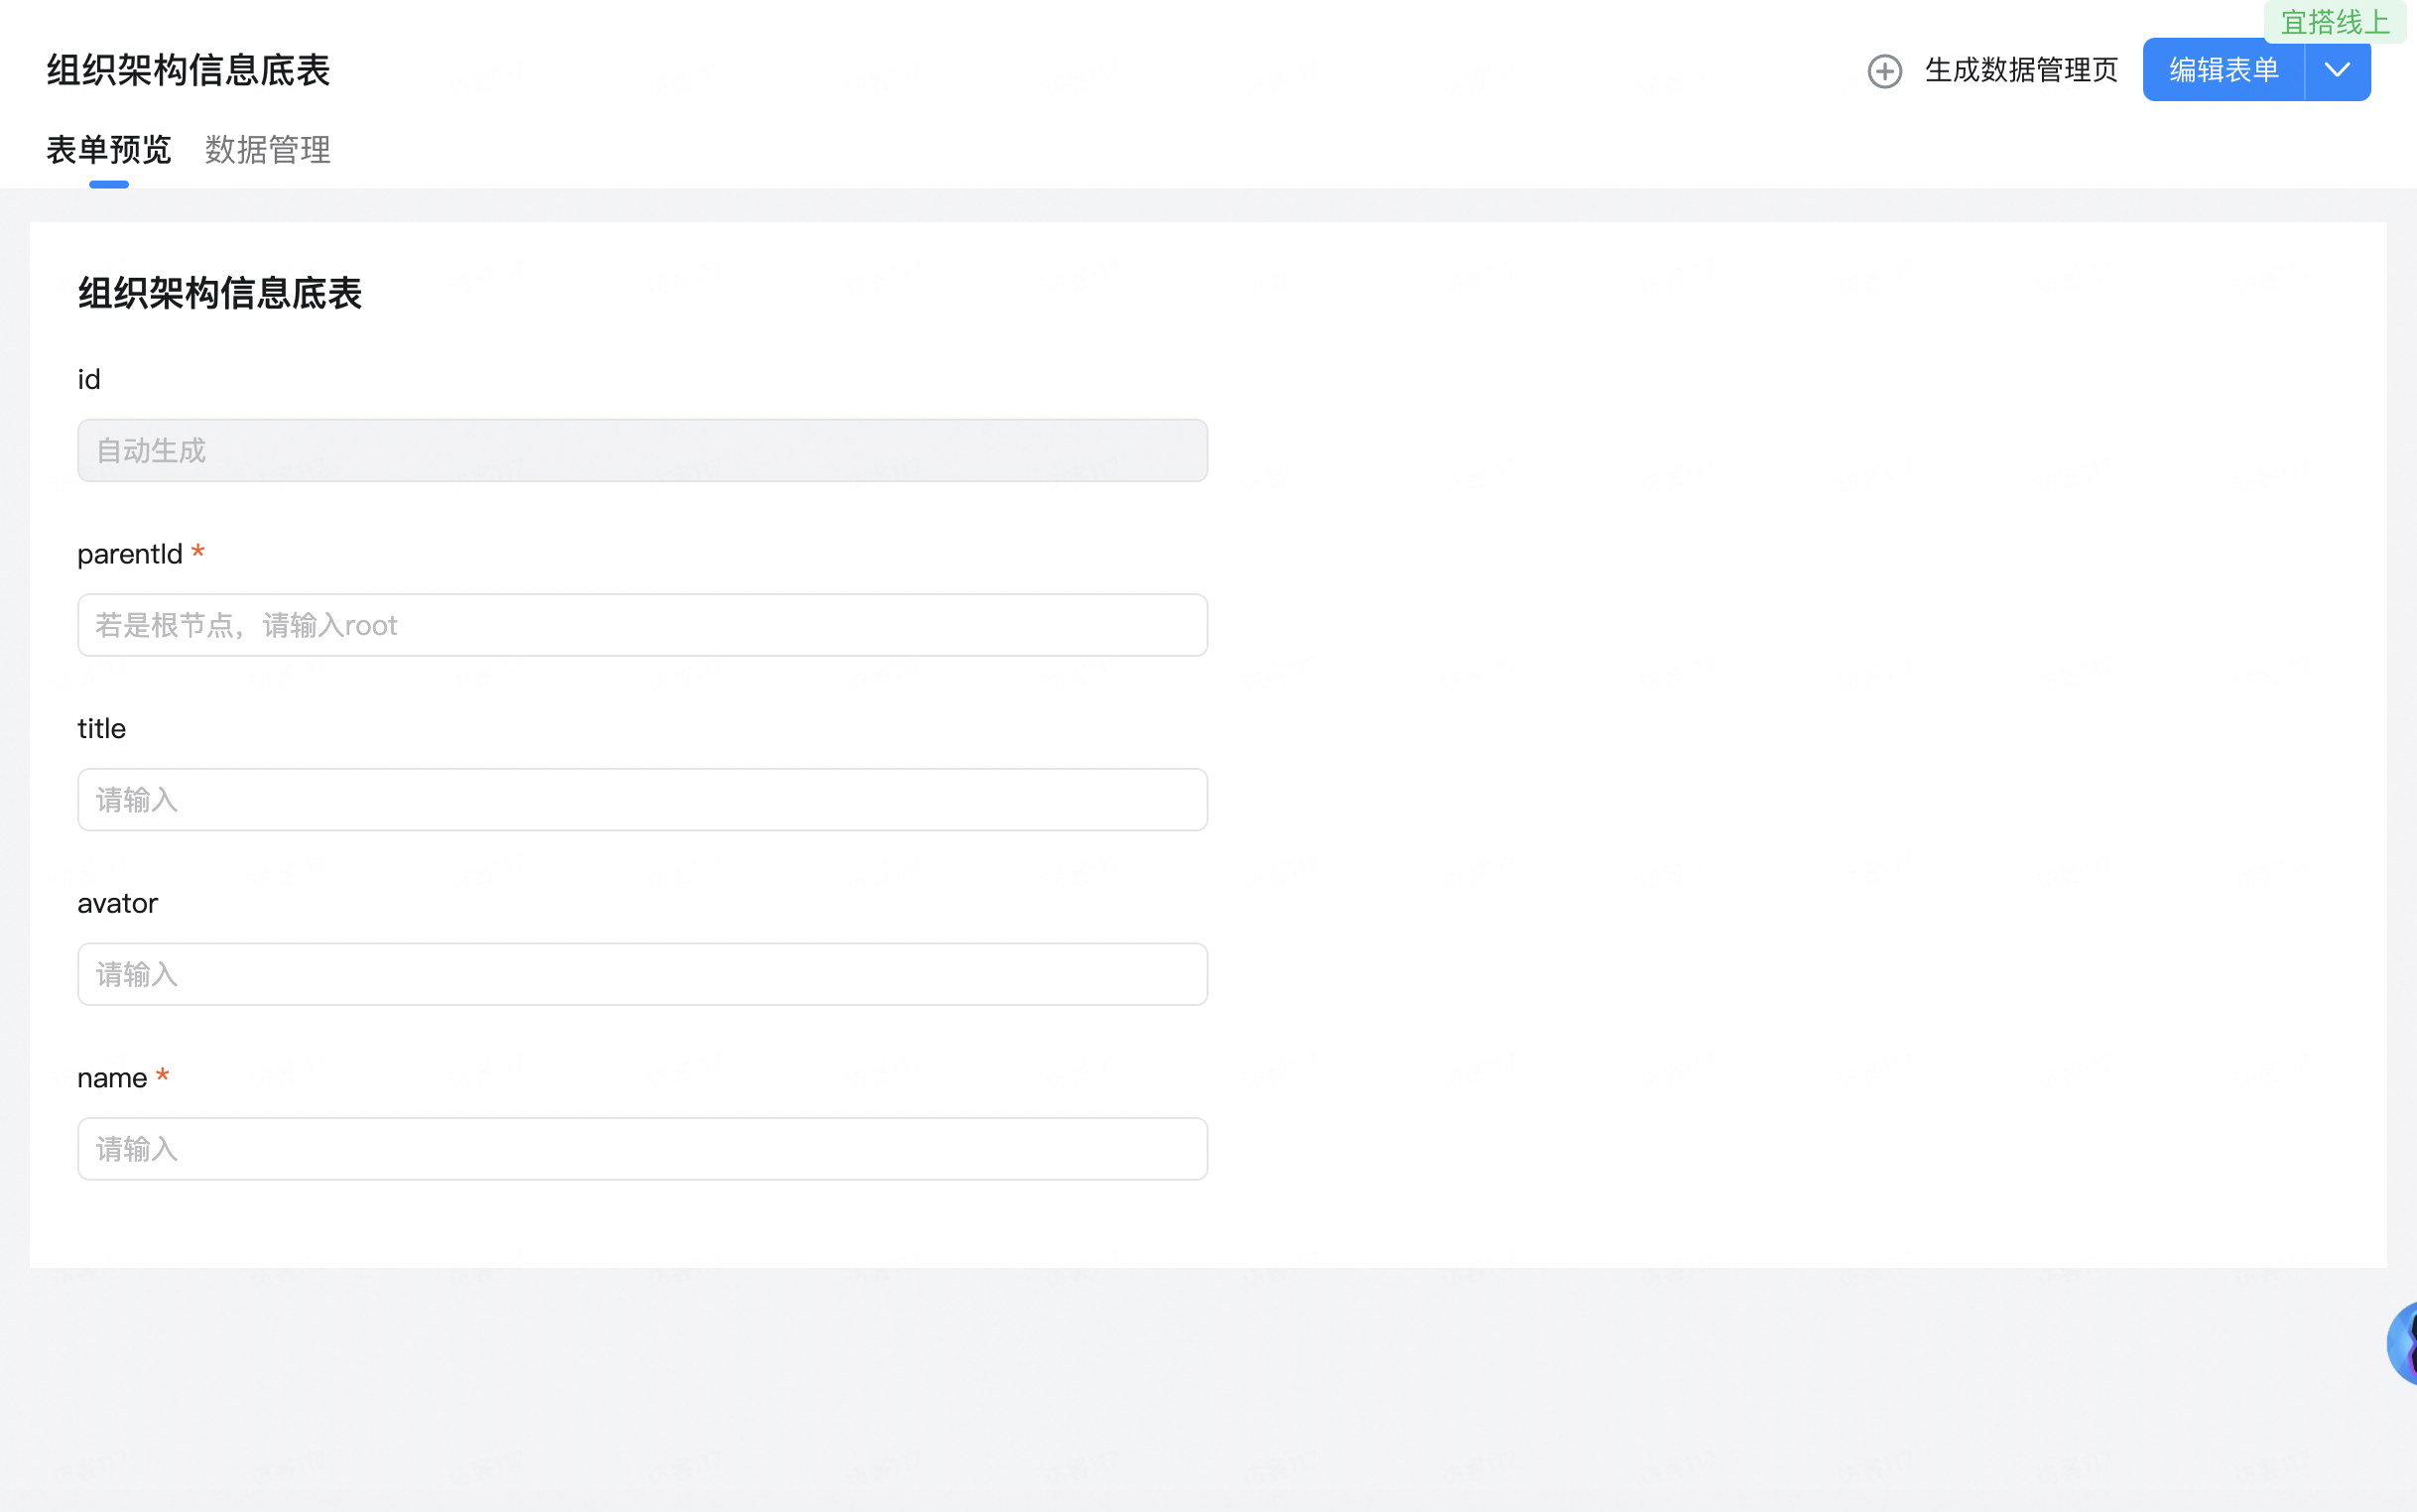
2.3.1. 创建表单页面用于存储数据节点
2.3.2. 创建自定义页面

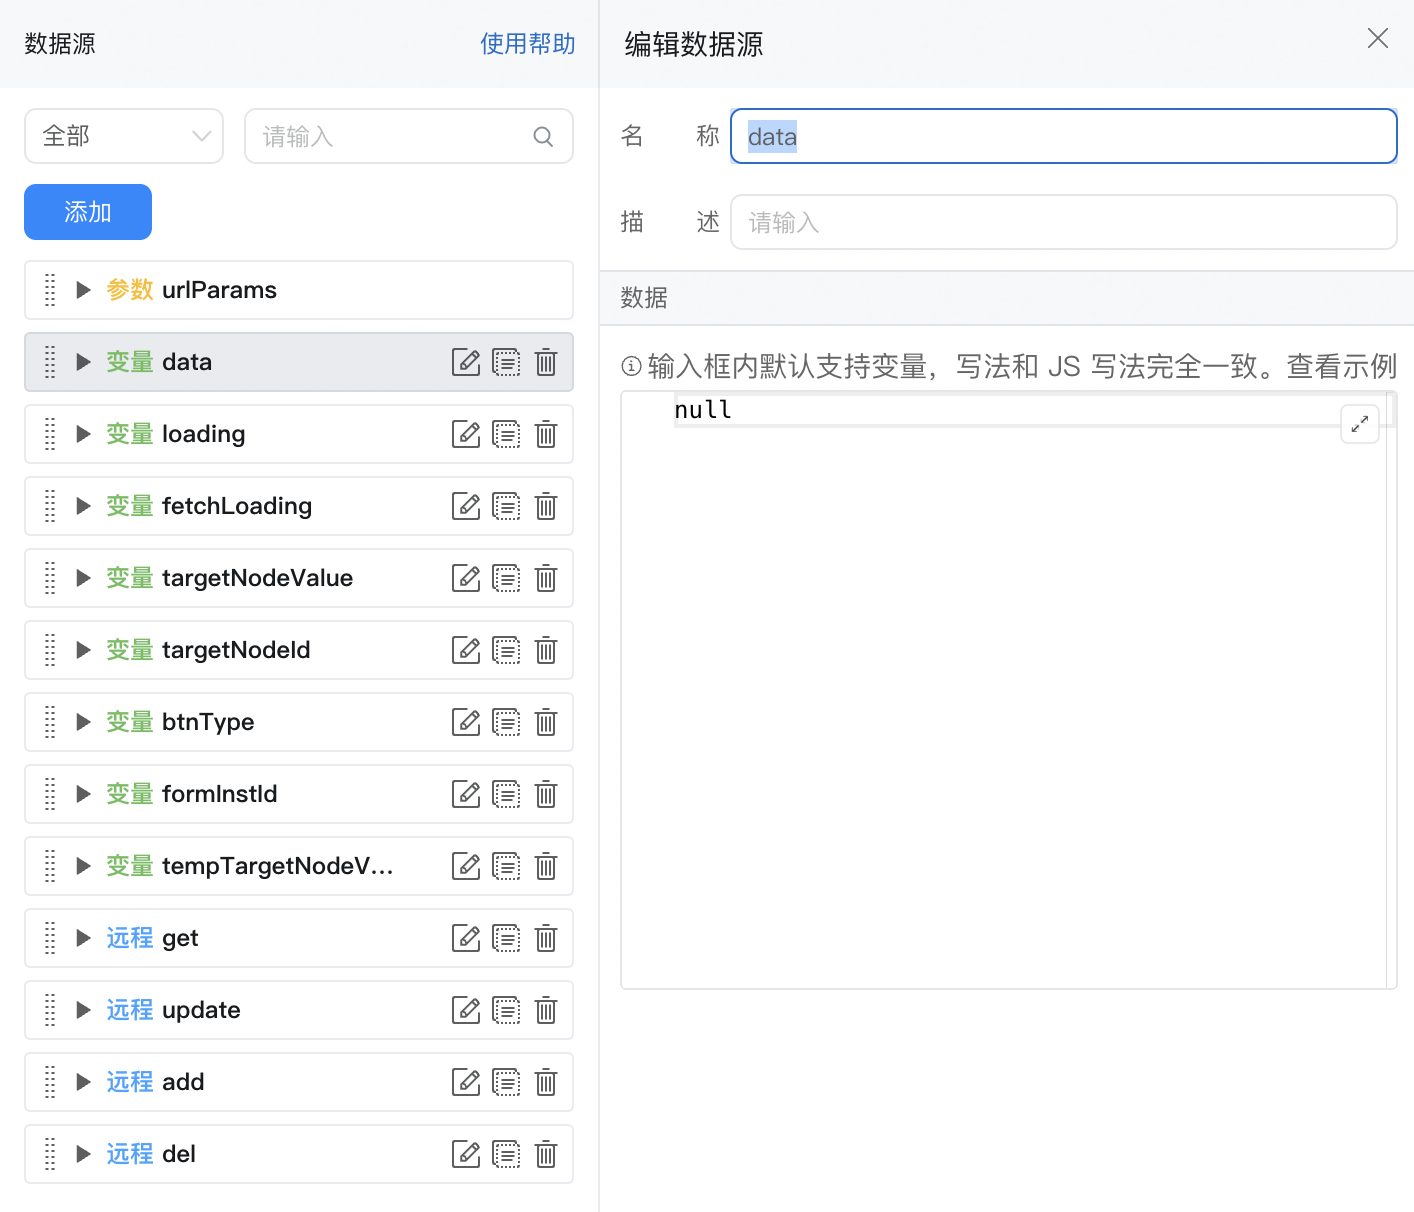
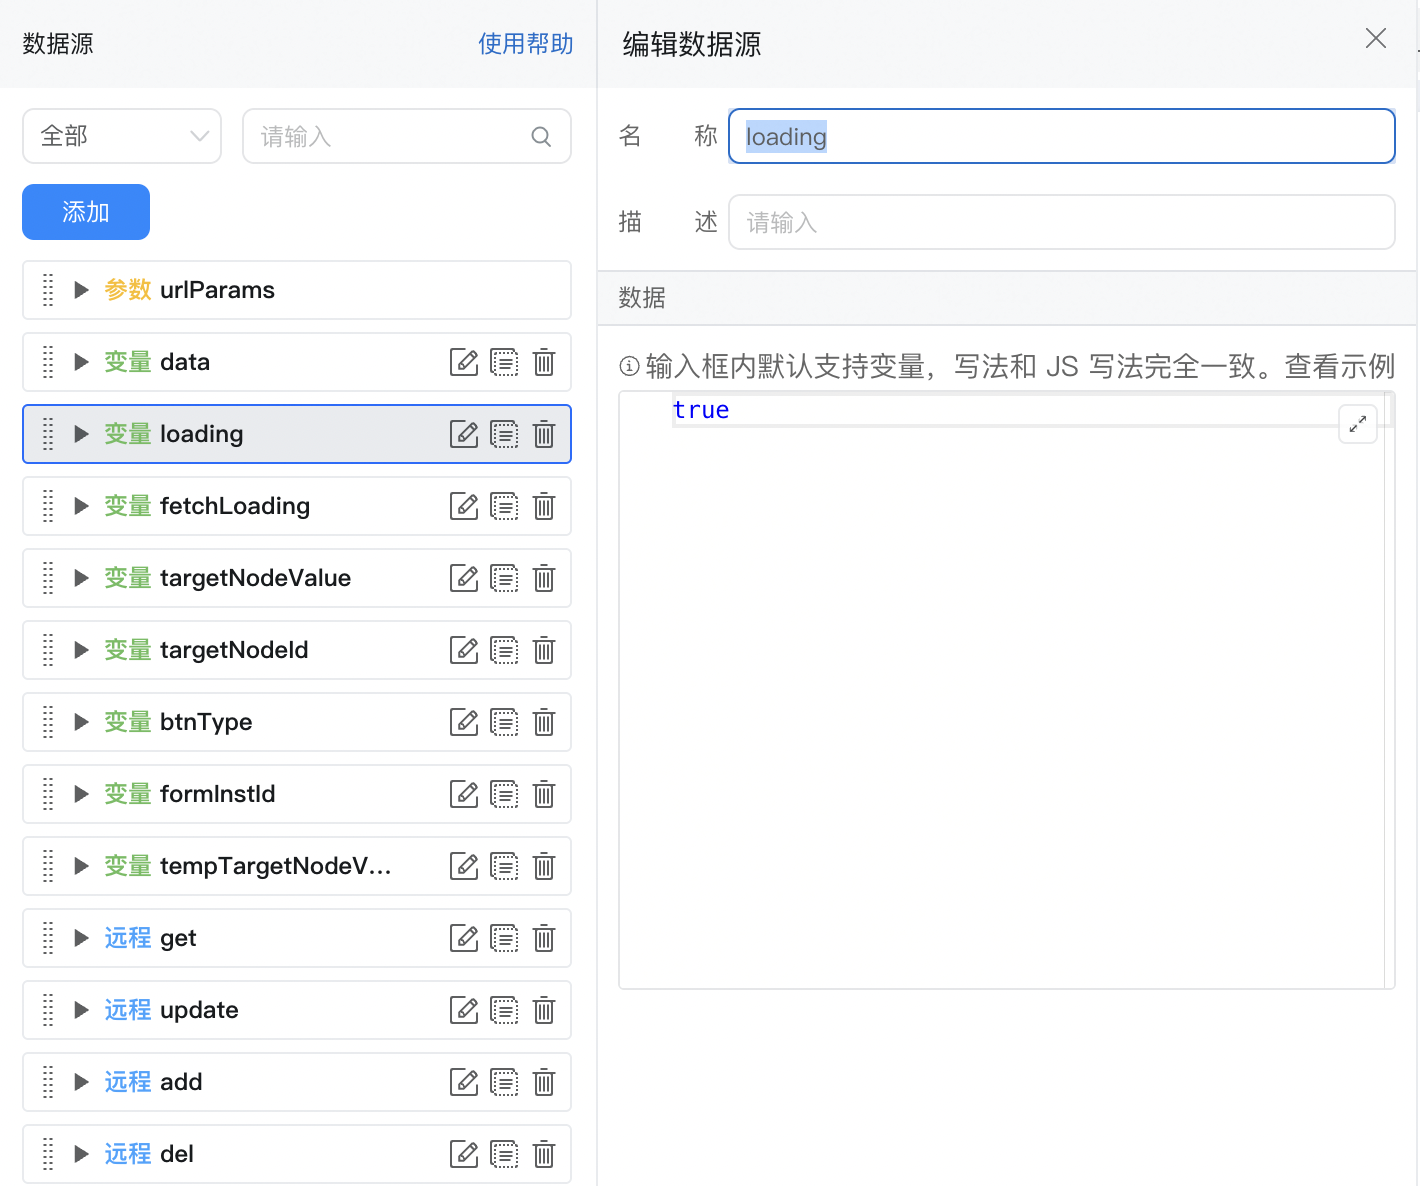
2.3.3. 配置数据源及变量






2.3.4. 引入第三方图表库
引入第三方资源参考示例: 示例中心 | 开发者赋能平台
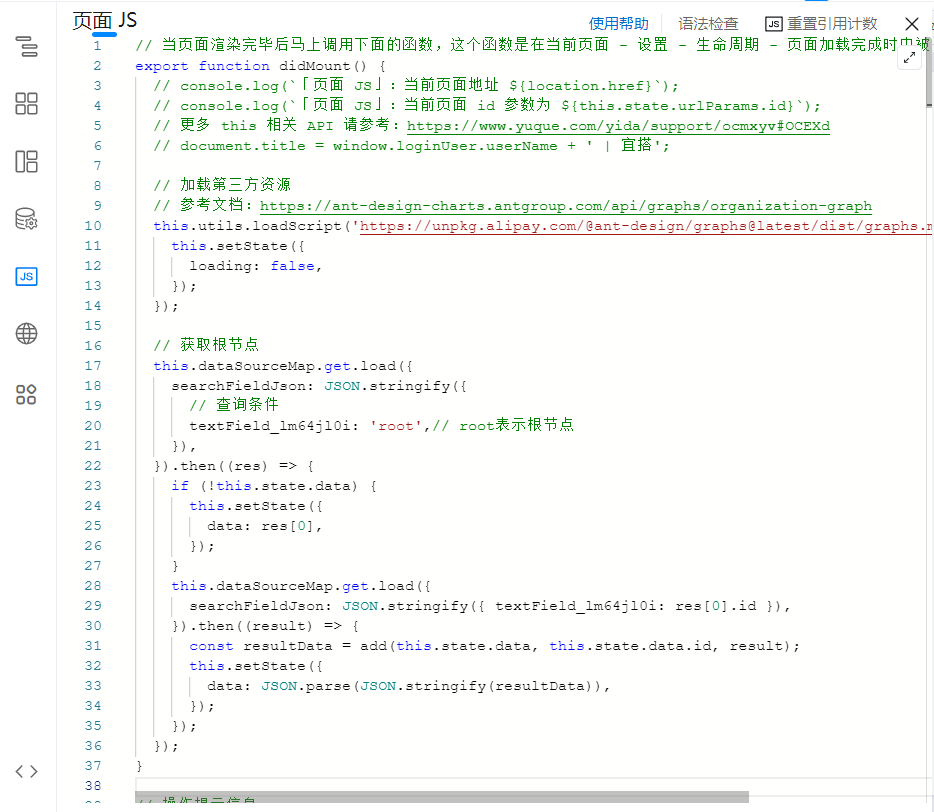
2.3.5. 编写图表渲染函数

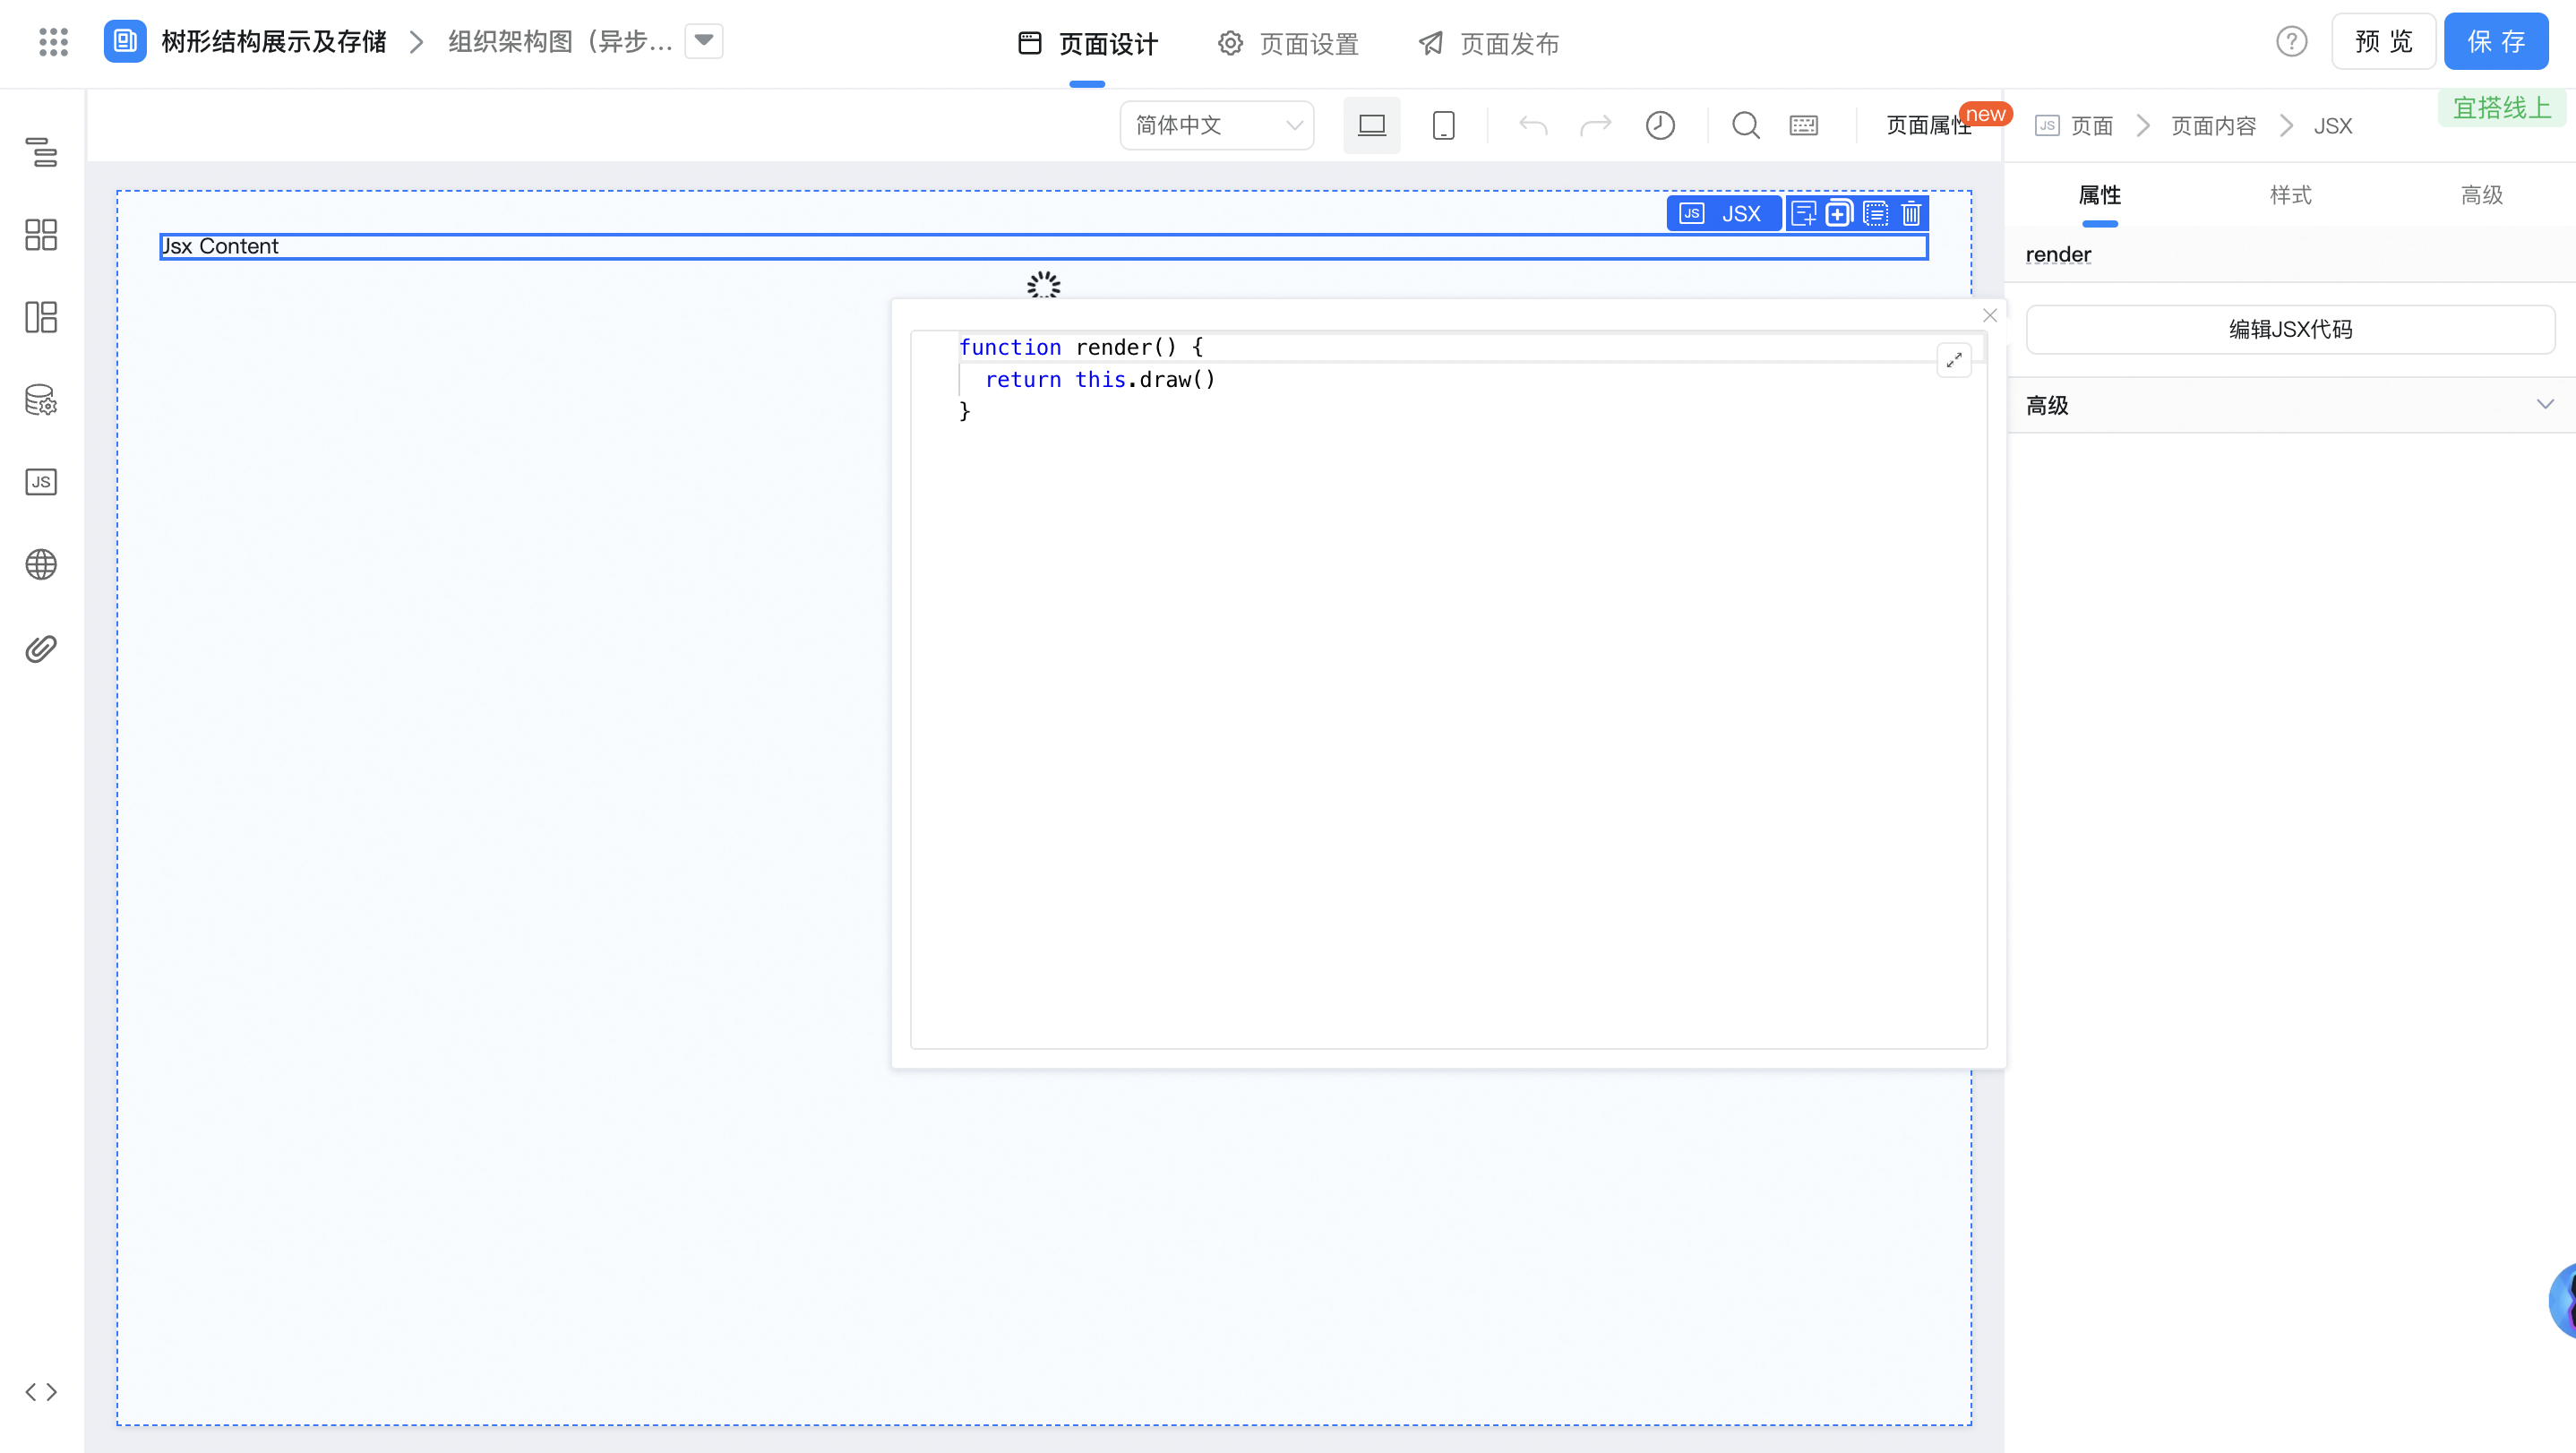
2.3.6. 自定义页面JSX中添加渲染函数
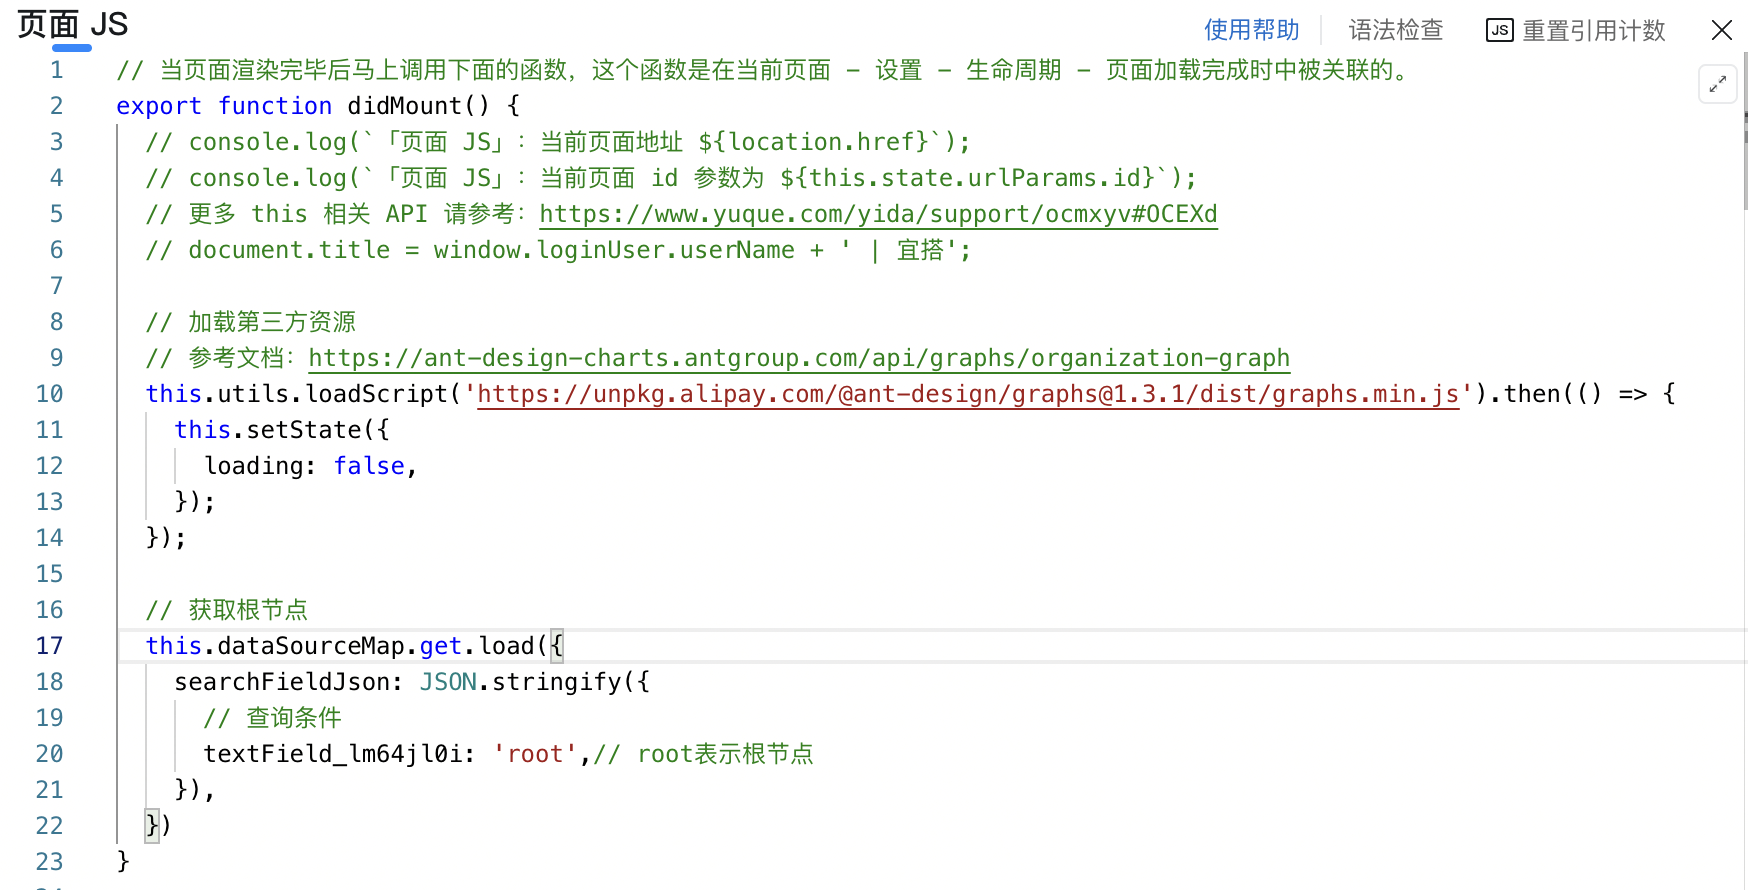
2.3.7. 获取数据渲染图表
3. 实现效果
3.1. 树形控件
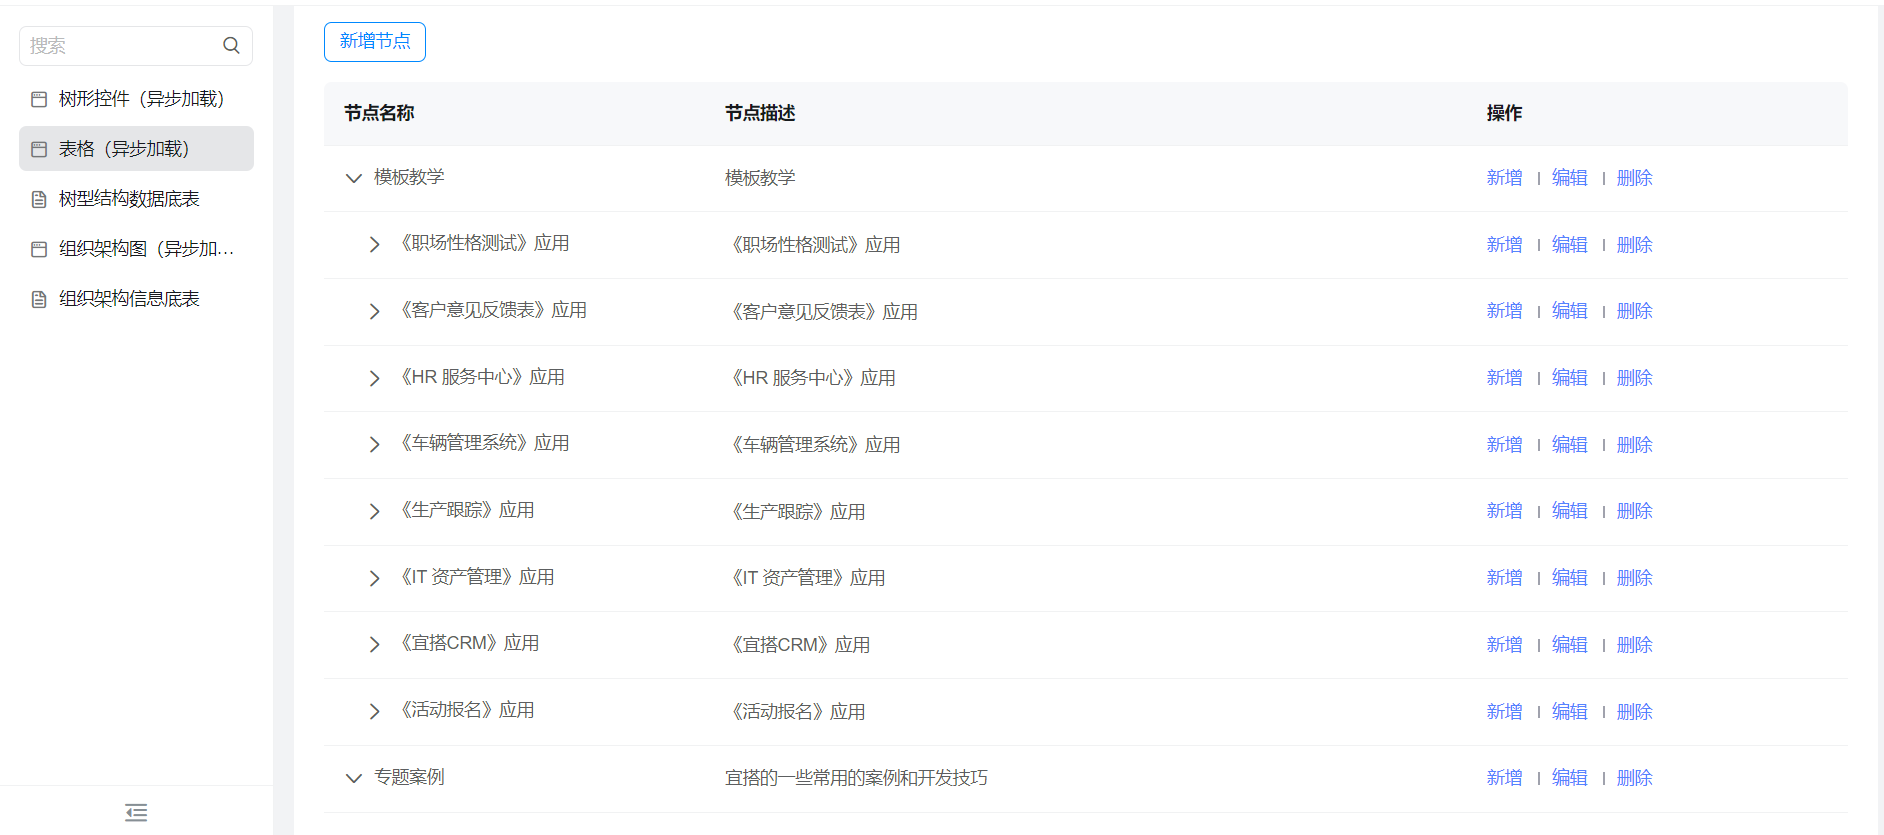
3.2. 表格
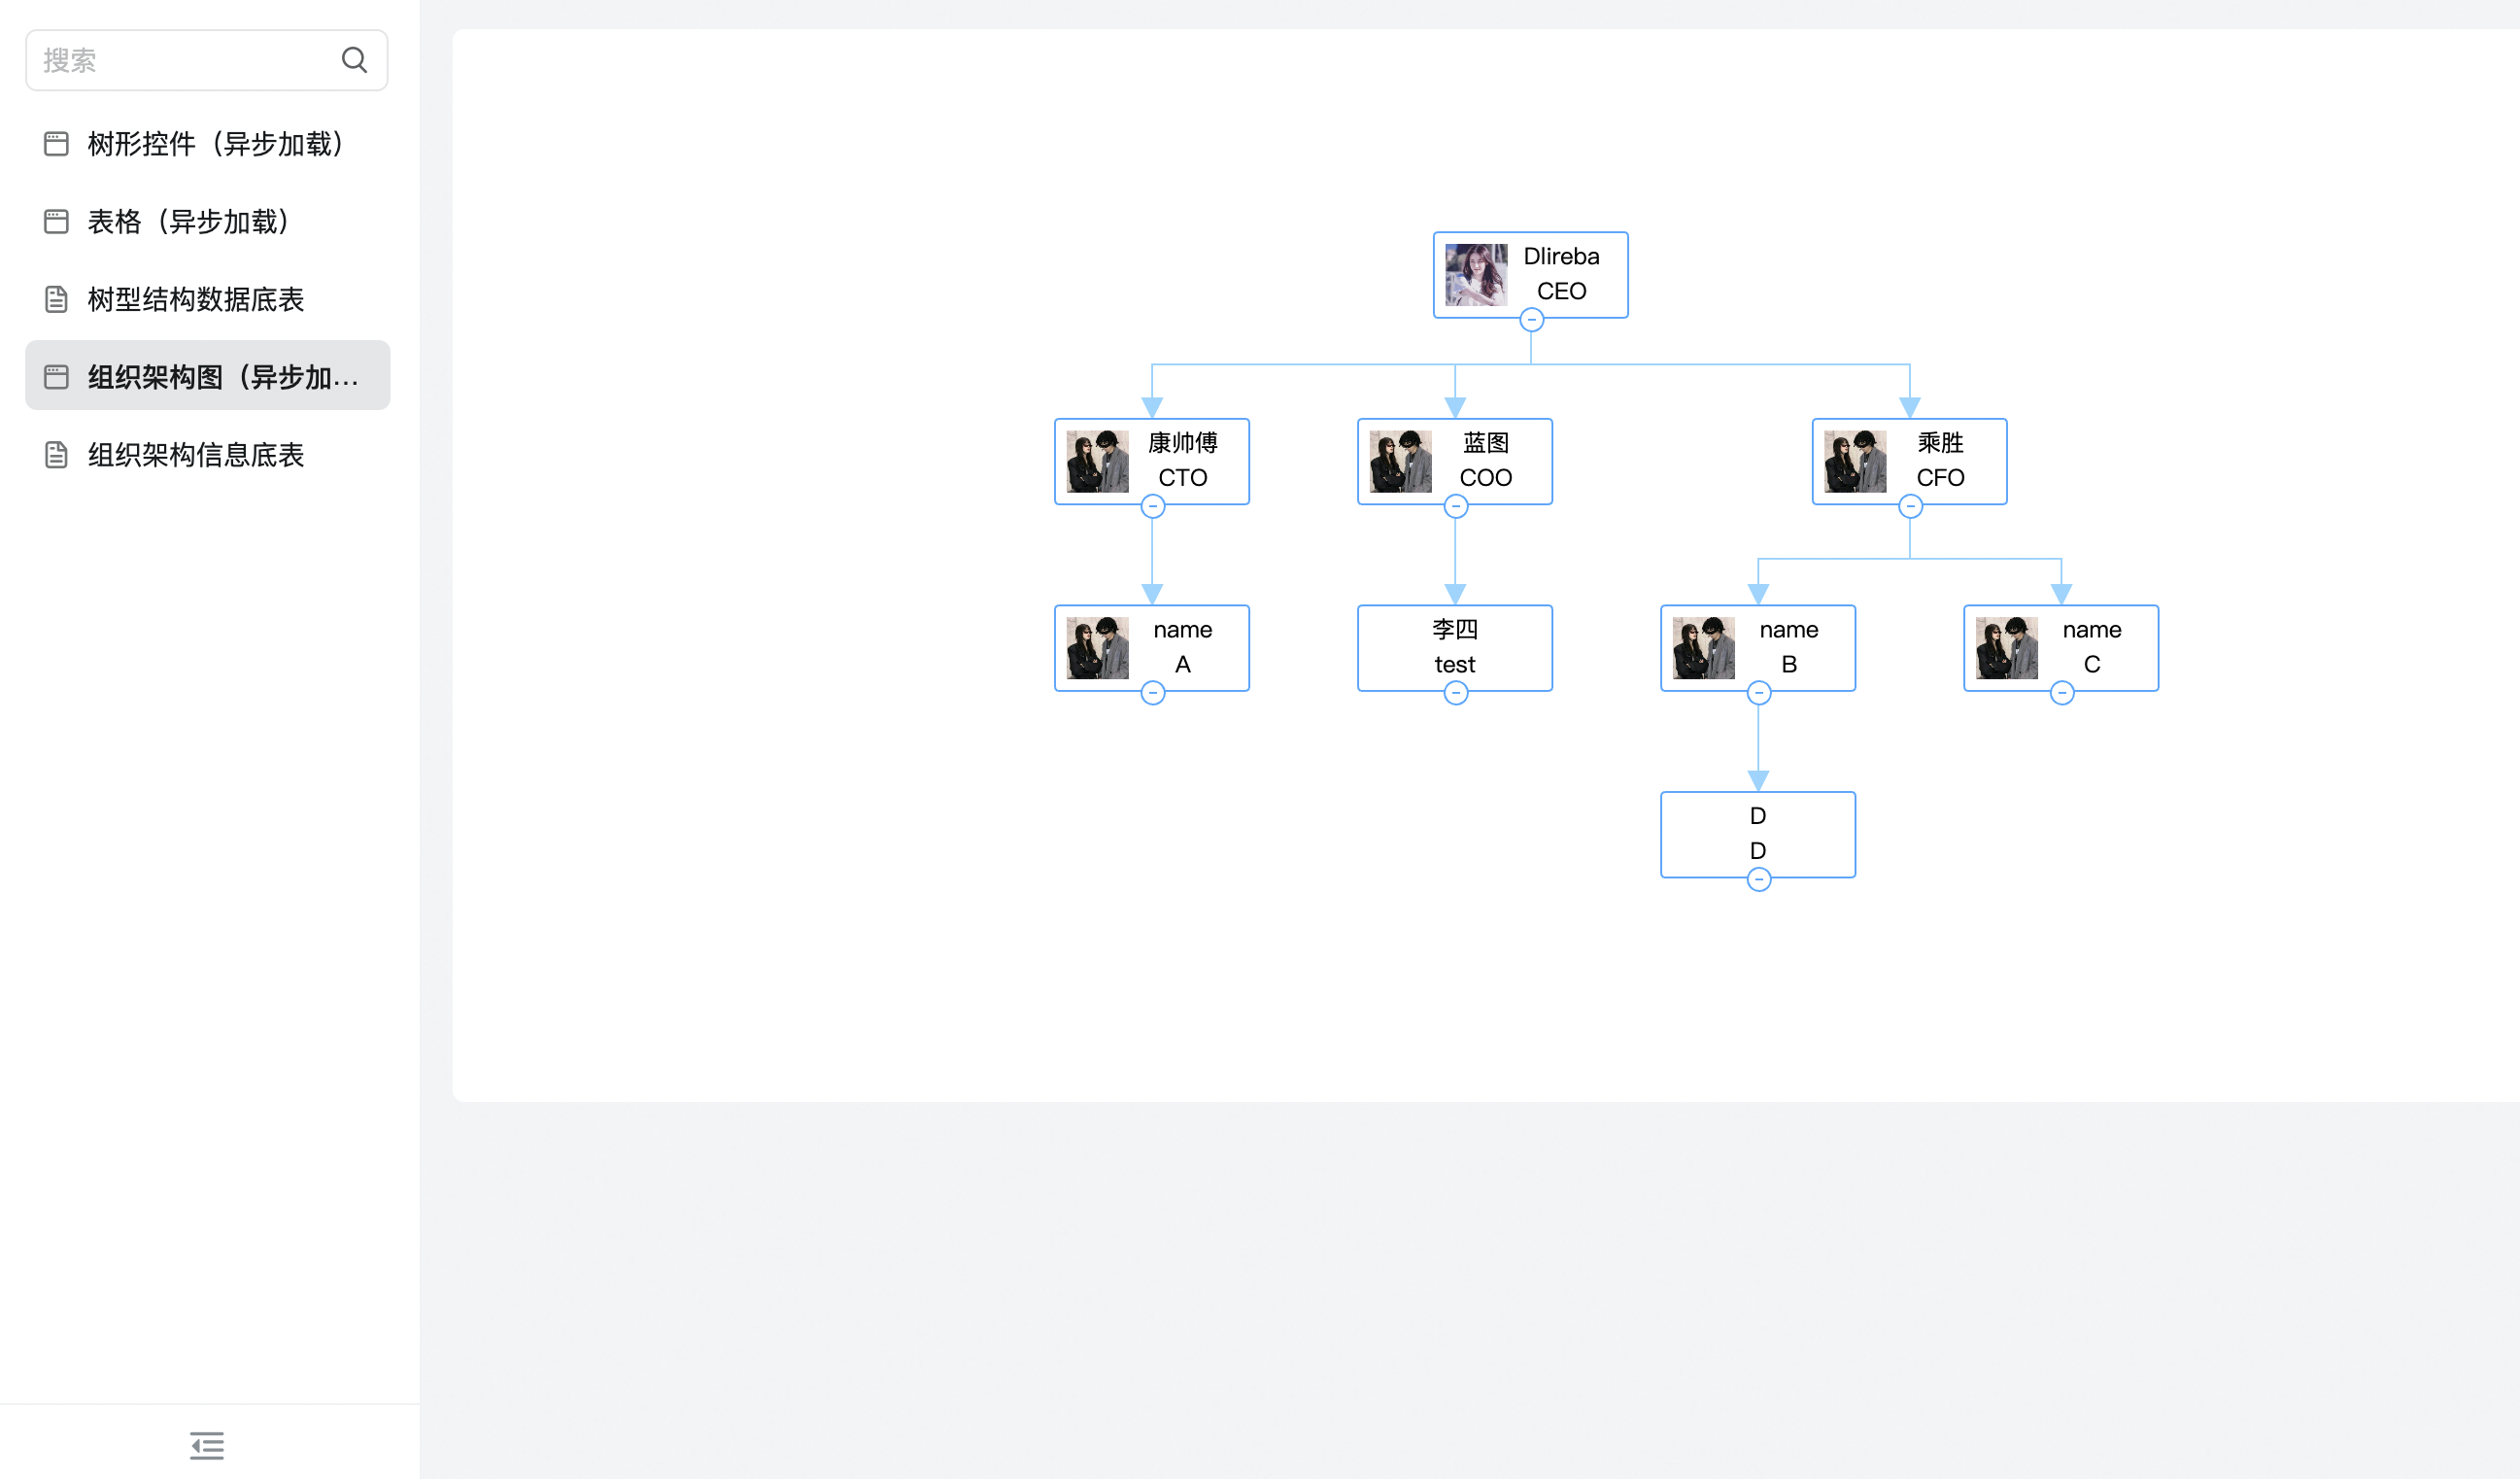
3.3. 组织架构图
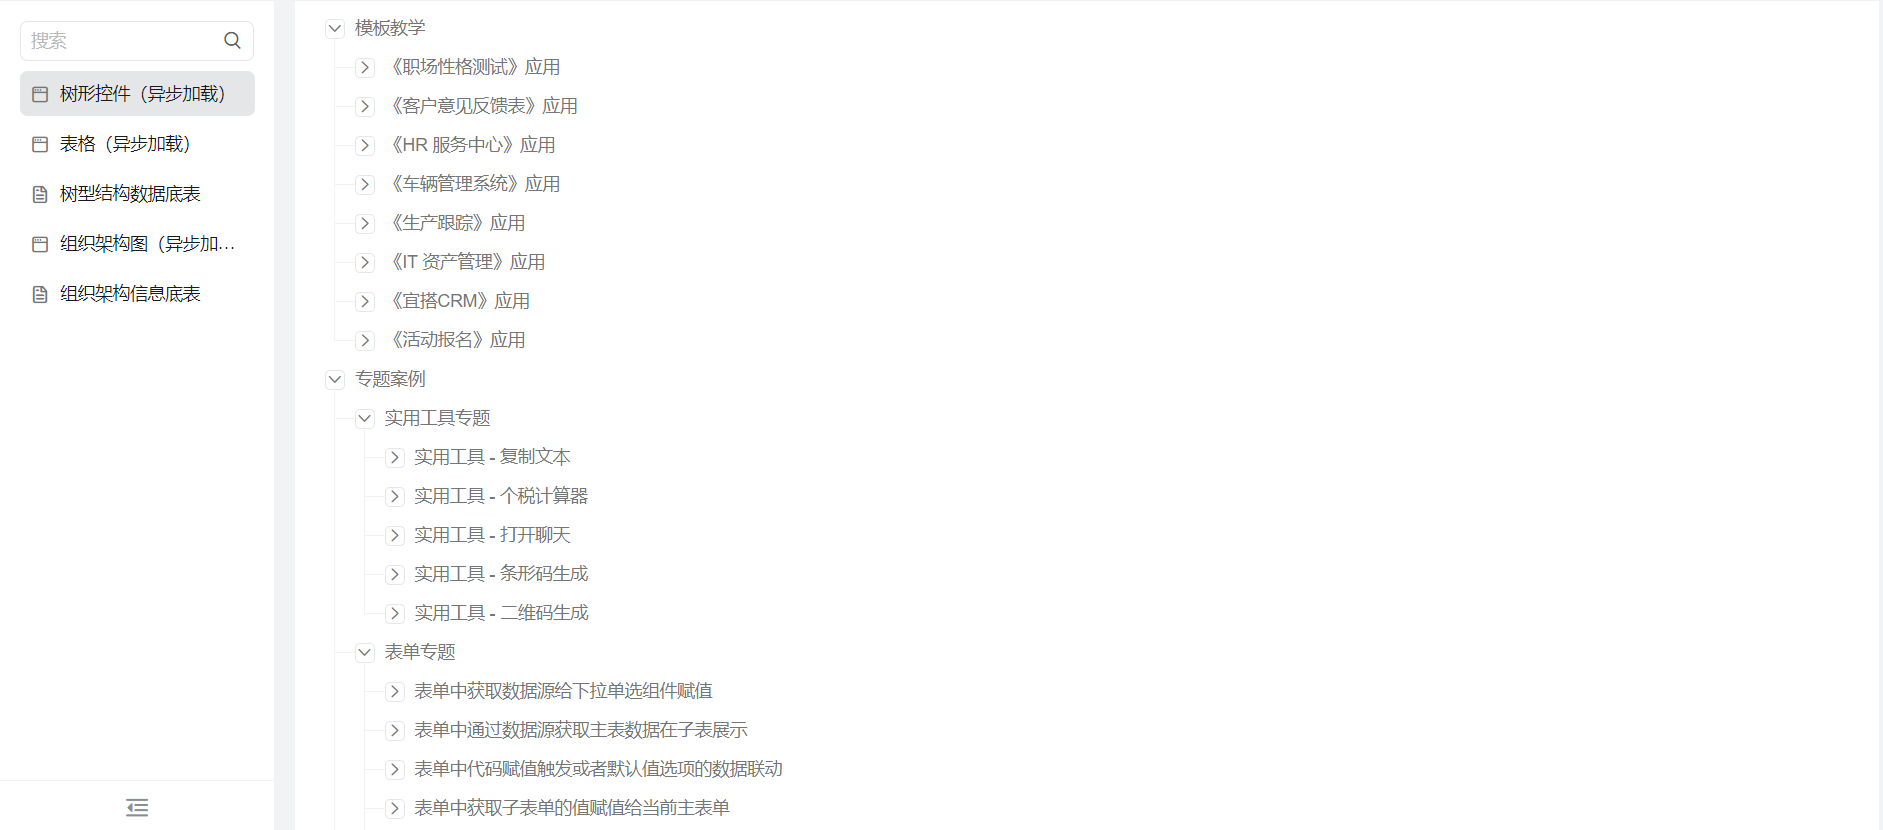
4. 在线试玩
此文档对您是否有帮助?
